1、升级基础套件
sudo apt update
sudo apt upgrade
然后reboot
2、然后是docker的管理套件
https://blog.lemonhall.me/notesview/show/444
这是安装记录
https://docs.portainer.io/start/upgrade/docker
这是update指南
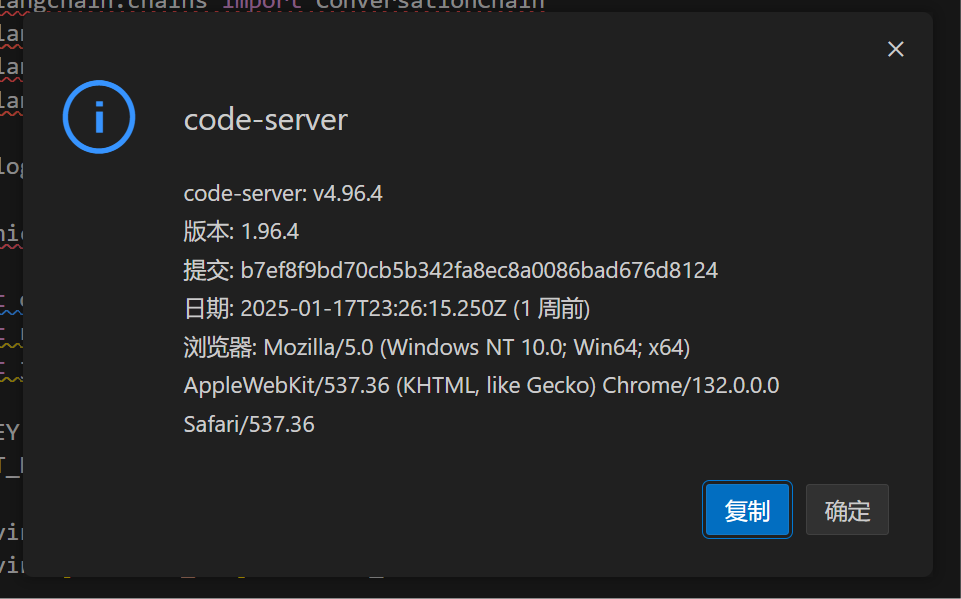
3、升级code-server?
https://blog.lemonhall.me/notesview/show/466
这是之前的安装指南
curl -fsSL https://code-server.dev/install.sh | sh还是这条命令,反正是个deb包,那应该会自动升级
倒是简单
需要重启服务器
然后检查一下版本号
看看本地版本的
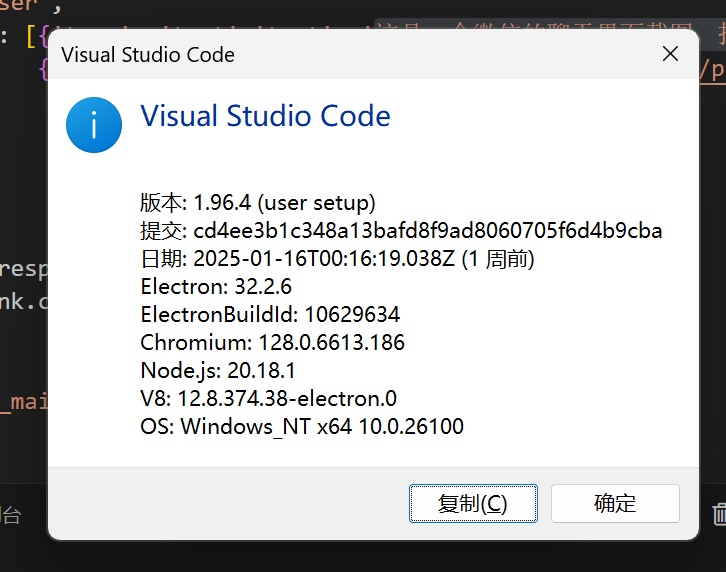
嗯,可以的,确实已经是最新版本的vscode了
这东西还是蛮重要的
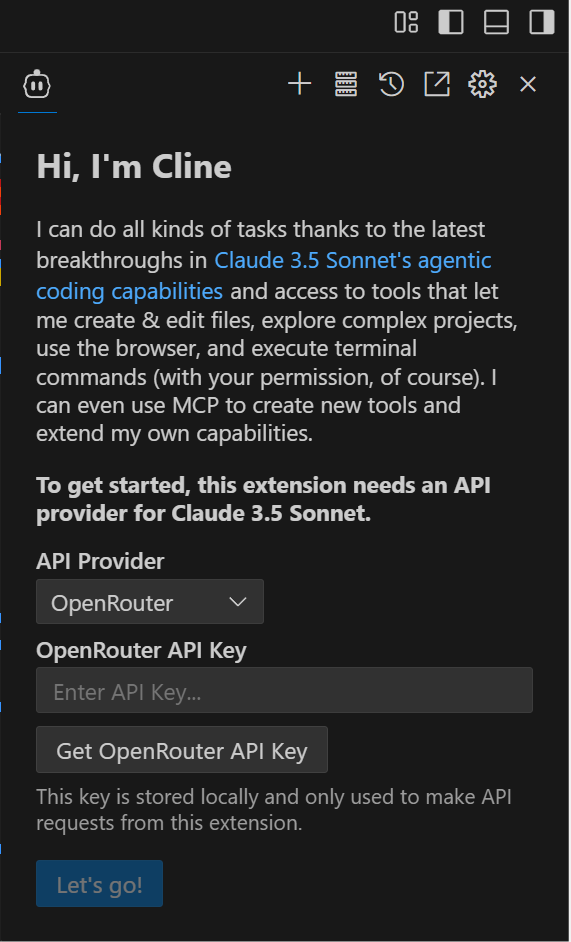
装上最新的cline
4、升级python本身
curl -fsSL https://pyenv.run | bashhttps://github.com/pyenv/pyenv
lemonhall@lemonhallme:~/openai$ curl -fsSL https://pyenv.run | bash
Cloning into '/home/lemonhall/.pyenv'...
remote: Enumerating objects: 1332, done.
remote: Counting objects: 100% (1332/1332), done.
remote: Compressing objects: 100% (728/728), done.
remote: Total 1332 (delta 797), reused 780 (delta 471), pack-reused 0 (from 0)
Receiving objects: 100% (1332/1332), 1.13 MiB | 16.26 MiB/s, done.
Resolving deltas: 100% (797/797), done.
Cloning into '/home/lemonhall/.pyenv/plugins/pyenv-doctor'...
remote: Enumerating objects: 11, done.
remote: Counting objects: 100% (11/11), done.
remote: Compressing objects: 100% (9/9), done.
remote: Total 11 (delta 1), reused 5 (delta 0), pack-reused 0 (from 0)
Receiving objects: 100% (11/11), 38.72 KiB | 19.36 MiB/s, done.
Resolving deltas: 100% (1/1), done.
Cloning into '/home/lemonhall/.pyenv/plugins/pyenv-update'...
remote: Enumerating objects: 10, done.
remote: Counting objects: 100% (10/10), done.
remote: Compressing objects: 100% (6/6), done.
remote: Total 10 (delta 1), reused 5 (delta 0), pack-reused 0 (from 0)
Receiving objects: 100% (10/10), done.
Resolving deltas: 100% (1/1), done.
Cloning into '/home/lemonhall/.pyenv/plugins/pyenv-virtualenv'...
remote: Enumerating objects: 64, done.
remote: Counting objects: 100% (64/64), done.
remote: Compressing objects: 100% (57/57), done.
remote: Total 64 (delta 10), reused 22 (delta 0), pack-reused 0 (from 0)
Receiving objects: 100% (64/64), 43.08 KiB | 3.08 MiB/s, done.
Resolving deltas: 100% (10/10), done.

WARNING: seems you still have not added 'pyenv' to the load path.

# Load pyenv automatically by appending
# the following to
# ~/.bash_profile if it exists, otherwise ~/.profile (for login shells)
# and ~/.bashrc (for interactive shells) :

export PYENV_ROOT="$HOME/.pyenv"
[[ -d $PYENV_ROOT/bin ]] && export PATH="$PYENV_ROOT/bin:$PATH"
eval "$(pyenv init - bash)"

# Restart your shell for the changes to take effect.

# Load pyenv-virtualenv automatically by adding
# the following to ~/.bashrc:

eval "$(pyenv virtualenv-init -)"

lemonhall@lemonhallme:~/openai$ 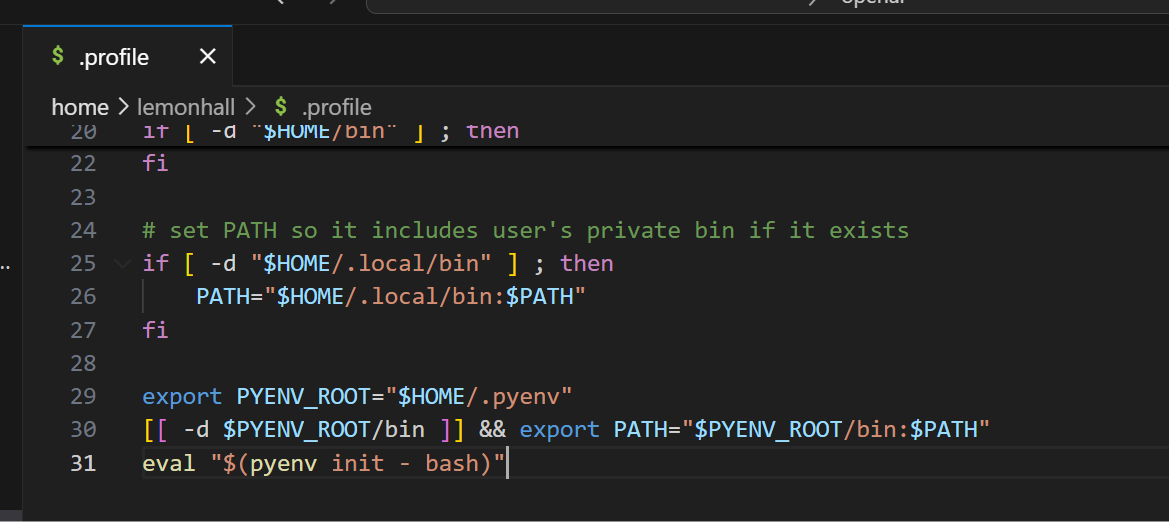
所以我在.profile里面加入了这么一句

然后又在.bashrc里加了这么一句
后来发现是扯淡:
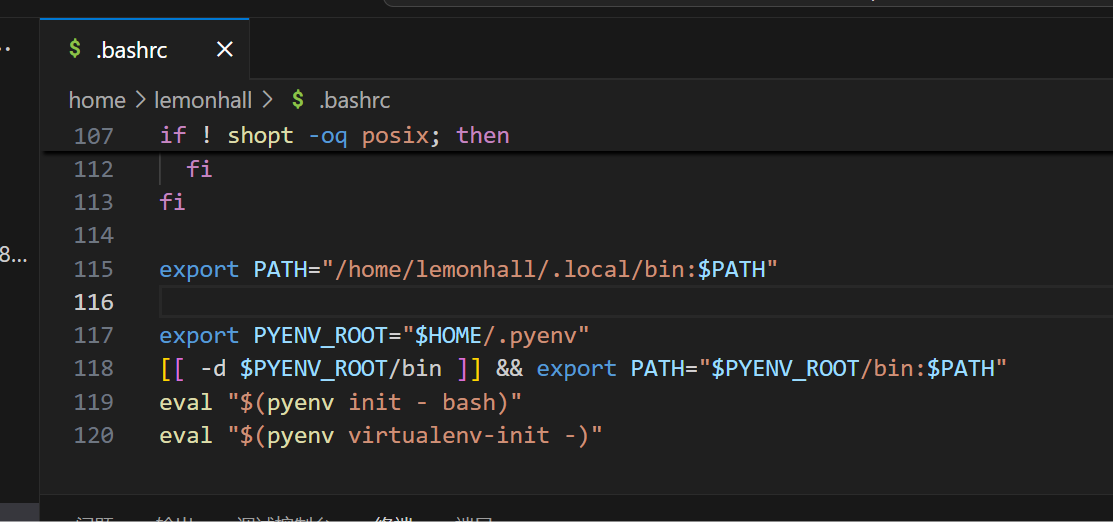
export PYENV_ROOT="$HOME/.pyenv"
[[ -d $PYENV_ROOT/bin ]] && export PATH="$PYENV_ROOT/bin:$PATH"
eval "$(pyenv init - bash)"
eval "$(pyenv virtualenv-init -)"
直接把这一段加入到bashrc里才行
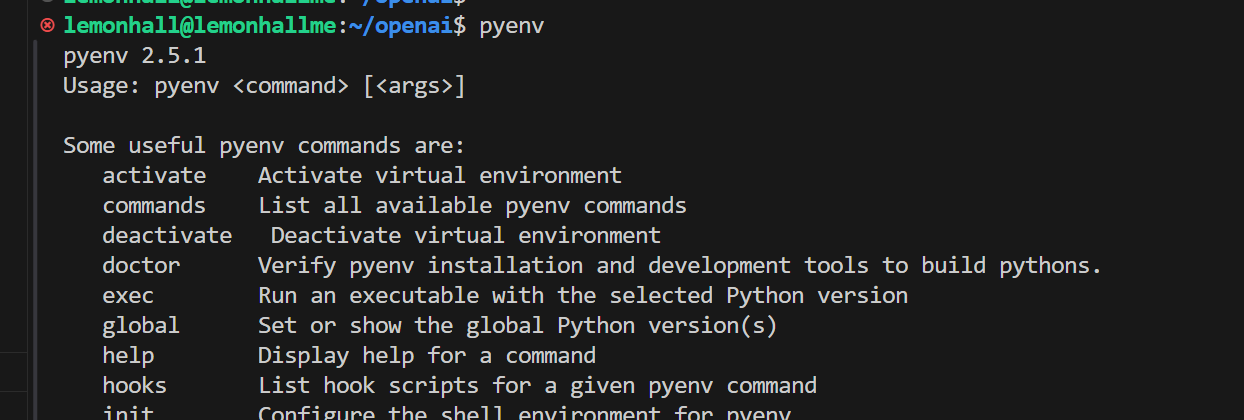
好了,证明可以了
pyenv install 3.13然后这是安装3.13.1了
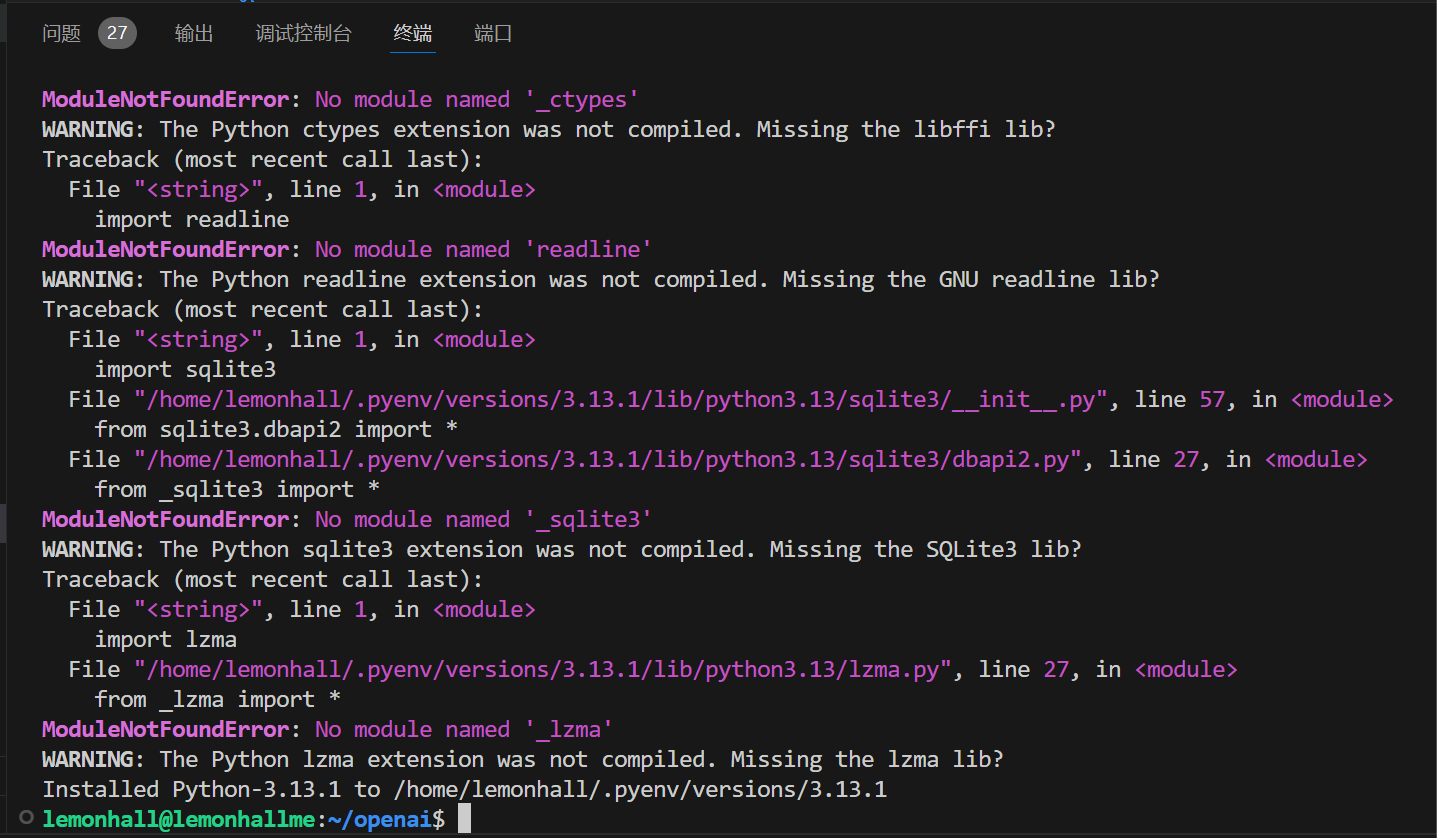
看上去也不是一帆风顺啊,好吧
实在不行就得升级debian本身了啊
cat /etc/debian_version12.9
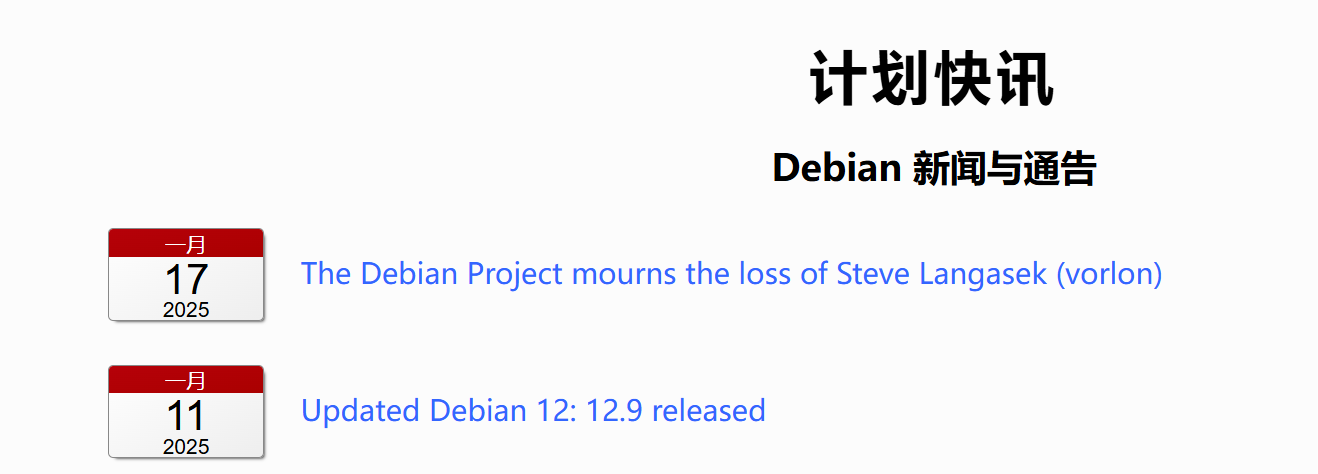
看了一下,这其实已经是最新的了
pyenv global 3.13.1然后接下来shell能拿到的都是3.13的python了
pip install --upgrade pip升级pip
然后
安装uv
pip install uv接着简单跑一个uv的例子
uv init news_checkeruv add smolagents
记得要切好
from smolagents import CodeAgent, DuckDuckGoSearchTool, HfApiModel,LiteLLMModel
import os
os.environ['DEEPSEEK_API_KEY'] = "xxxxxx"

def main():
    model = LiteLLMModel(
        model_id="deepseek/deepseek-chat", # This model is a bit weak for agentic behaviours though
    )
    agent = CodeAgent(tools=[DuckDuckGoSearchTool()], model=model, add_base_tools=True)
    agent.run("How many seconds would it take for a leopard at full speed to run through Pont des Arts?")
    print("Hello from news-checker!")


if __name__ == "__main__":
    main()
5、清理服务器空间
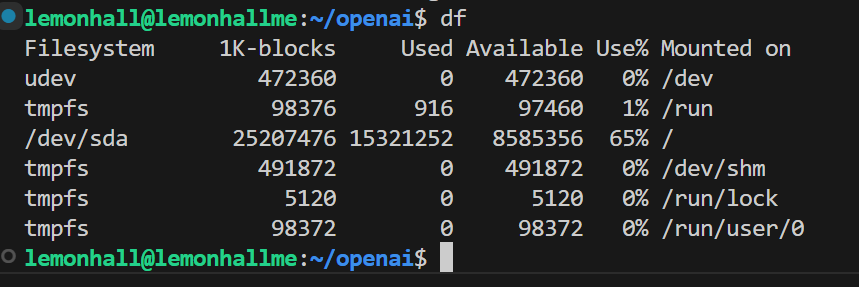
df然后清理apt
sudo apt-get autoremovesudo du -h / --max-depth=1 | sort -hr | head -n 10lemonhall@lemonhallme:~/openai$ sudo du -h / --max-depth=1 | sort -hr | head -n 10
du: cannot access '/proc/28338/task/28338/fd/4': No such file or directory
du: cannot access '/proc/28338/task/28338/fdinfo/4': No such file or directory
du: cannot access '/proc/28338/fd/3': No such file or directory
du: cannot access '/proc/28338/fdinfo/3': No such file or directory
17G /
6.2G /var
5.8G /home
3.9G /usr
127M /opt
88M /boot
55M /root
13M /etc
924K /run
56K /tmp看了一下其实home就很吓人了
lemonhall@lemonhallme:~/openai$ sudo du -h /home/lemonhall --max-depth=1 | sort -hr | head -n 10
5.8G    /home/lemonhall
1.4G    /home/lemonhall/lemon_blog
1.1G    /home/lemonhall/.local
545M    /home/lemonhall/openai
407M    /home/lemonhall/HSKspin13
331M    /home/lemonhall/.pyenv
178M    /home/lemonhall/gitea
117M    /home/lemonhall/.cache
94M     /home/lemonhall/caldav
68M     /home/lemonhall/thelounge
lemonhall@lemonhallme:~/openai$
查了一下,感觉也没啥可优化的空间,大量的都是被我的博客给占用掉了,没辙
优化完后到了65%,行吧
6、清理服务器空间-2
sudo du -h /var --max-depth=1 | sort -hr | head -n 10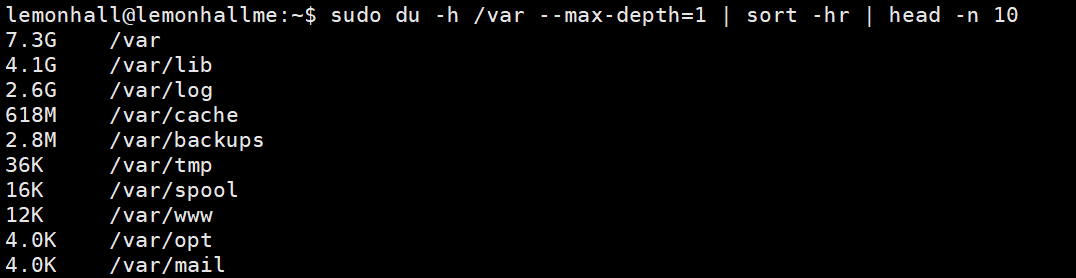
2.6G的日志,真要命啊
lemonhall@lemonhallme:~$ sudo journalctl --disk-usage
Archived and active journals take up 2.4G in the file system.
然后它报告说自己就搞了2.4G的日志
好嘛
sudo journalctl --vacuum-time=7d # Keep only last 7 days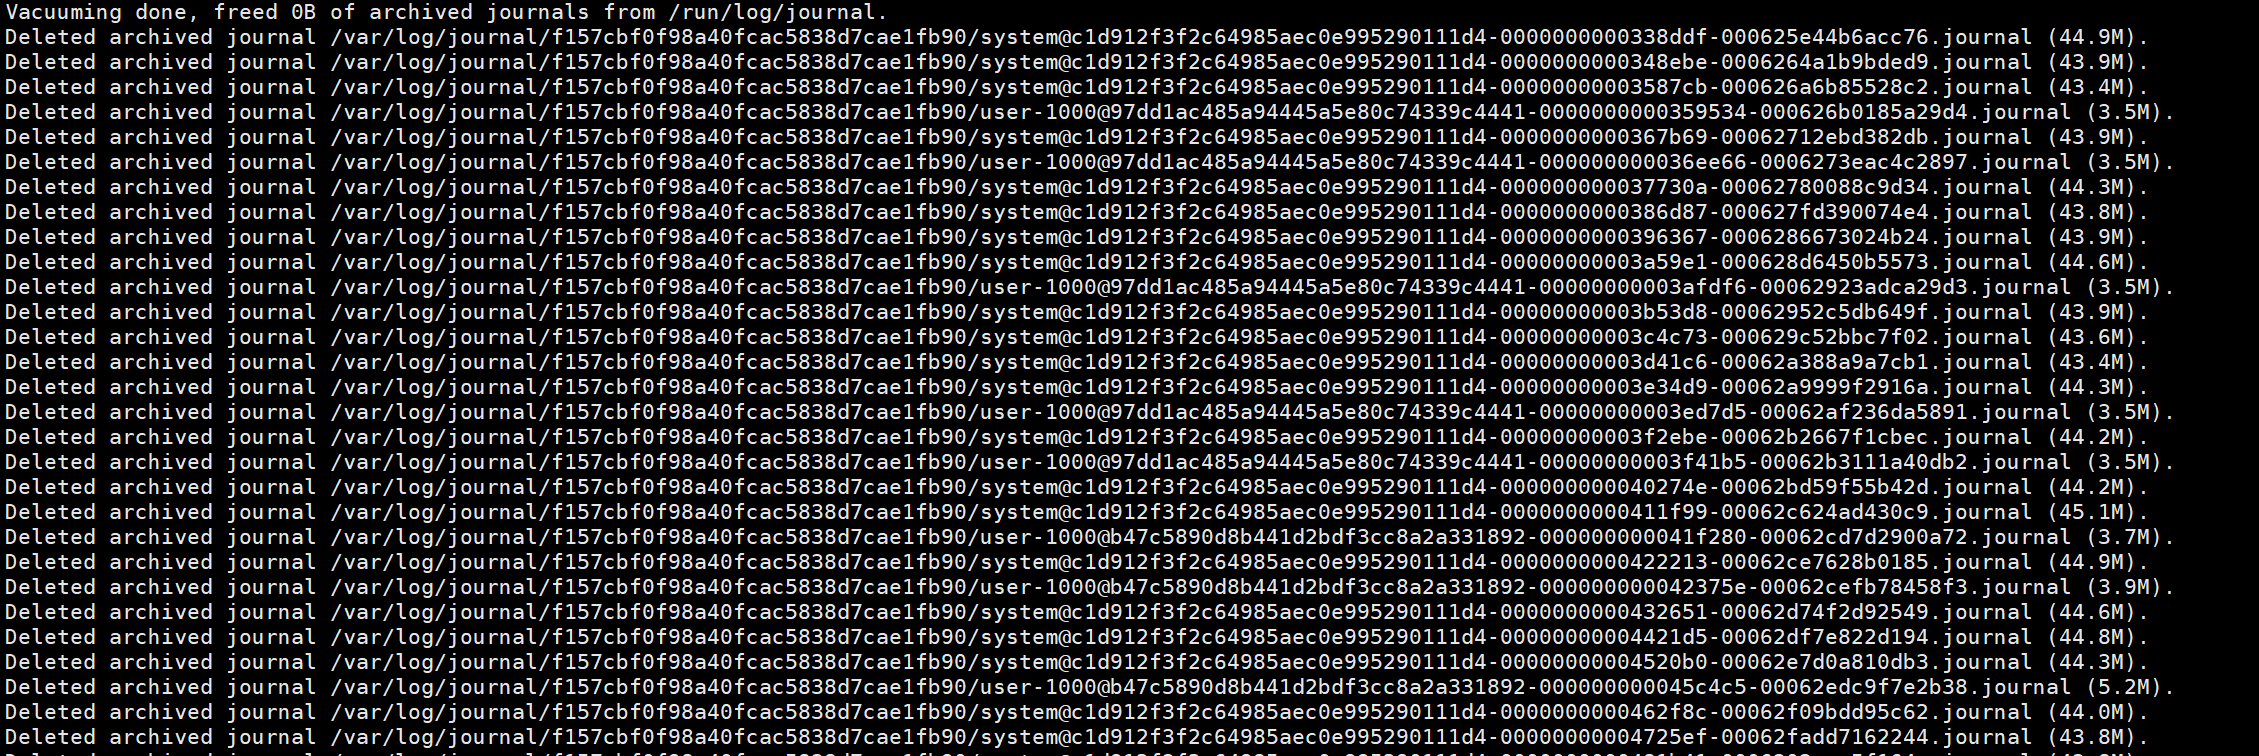
这个命令不错
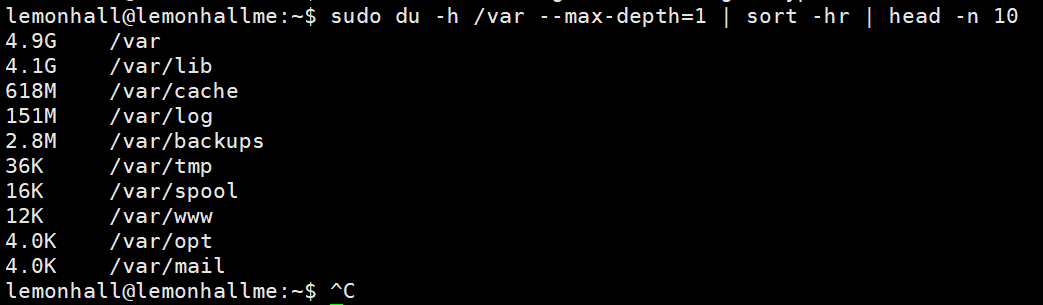
清理完以后,只有151M了
释放了不少空间
sudo apt clean
效果也很不错,清理了600M