参考文章:
https://yq.aliyun.com/articles/672675
一、配置 Kubernetes
1、可选操作: 切换Kubernetes运行上下文至 docker-for-desktop
kubectl config use-context docker-for-desktop
这一步没什么的,因为我看界面UI上已经是了,不用做了;
===============================================
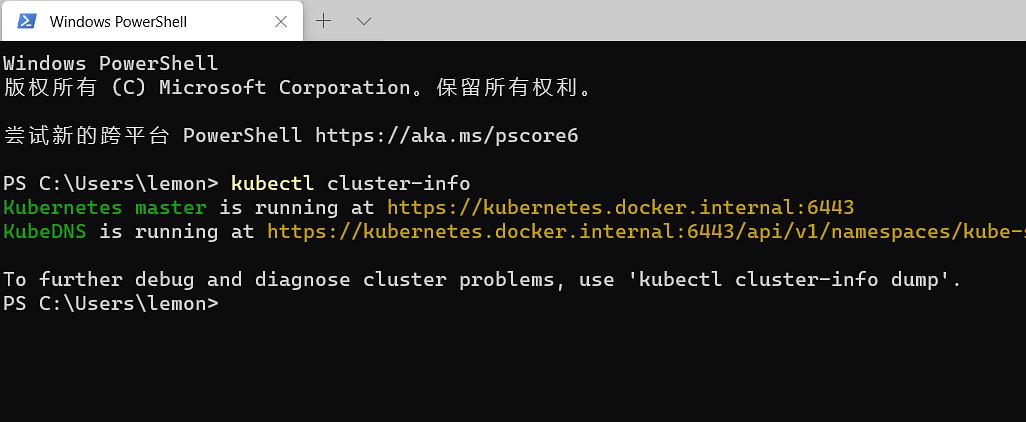
2、验证 Kubernetes 集群状态
kubectl cluster-info
kubectl get nodes

===============================================
3、部署
不可访问:raw.githubusercontent.com
参考:
先启动一个管理员的powershell
然后切换到bash去,然后切目录到windows的hosts所在
cd /mnt/c/Windows/System32/drivers/etc
最后启动vim 编辑
按照参考,加入
151.101.76.133 raw.githubusercontent.com
加入了还是不行,项目变了
https://github.com/kubernetes/dashboard
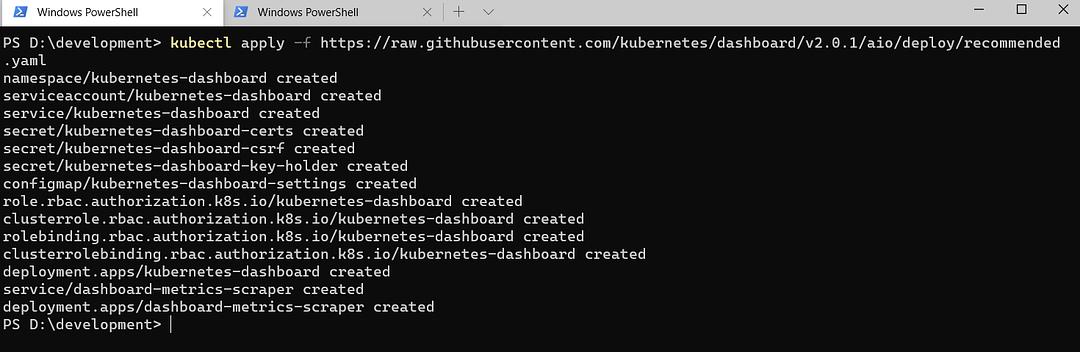
按照最新文档:
kubectl apply -f https://raw.githubusercontent.com/kubernetes/dashboard/v2.0.1/aio/deploy/recommended.yaml
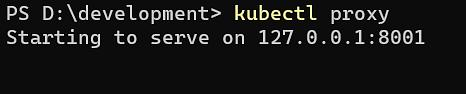
开启代理:
开启 API Server 访问代理
kubectl proxy
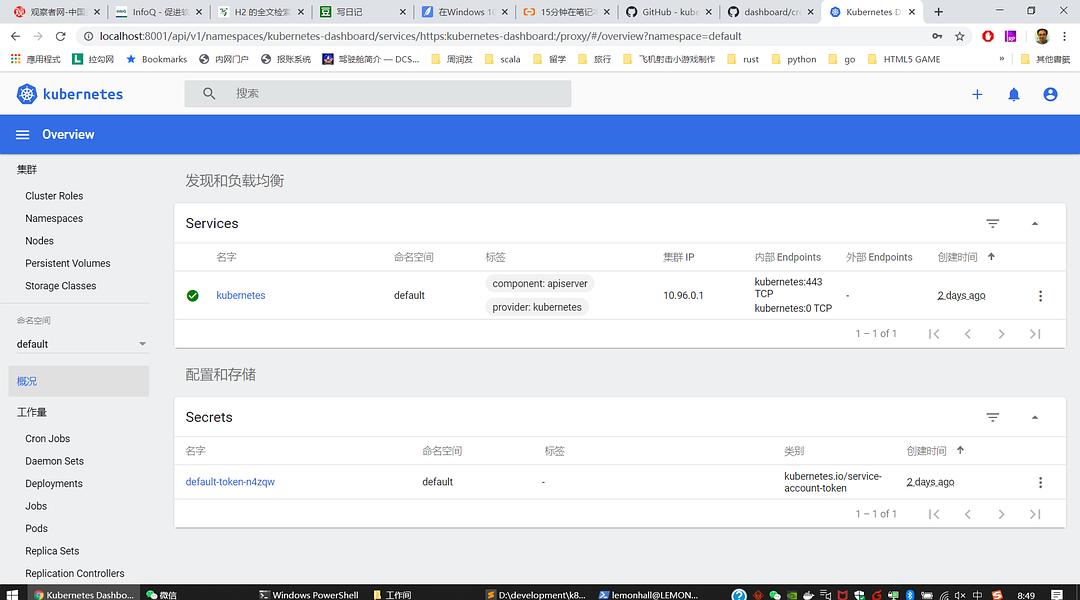
然后开始访问:
http://localhost:8001/api/v1/namespaces/kubernetes-dashboard/services/https:kubernetes-dashboard:/proxy/
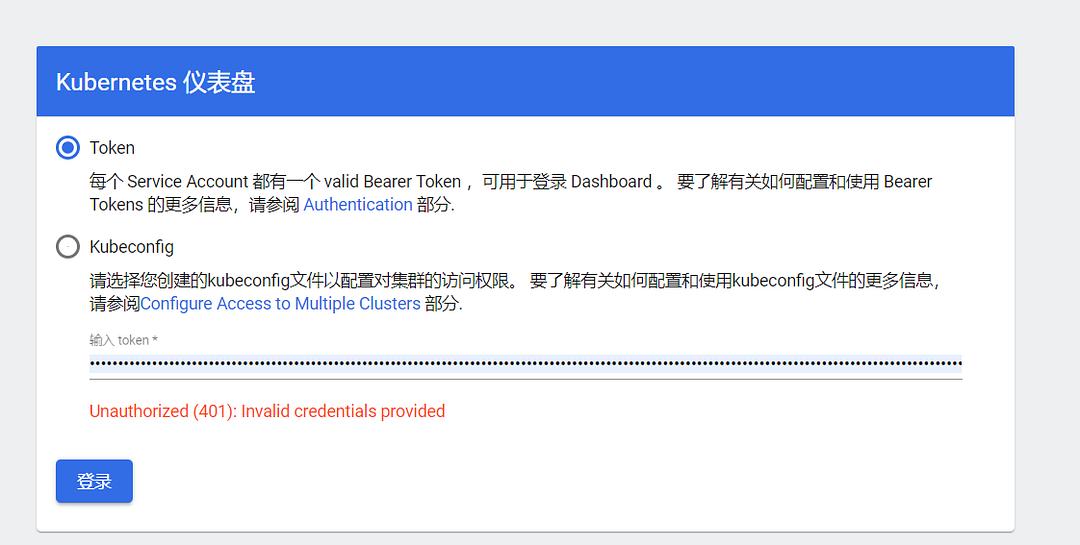
发现没有权限
于是开始看新的指南:
https://github.com/kubernetes/dashboard/blob/master/docs/user/access-control/creating-sample-user.md
步骤1:
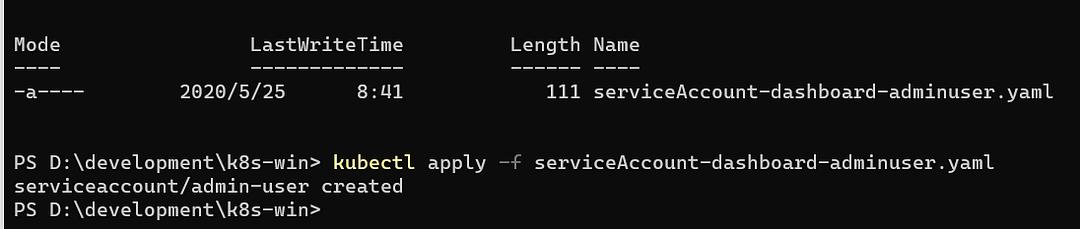
创建服务账号:
新建文件:serviceAccount-dashboard-adminuser.yaml
apiVersion: v1
kind: ServiceAccount
metadata:
name: admin-user
namespace: kubernetes-dashboard
kubectl apply -f serviceAccount-dashboard-adminuser.yaml
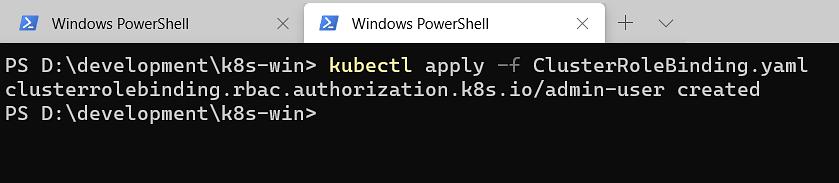
步骤2:建立角色与账户绑定
vim ClusterRoleBinding.yaml
apiVersion: rbac.authorization.k8s.io/v1
kind: ClusterRoleBinding
metadata:
name: admin-user
roleRef:
apiGroup: rbac.authorization.k8s.io
kind: ClusterRole
name: cluster-admin
subjects:
- kind: ServiceAccount
name: admin-user
namespace: kubernetes-dashboard
执行:
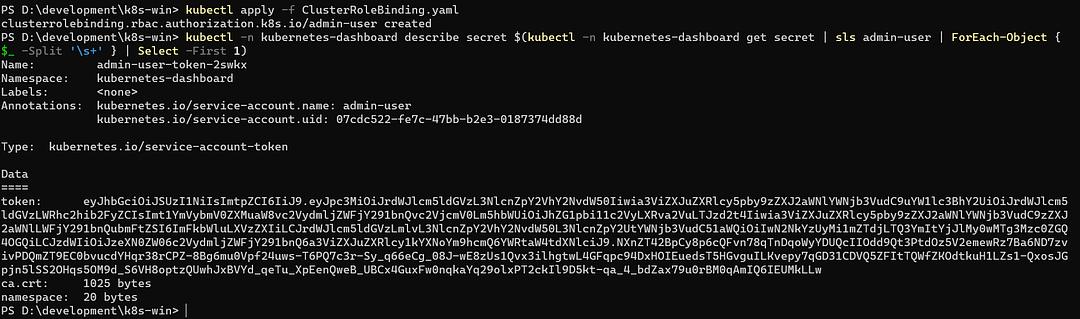
kubectl apply -f ClusterRoleBinding.yaml
然后在PowerShell下执行
kubectl -n kubernetes-dashboard describe secret $(kubectl -n kubernetes-dashboard get secret | sls admin-user | ForEach-Object { $_ -Split '\s+' } | Select -First 1)