1、clone仓库
https://github.com/Audio-AGI/AudioSep
2、安装conda
下载:
https://www.anaconda.com/download#downloads
参考了自己的文章:
https://blog.lemonhall.me/notesview/show/329
ubuntu 20.04安装Anaconda3并初始化一个pytorch的环境
sh Anaconda3-2024.02-1-Linux-x86_64.sh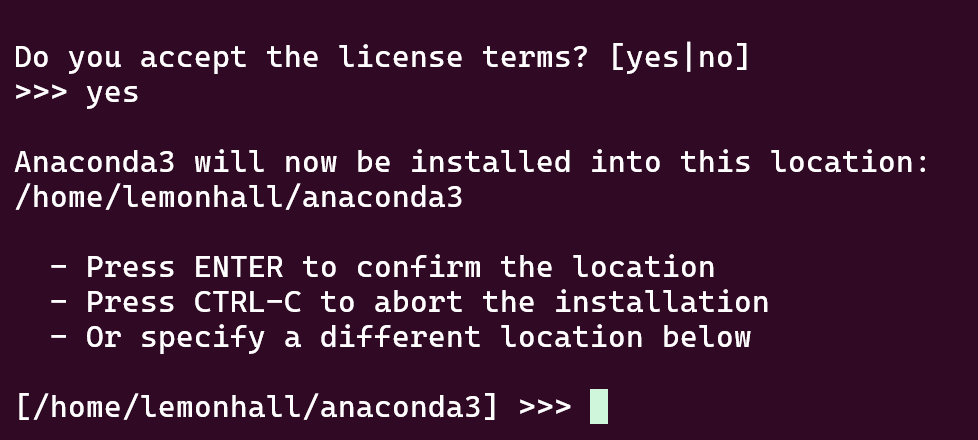
Preparing transaction: done
Executing transaction: -

    Installed package of scikit-learn can be accelerated using scikit-learn-intelex.
    More details are available here: https://intel.github.io/scikit-learn-intelex

    For example:

        $ conda install scikit-learn-intelex
        $ python -m sklearnex my_application.py


done
installation finished.
Do you wish to update your shell profile to automatically initialize conda?
This will activate conda on startup and change the command prompt when activated.
If you'd prefer that conda's base environment not be activated on startup,
   run the following command when conda is activated:

conda config --set auto_activate_base false

You can undo this by running `conda init --reverse $SHELL`? [yes|no]
[no] >>>
3、开始跑:
cd AudioSep我好像搞得有点问题:
弄得必须手动增加PATH
export PATH="$PATH:/home/lemonhall/anaconda3/bin"conda env create -f environment.yml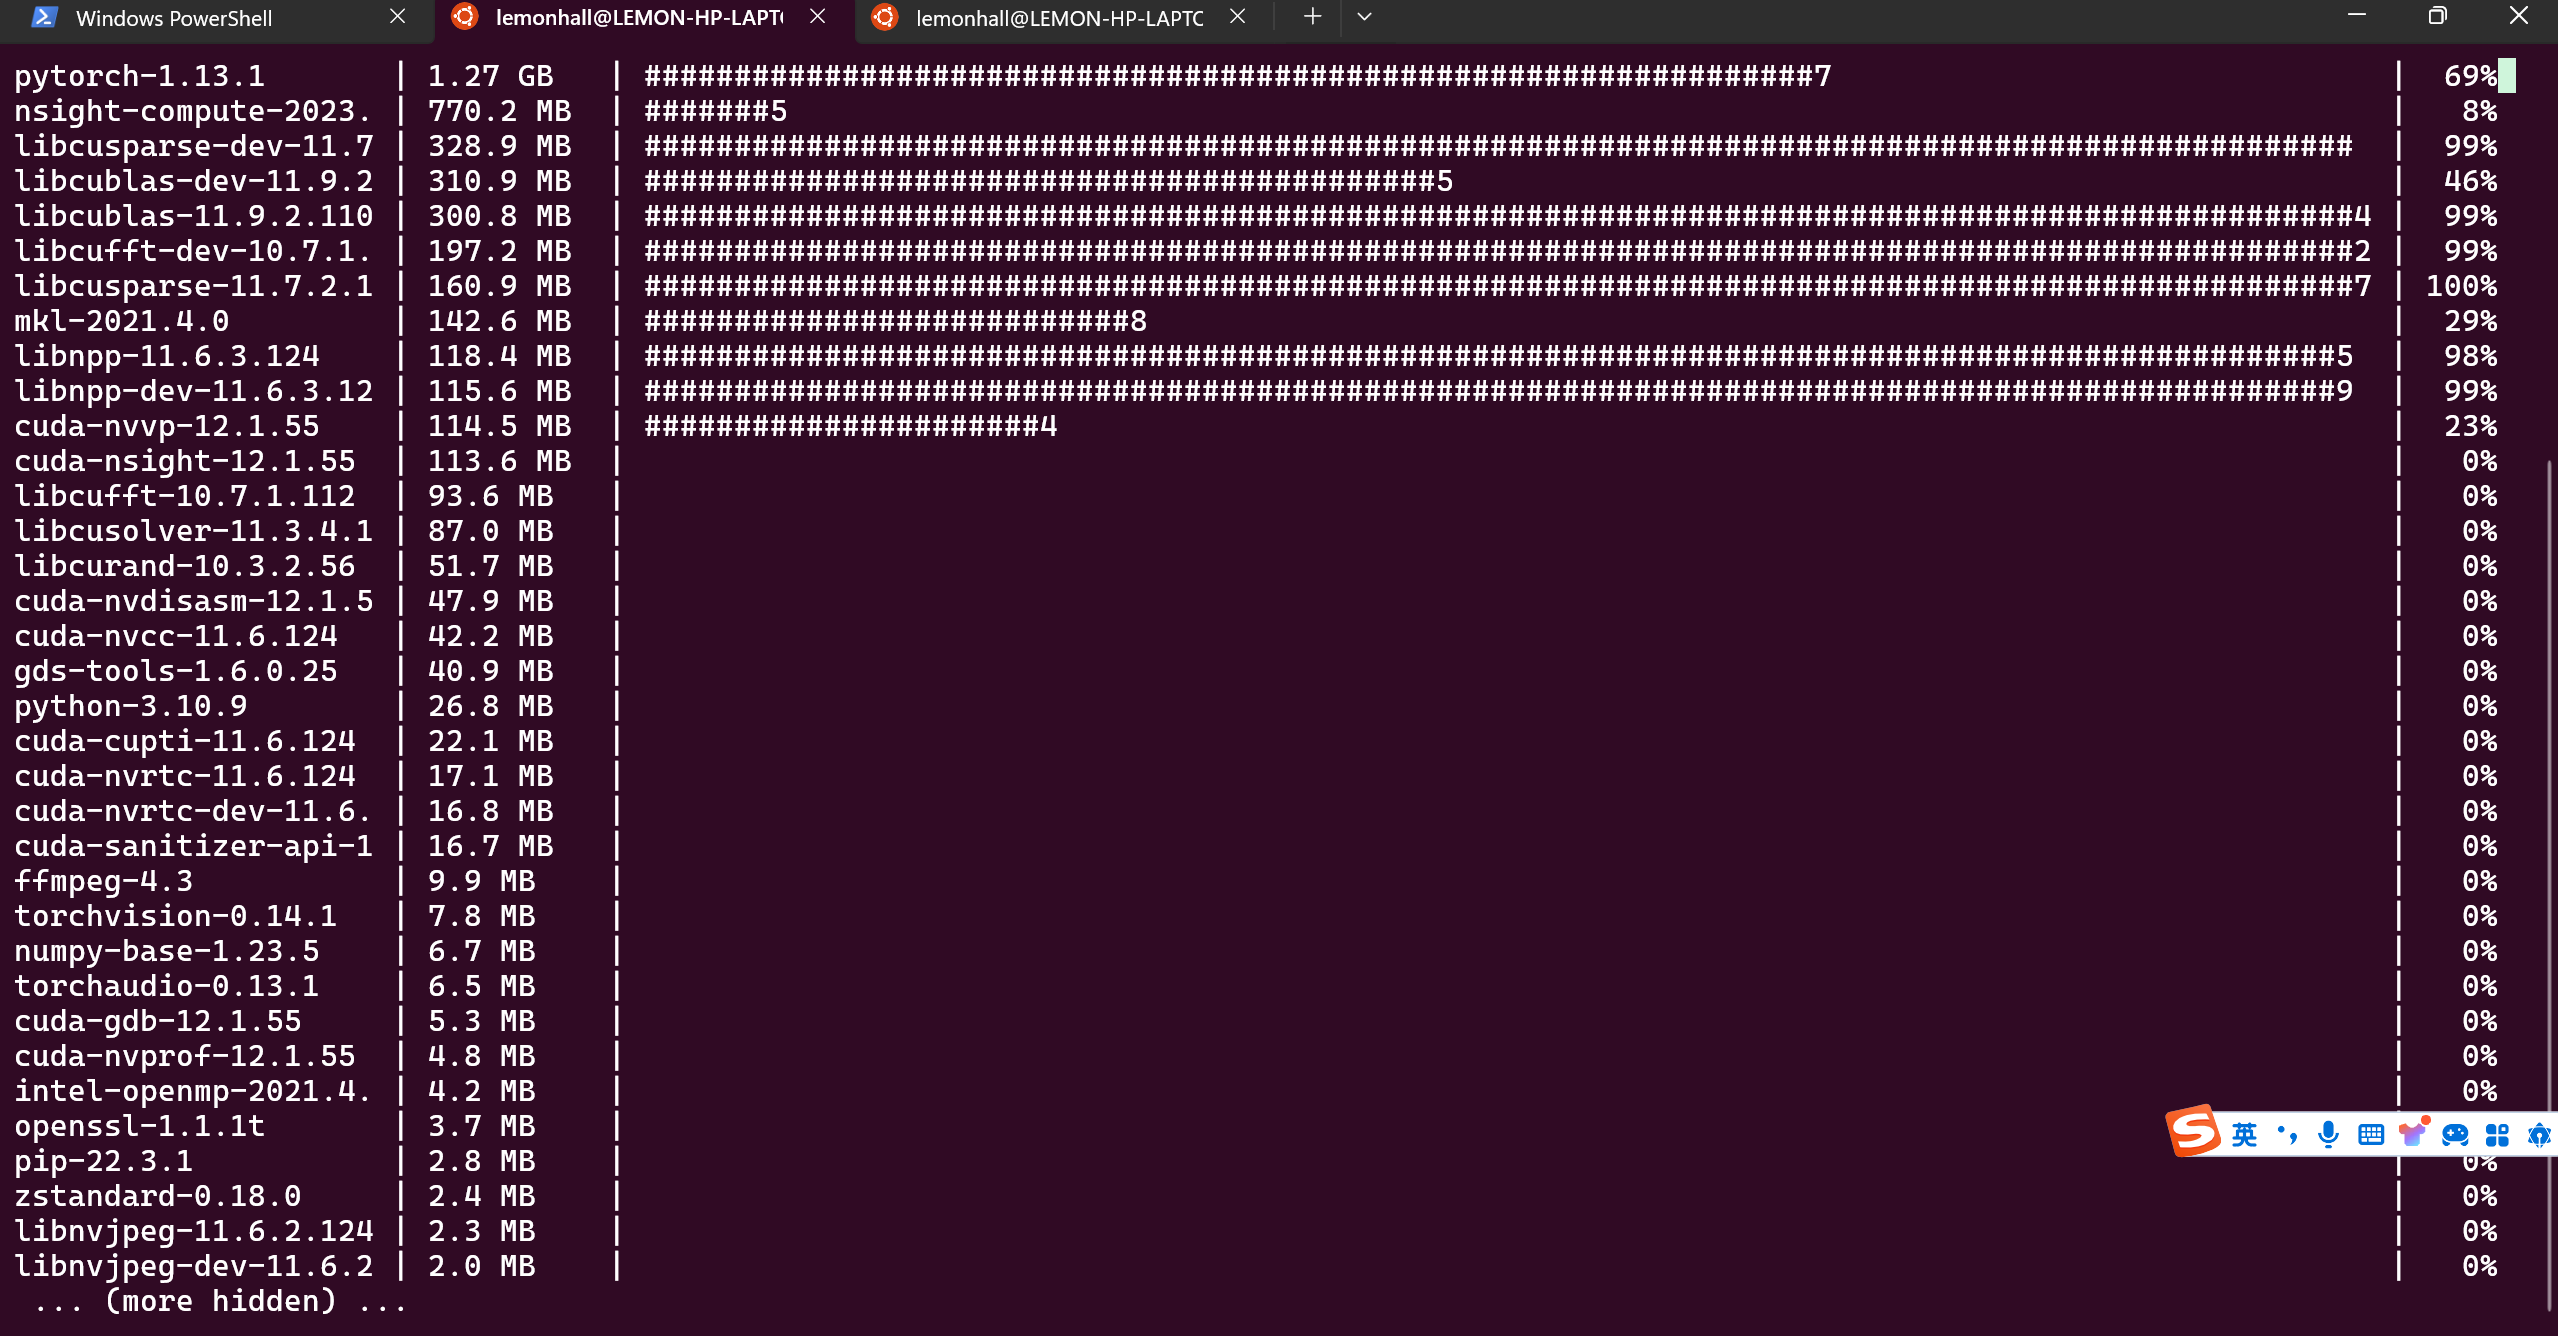
哎,行吧,开跑了就行
好嘛
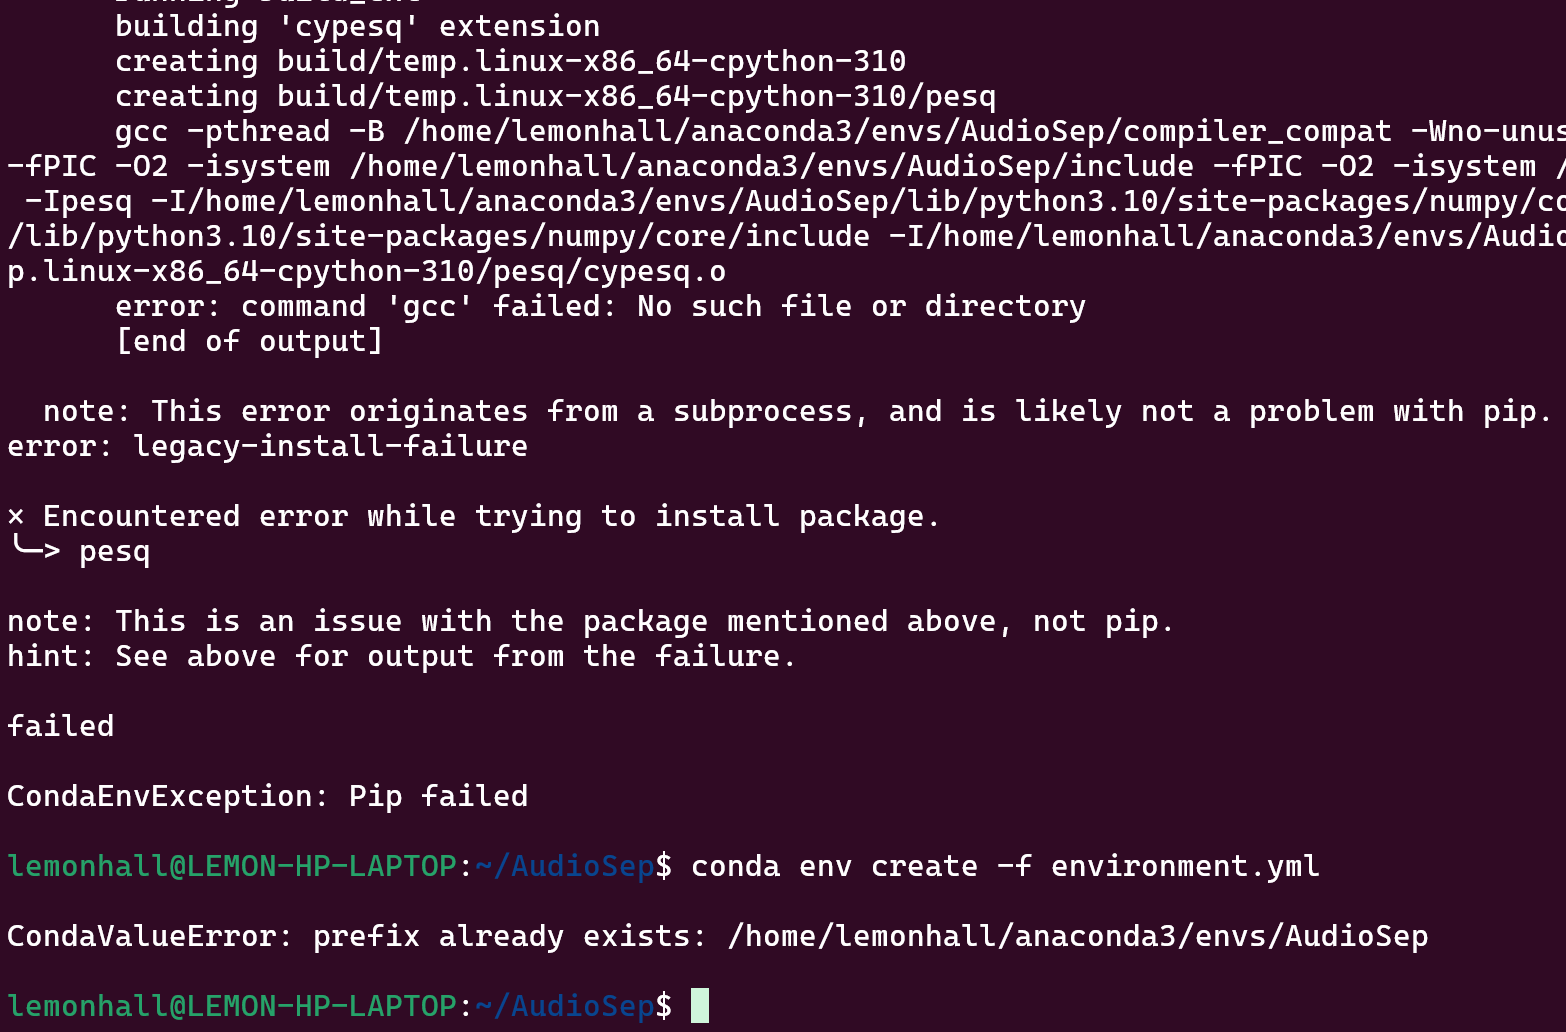
gcc没有,然后pip抛错误了
先试图激活环境
conda init了,它修改了bash
export PATH="$PATH:/home/lemonhall/anaconda3/bin"
# >>> conda initialize >>>
# !! Contents within this block are managed by 'conda init' !!
__conda_setup="$('/home/lemonhall/anaconda3/bin/conda' 'shell.bash' 'hook' 2> /dev/null)"
if [ $? -eq 0 ]; then
    eval "$__conda_setup"
else
    if [ -f "/home/lemonhall/anaconda3/etc/profile.d/conda.sh" ]; then
        . "/home/lemonhall/anaconda3/etc/profile.d/conda.sh"
    else
        export PATH="/home/lemonhall/anaconda3/bin:$PATH"
    fi
fi
unset __conda_setup
# <<< conda initialize <<<
行吧
待会儿再收拾你
conda activate AudioSep激活对应环境来试图解决pip的问题
没有gcc,那就先安装一下依赖
sudo apt update
sudo apt install build-essential
看来不行:
conda deactivate执行先反向激活环境
conda remove -n AudioSep --allconda env create -f environment.yml等于是重来一遍
真笨啊
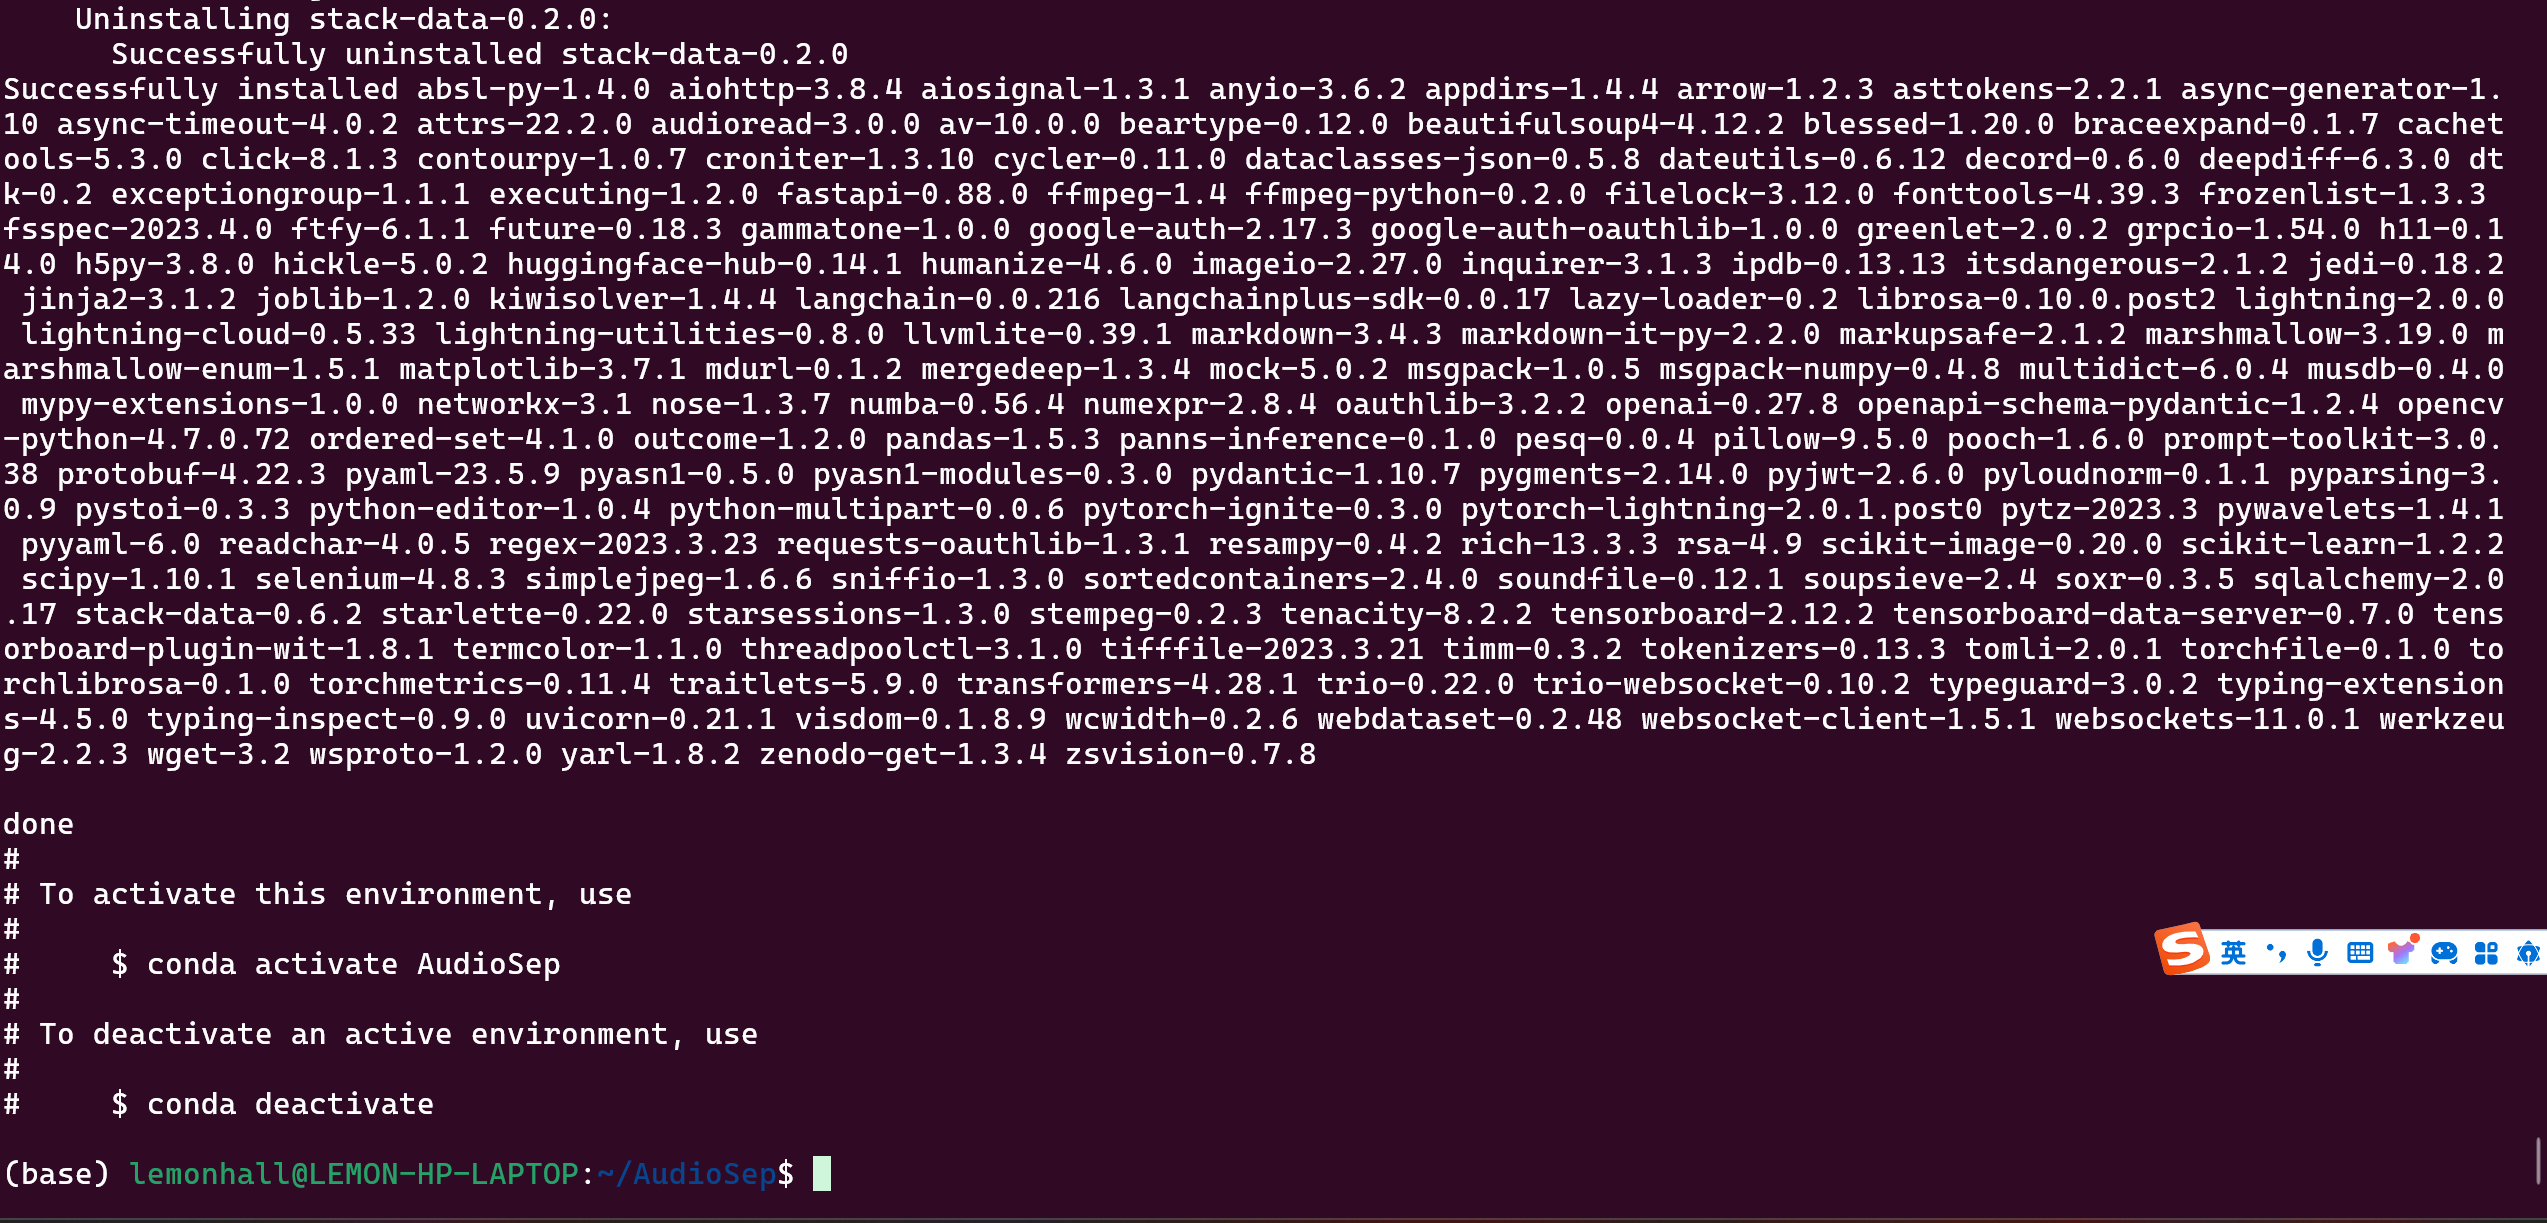
好嘞,安装成功了
然后是去下载那两个模型
https://huggingface.co/spaces/Audio-AGI/AudioSep/tree/main/checkpoint
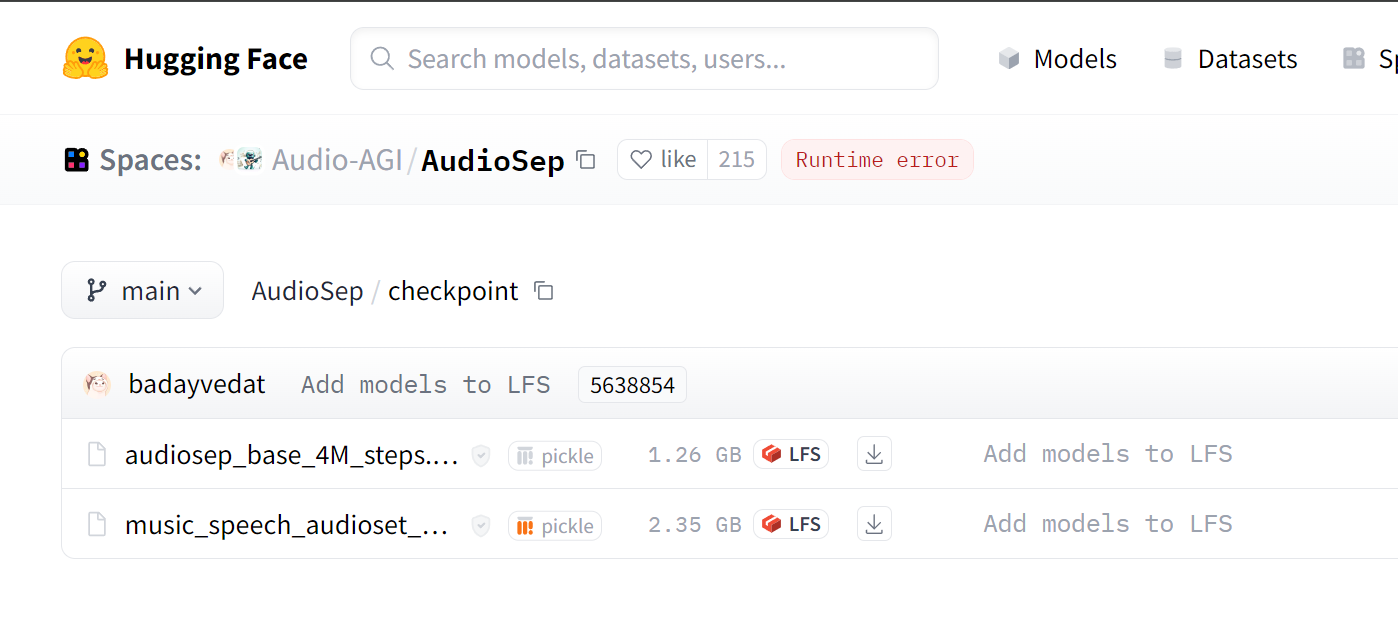
新建一个checkpoin目录
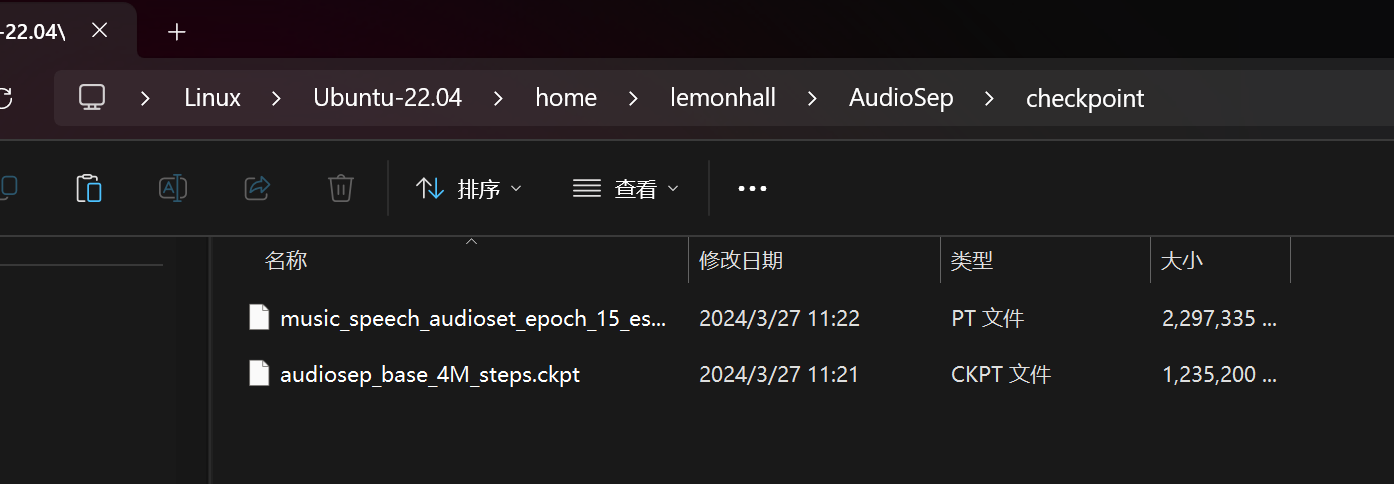
然后把这4G多的东西扔进去先
然后激活环境
conda activate AudioSep新建一个py程序
from pipeline import build_audiosep, inference
import torch

device = torch.device('cuda' if torch.cuda.is_available() else 'cpu')

model = build_audiosep(
      config_yaml='config/audiosep_base.yaml',
      checkpoint_path='checkpoint/audiosep_base_4M_steps.ckpt',
      device=device)

audio_file = 'path_to_audio_file'
text = 'textual_description'
output_file='separated_audio.wav'

# AudioSep processes the audio at 32 kHz sampling rate
inference(model, audio_file, text, output_file, device)
替换掉:
audio_file = 'path_to_audio_file'
text = 'textual_description'
output_file='separated_audio.wav'
这三个哈
具体的玩法是参照Demo页面的描述:
https://audio-agi.github.io/Separate-Anything-You-Describe/
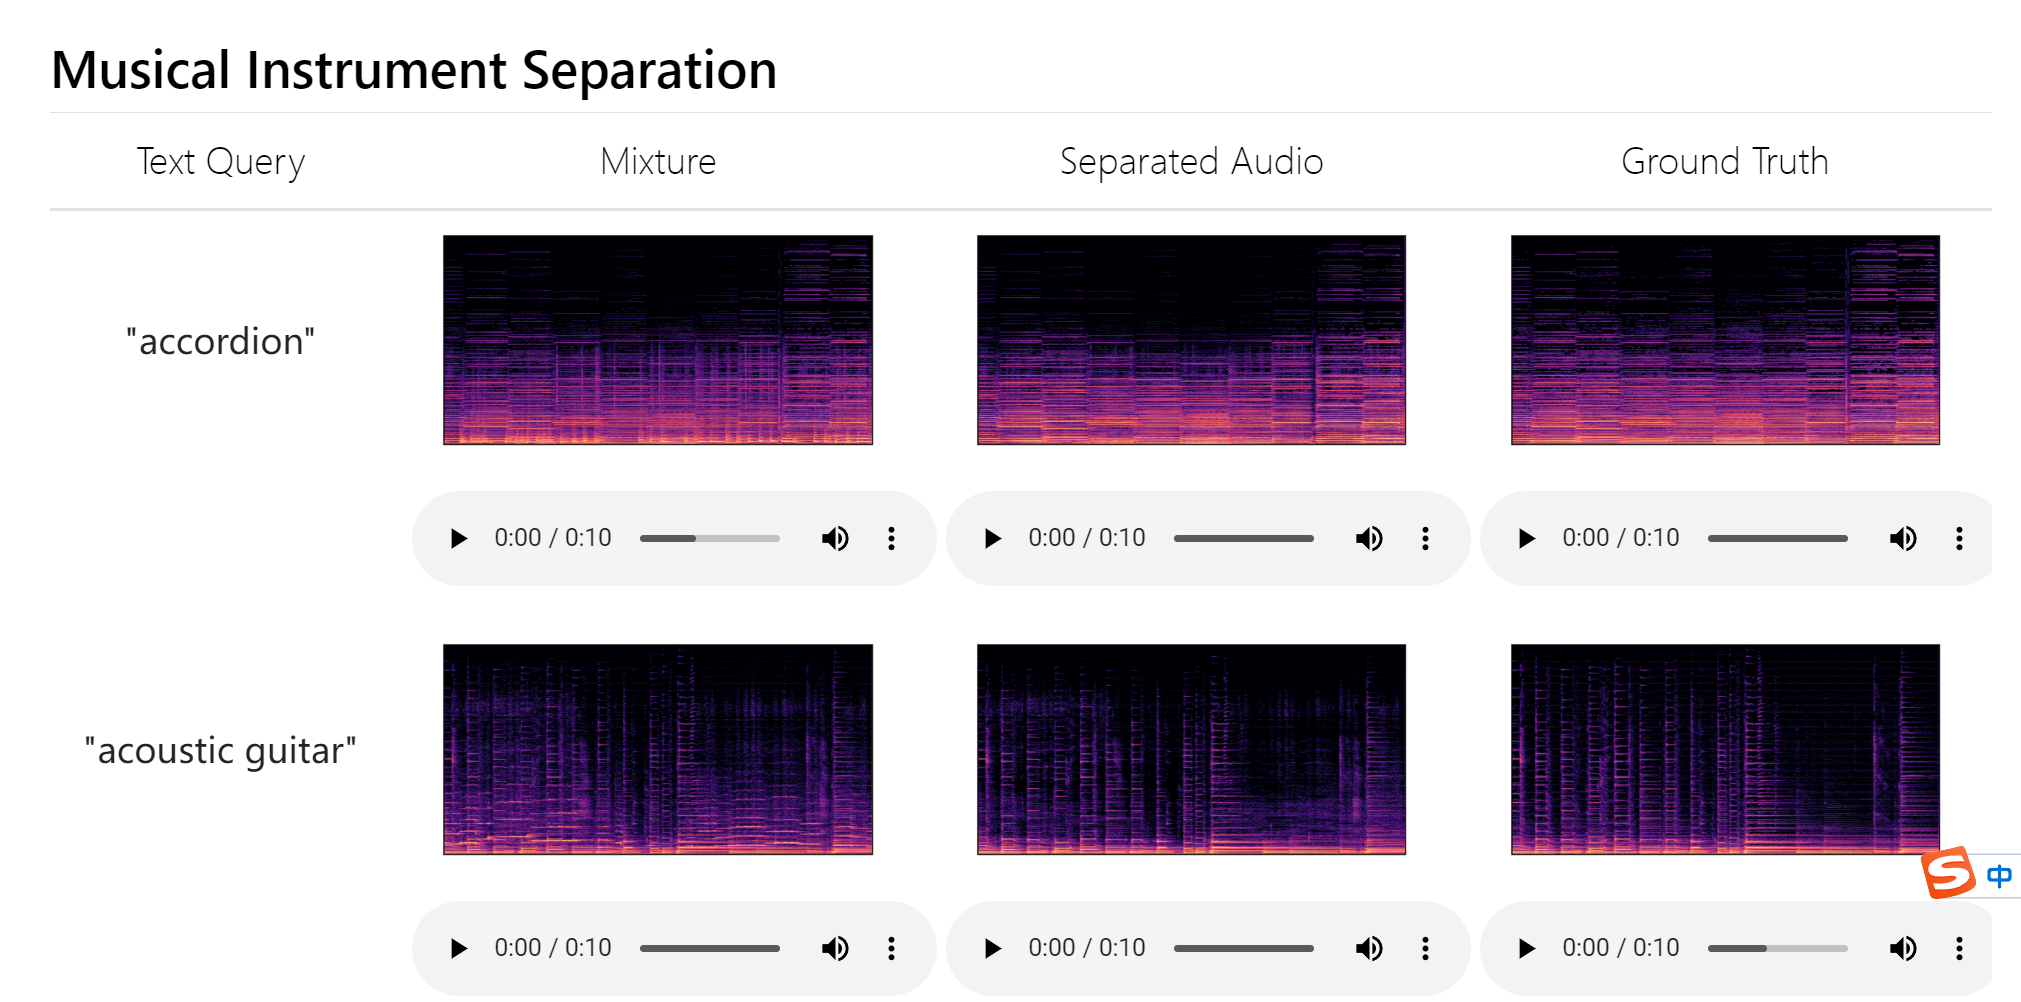
分离乐器
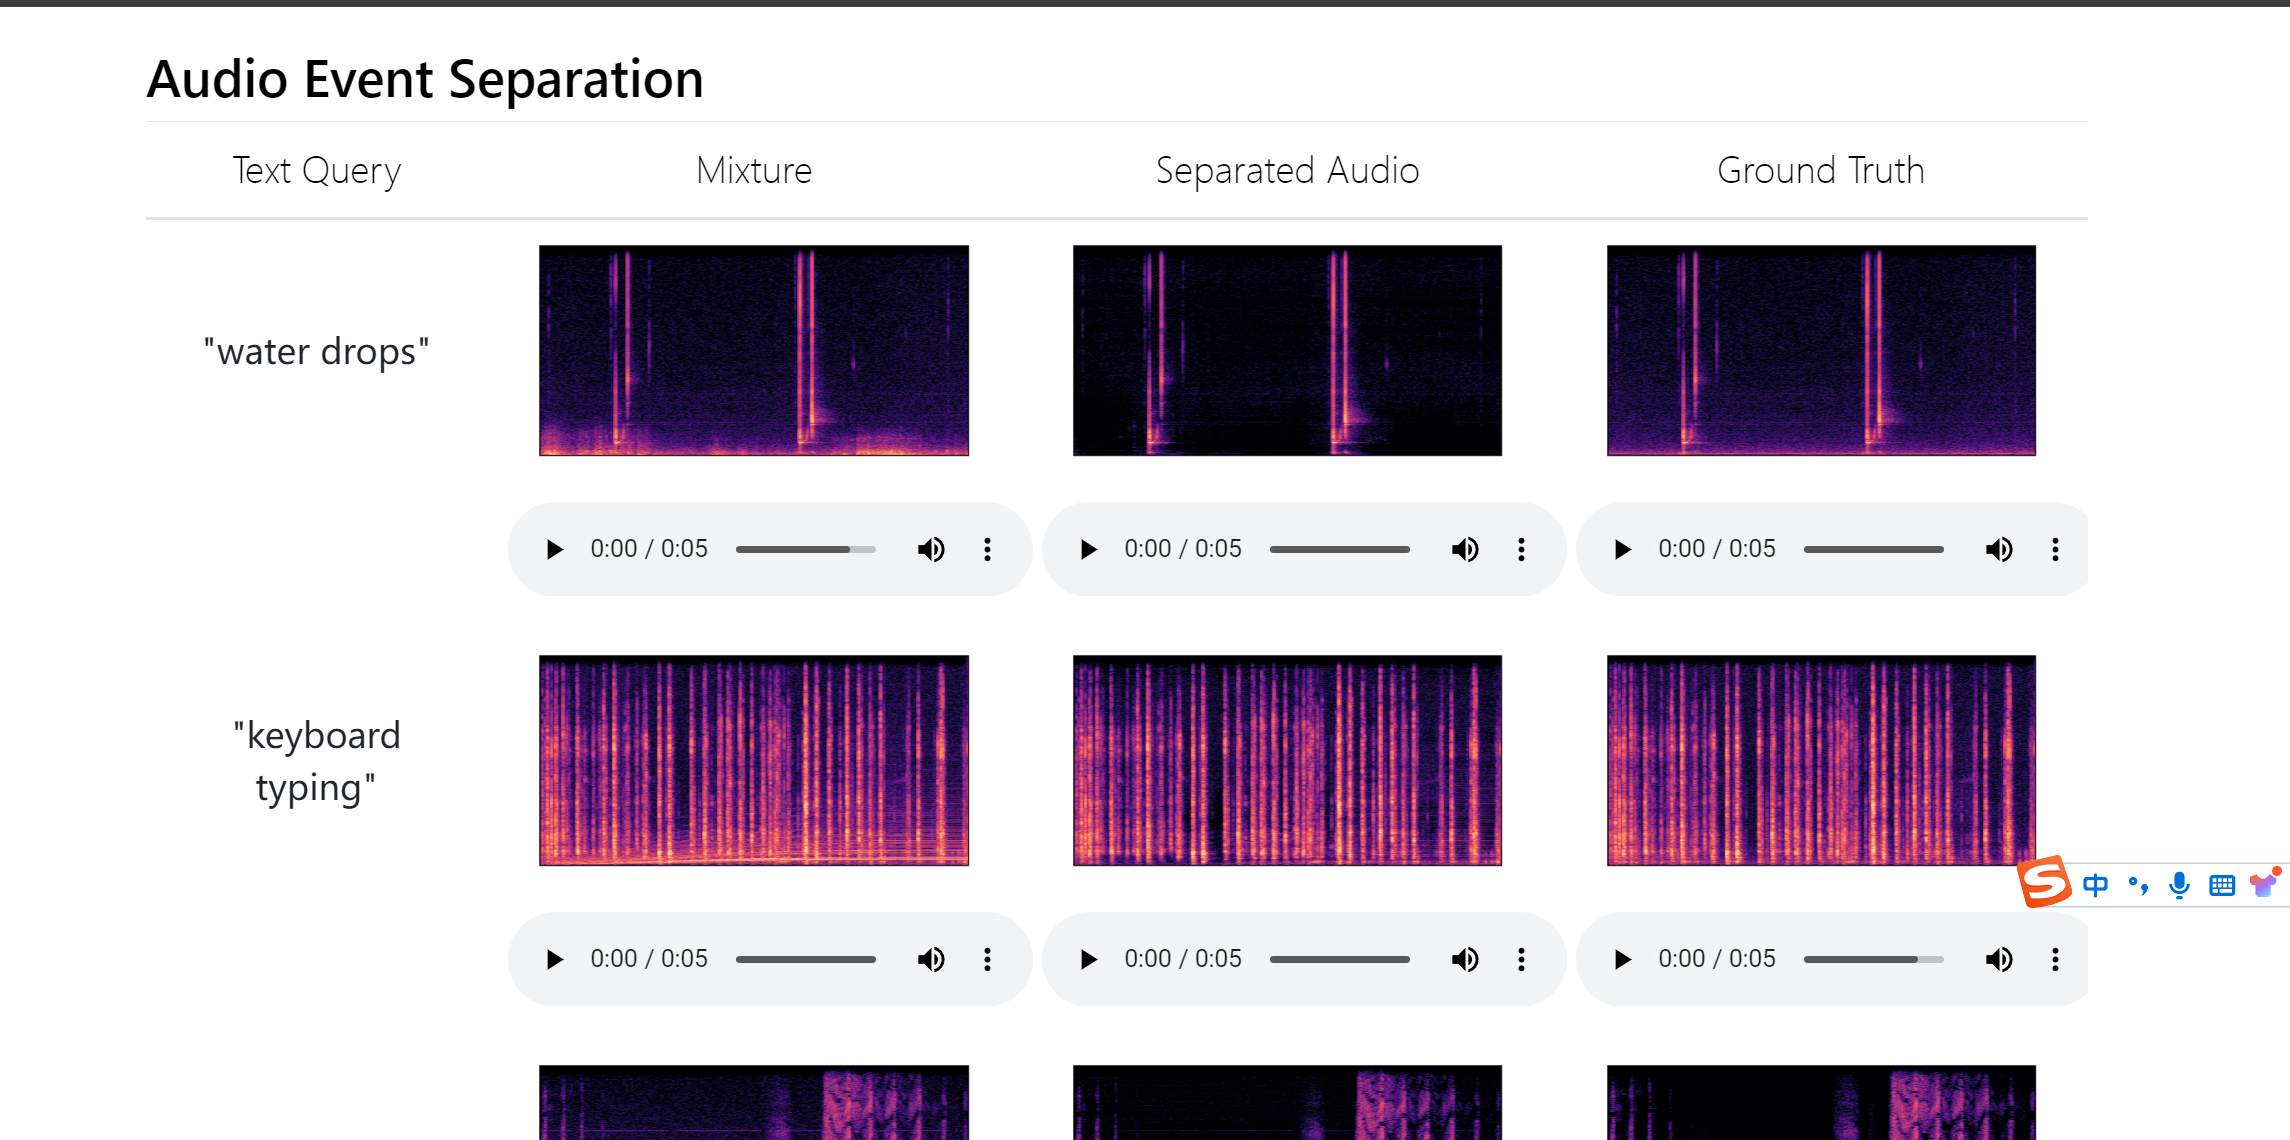
分离声音事件
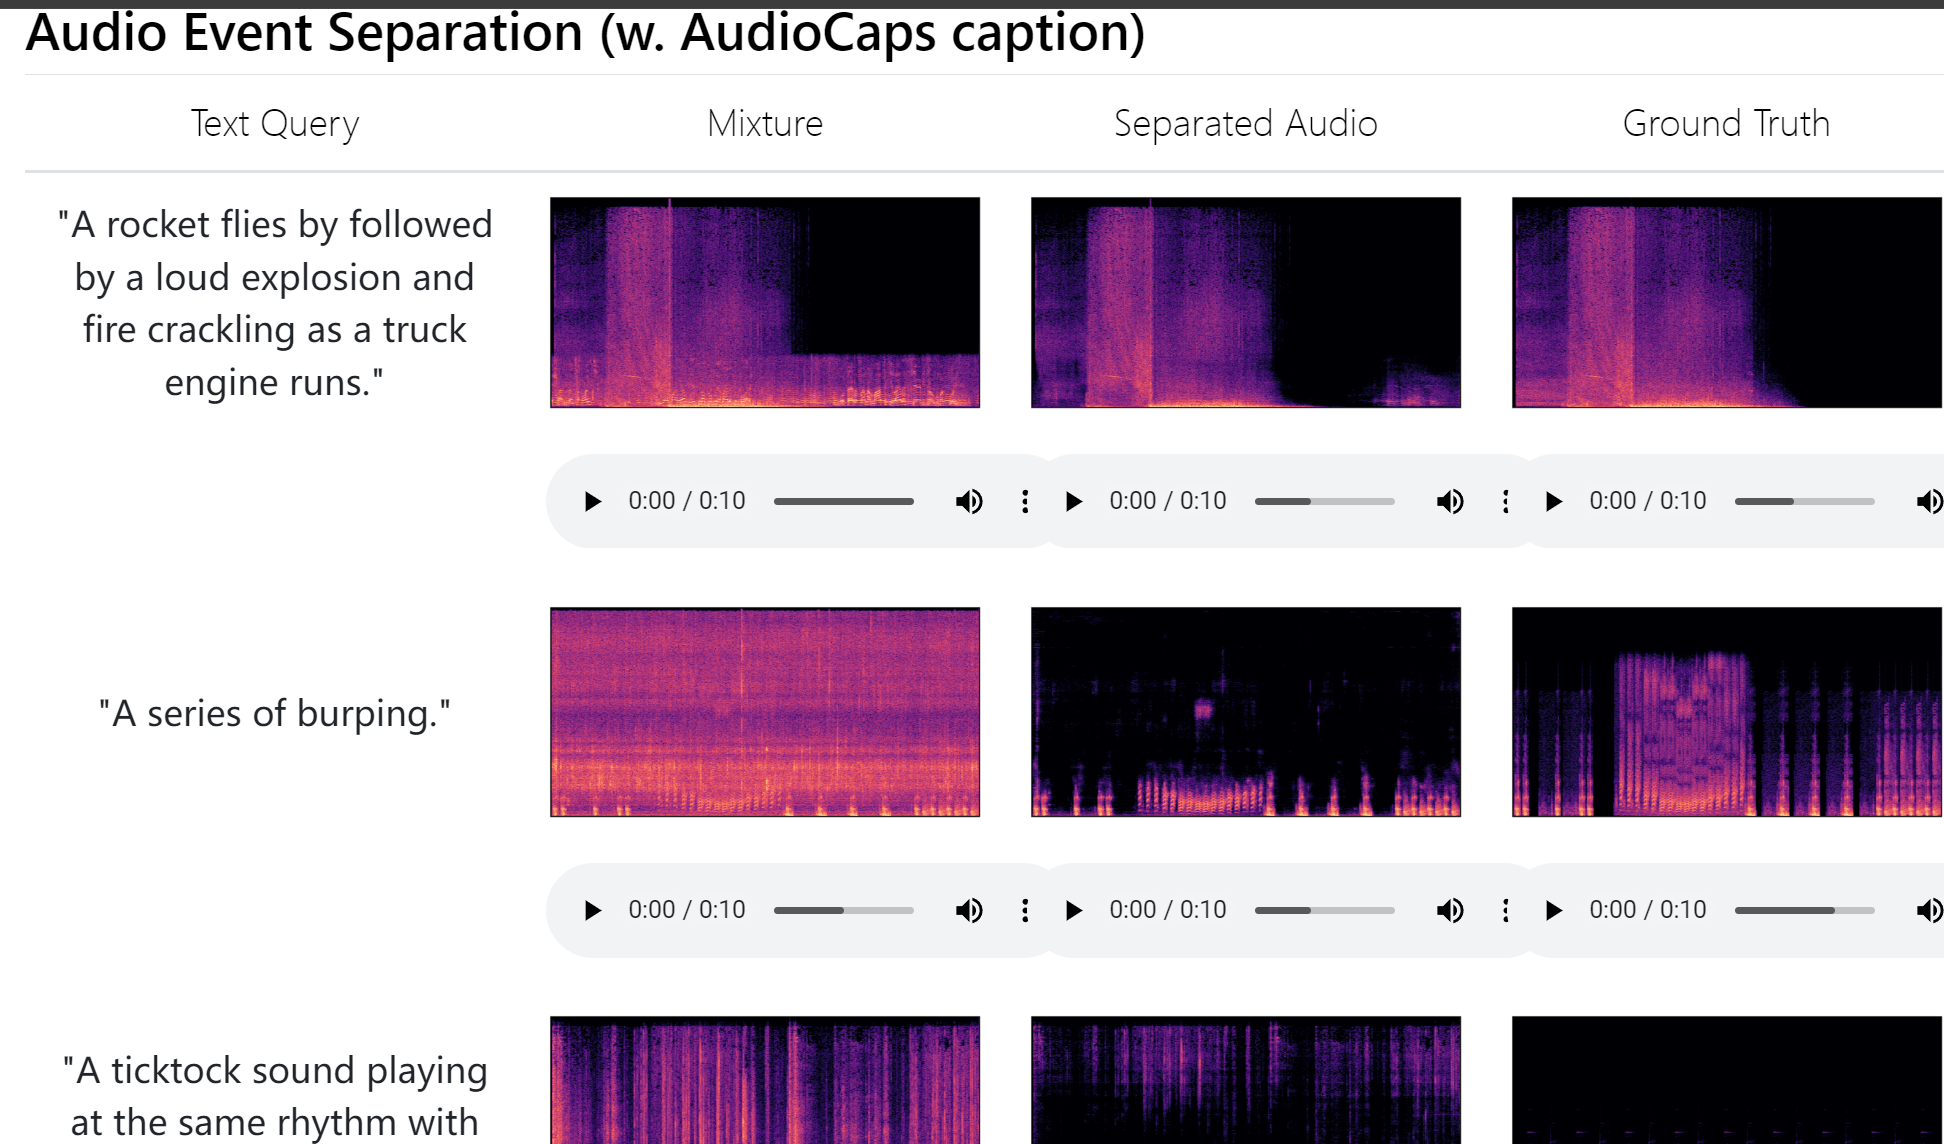
还是分离事件
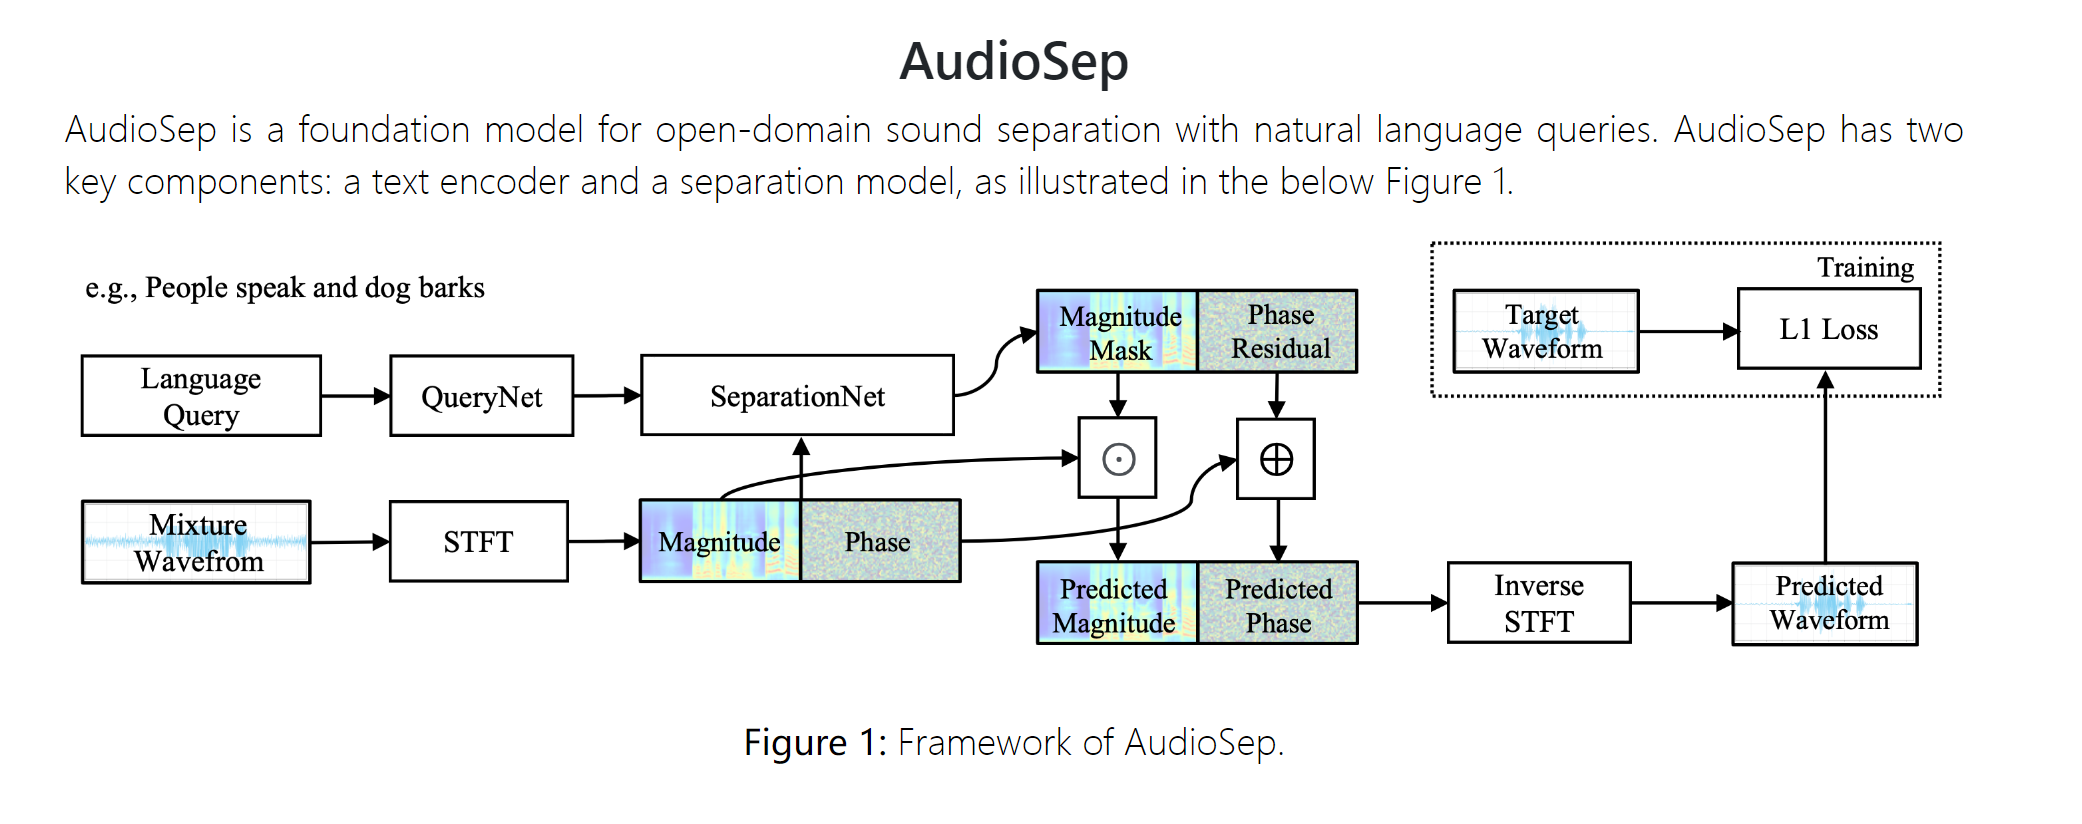
网络的介绍
接下来我测试一下这个分离一些直播视频的效果
然后看能不能自己训练,做更精确的分离