1、先启环境:
mkdir langChain-Ollama
cd langChain-Ollama/
python3 -m venv .venv
source .venv/bin/activate
参考我自己的这一篇: https://blog.lemonhall.me/notesview/show/479
【wsl2环境下安装AudioSep初步,分离声音,附带wsl2下安装conda的最新方法】
参考这一段:
Preparing transaction: done
Executing transaction: -

    Installed package of scikit-learn can be accelerated using scikit-learn-intelex.
    More details are available here: https://intel.github.io/scikit-learn-intelex

    For example:

        $ conda install scikit-learn-intelex
        $ python -m sklearnex my_application.py


done
installation finished.
Do you wish to update your shell profile to automatically initialize conda?
This will activate conda on startup and change the command prompt when activated.
If you'd prefer that conda's base environment not be activated on startup,
   run the following command when conda is activated:

conda config --set auto_activate_base false

You can undo this by running `conda init --reverse $SHELL`? [yes|no]
[no] >>>
ok
那我们先:
conda config --set auto_activate_base false
重新进入,重新激活一下venv
鬼知道conda和venv有没有冲突,还是不冒险了
2、安装依赖:
https://python.langchain.com/docs/integrations/chat/ollama
# LangChain supports many other chat models. Here, we're using Ollama
from langchain_community.chat_models import ChatOllama
from langchain_core.output_parsers import StrOutputParser
from langchain_core.prompts import ChatPromptTemplate
pip install langchain_community
pip install langchain_core
pip install langchainpip安装好依赖
# LangChain supports many other chat models. Here, we're using Ollama
from langchain_community.chat_models import ChatOllama
from langchain_core.output_parsers import StrOutputParser
from langchain_core.prompts import ChatPromptTemplate

# supports many more optional parameters. Hover on your `ChatOllama(...)`
# class to view the latest available supported parameters
llm = ChatOllama(model="mistral:latest")
prompt = ChatPromptTemplate.from_template("Tell me a short joke about {topic}")

# using LangChain Expressive Language chain syntax
# learn more about the LCEL on
# /docs/expression_language/why
chain = prompt | llm | StrOutputParser()

# for brevity, response is printed in terminal
# You can use LangServe to deploy your application for
# production
print(chain.invoke({"topic": "Space travel"}))
好了
然后就是pyhton ollma.py

这就确实没啥问题
然后看search组成chain会怎样
然后需要新加一个依赖项目:
pip install -U duckduckgo-search# LangChain supports many other chat models. Here, we're using Ollama
from langchain_community.chat_models import ChatOllama
from langchain_core.output_parsers import StrOutputParser
from langchain_core.prompts import ChatPromptTemplate
from langchain_community.tools.ddg_search.tool import DuckDuckGoSearchRun
from langchain.globals import set_verbose
set_verbose(True)
search = DuckDuckGoSearchRun()
ollama_llm = ChatOllama(model="mistral:latest")
# # 这里就是一个能成功运行的例子了
# prompt = ChatPromptTemplate.from_template("tell me a short joke about {topic}")
# prompt_value = prompt.invoke({"topic": "ice cream"})
# print(prompt_value)
# model = ollama_llm
# message = model.invoke(prompt_value)
# print(message)
# output_parser = StrOutputParser()
# chain = prompt | model | output_parser
# chain.invoke({"topic": "ice cream"})
# template = """turn the following user input into a search query for a search engine:{input}"""
# prompt = ChatPromptTemplate.from_template(template)
# prompt_value = prompt.invoke({"input": "哈马斯到底能否赢得2023年底的这场战争?"})
# print("============================== \n print(prompt_value):")
# print(prompt_value)
# print("============================== END of print(prompt_value):")
# model = ollama_llm
# message = model.invoke(prompt_value)
# print(message)
# result = search.run("哈马斯 2023年底 战争 赢得可能性")
# 第一段:组装出一个prompt value
template = """并且将以下用户输入变为搜索引擎的关键词,
回答务必简短,不要大段大段的推演过程,只给出搜索用的关键词,不要其它提示词:{input}"""
prompt = ChatPromptTemplate.from_template(template)
prompt_value = prompt.invoke({"input": "what is hamas"})
print("============================== \n print(prompt_value):")
print(prompt_value)
print("============================== END of print(prompt_value):")
# 第二段:输出给LLM,拿到BaseMessage
model = ollama_llm
llm_result = model.invoke(prompt_value)
print("============================== \n print(llm_result):这里的返回应该是一个BaseMessage")
print(llm_result)
print("============================== END of print(llm_result):")
# 第三段:把BaseMessage输出给StrOutputParser,拿到纯String
output_parser = StrOutputParser()
parser_result = output_parser.invoke(llm_result)
print("============================== \n print(parser_result):这里的返回应该是一个str")
print(parser_result)
print("============================== END of print(parser_result):")
# 第四段:将纯String输出给DDg,拿到输出
result = search.run(parser_result)
print(result)
# # 第五段:试图链化
# template = """将如下用户输入变为搜索引擎的关键词,回答务必简短,不要大段大段的推演过程,只要关键词的输出:{input}"""
# prompt = ChatPromptTemplate.from_template(template)
# model = ollama_llm
# output_parser = StrOutputParser()
# chain = prompt | model | StrOutputParser() | search
# chain.invoke({"input": "亚伦.布什内尔是谁?"})
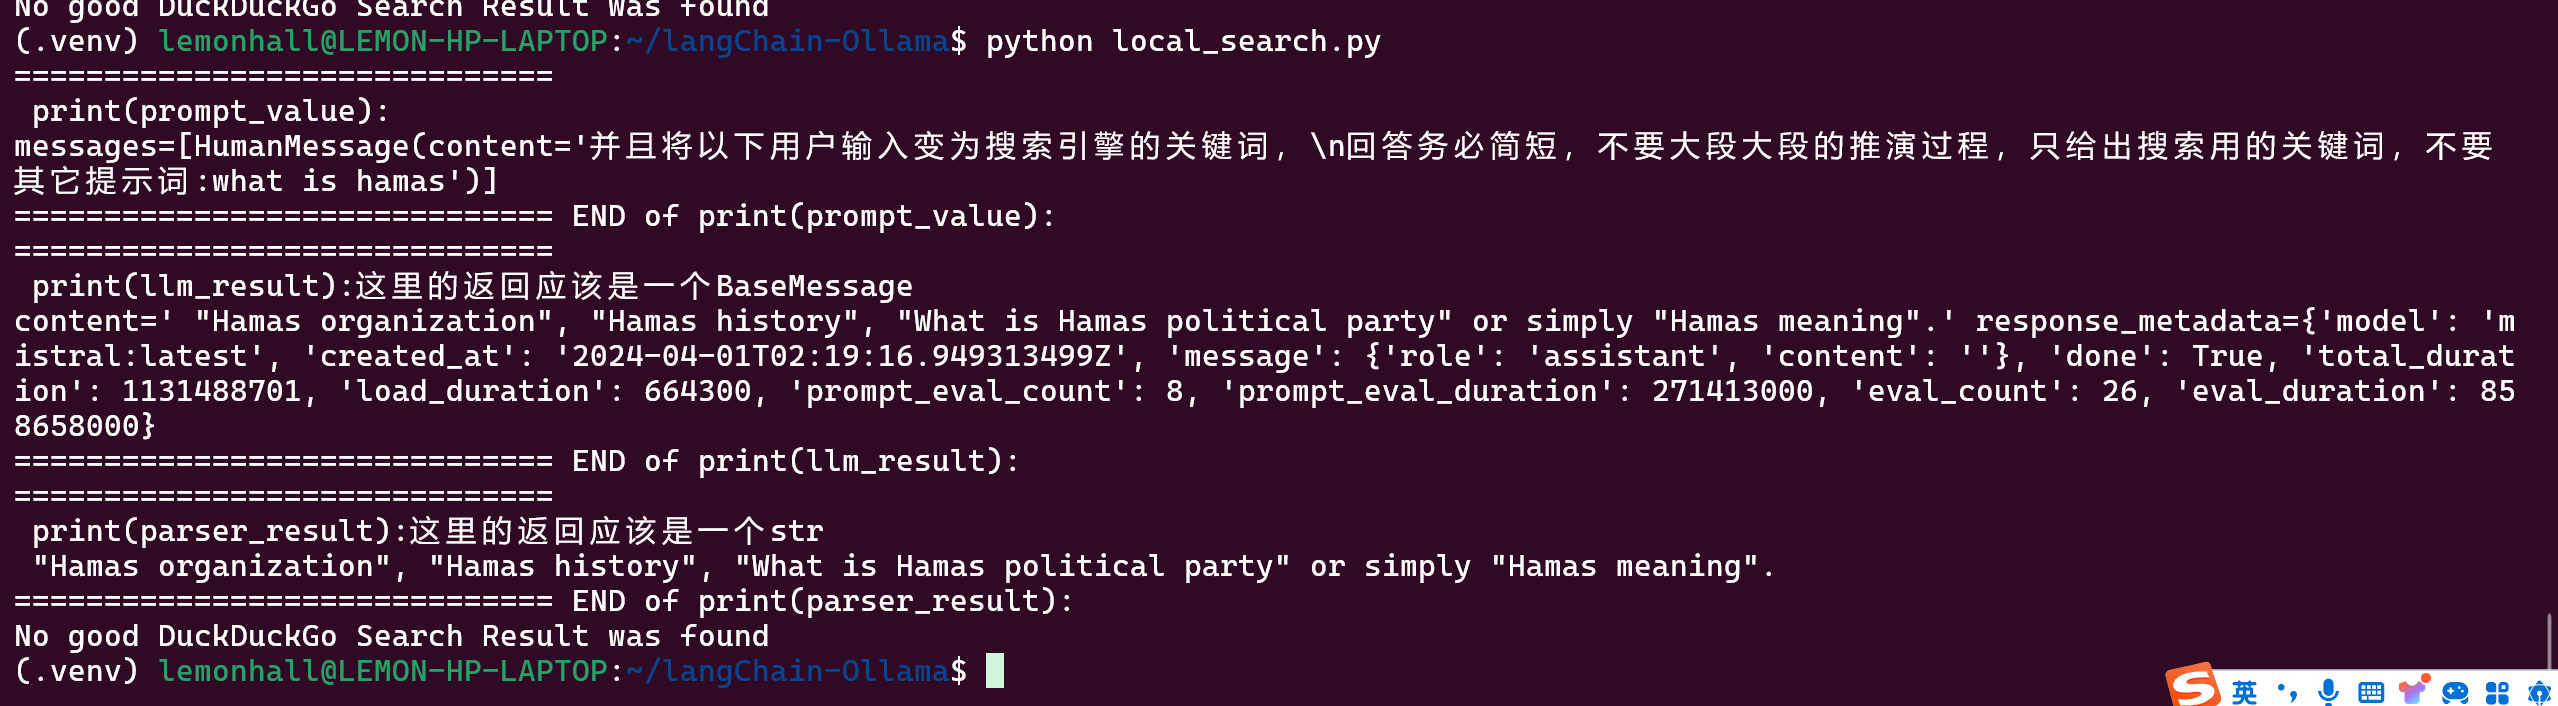
可以跑起来,但效果真的不咋滴
这个例子是使用llm来优化搜索的关键词,然后扔给搜索引擎得到结果
其实是一个很初级的agent优化的小例子
能看得出来,这个llm没有针对这个任务做过微调,所以效果很差
跑百度:
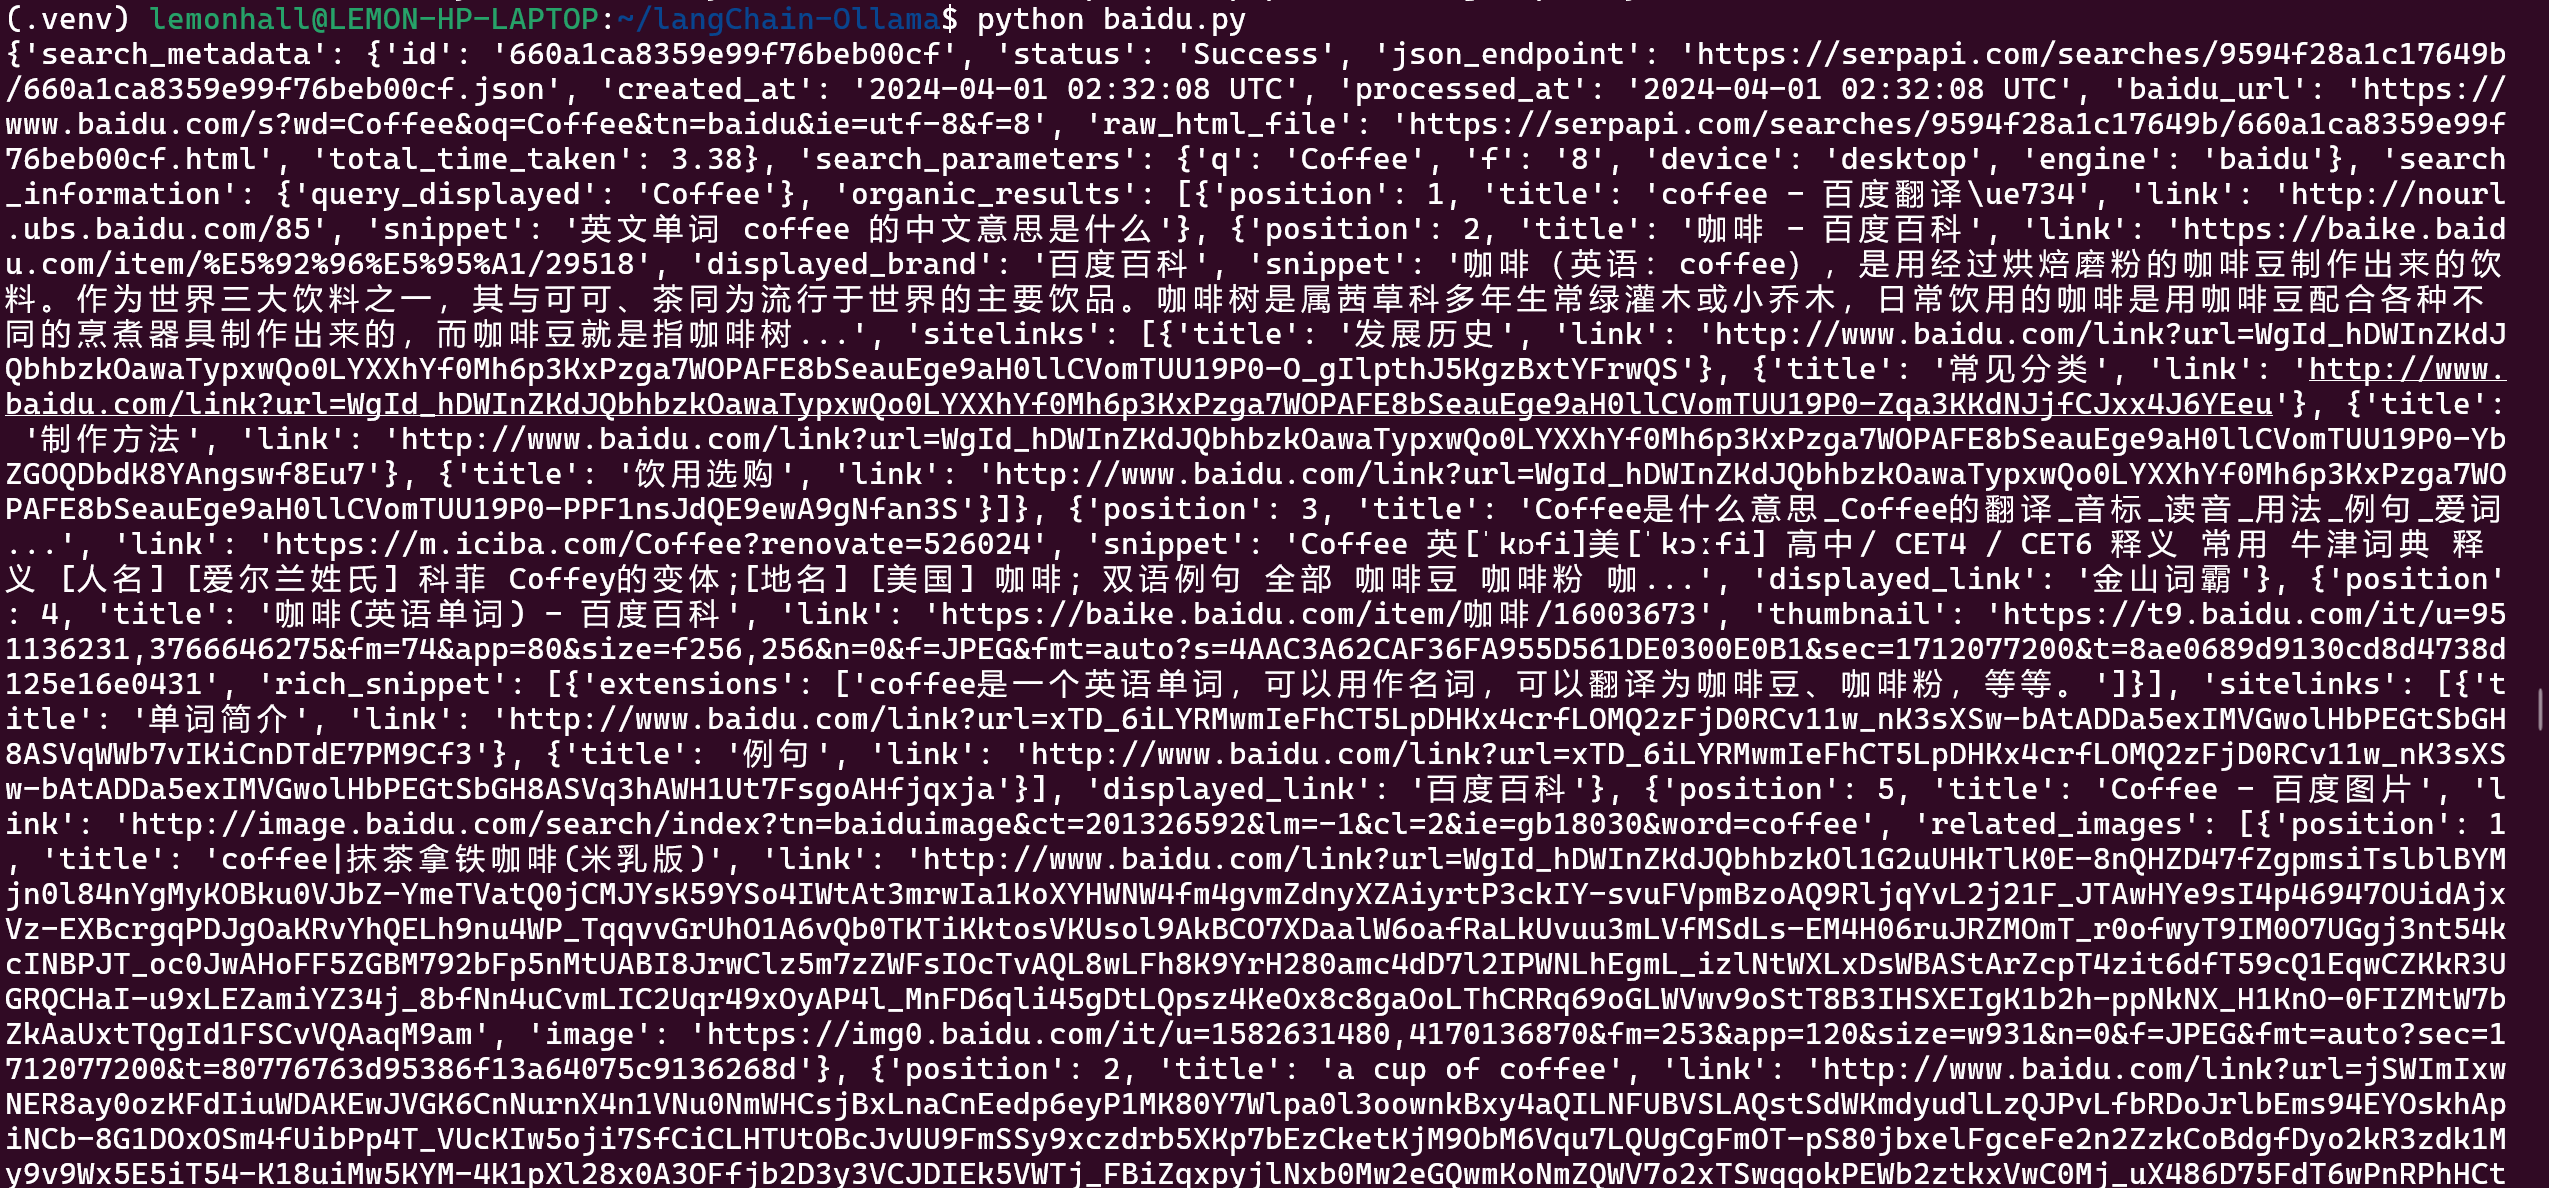
https://serpapi.com/manage-api-key
用的是这家的,其实也是抓取而已
结果还收费,行吧
就那么回事儿,再说百度确实效果也很差就是了,就是中文友好而已