https://www.reddit.com/r/StableDiffusion/comments/193hqkz/lora_training_directly_in_comfyui/
原文:
直接复制粘贴过来,已备,被干掉的风险。
LoRA Training directly in ComfyUI!
Tutorial - Guide
(This post is addressed to ComfyUI users... unless you're interested too of course ^^)
Hey guys !
The other day on the comfyui subreddit, I published my LoRA Captioning custom nodes, very useful to create captioning directly from ComfyUI.
But captions are just half of the process for LoRA training. My custom nodes felt a little lonely without the other half. So I created another one to train a LoRA model directly from ComfyUI!
By default, it saves directly in your ComfyUI lora folder. That means you just have to refresh after training (...and select the LoRA) to test it!
That's all it takes for LoRA training now.
Making LoRA has never been easier!
EDIT: Changed the link to the Github repository.
After downloading, extract it and put it in the custom_nodes folder. Then install the requirements. If you don’t know how:
open a command prompt, and type this:
pip install -r
Make sure there is a space after that. Then drag the requirements_win.txt file in the command prompt. (if you’re on Windows; otherwise, I assume you should grab the other file, requirements.txt). Dragging it will copy its path in the command prompt.
Press Enter, this will install all requirements, which should make it work with ComfyUI. Note that if you had a virtual environment for Comfy, you have to activate it first.
TUTORIAL
There are a couple of things to note before you use the custom node:
Your images must be in a folder named like this: [number]_[whatever]. That number is important: the LoRA script uses it to create a number of steps (called optimizations steps… but don’t ask me what it is ^^’). It should be small, like 5. Then, the underscore is mandatory. The rest doesn’t matter.
For data_path, you must write the path to the folder containing the database folder.
So, for this situation: C:\database\5_myimages
You MUST write C:\database
As for the ultimate question: “slash, or backslash?”… Don’t worry about it! Python requires slashes here, BUT the node transforms all the backslashes into slashes automatically.
Spaces in the folder names aren’t an issue either.
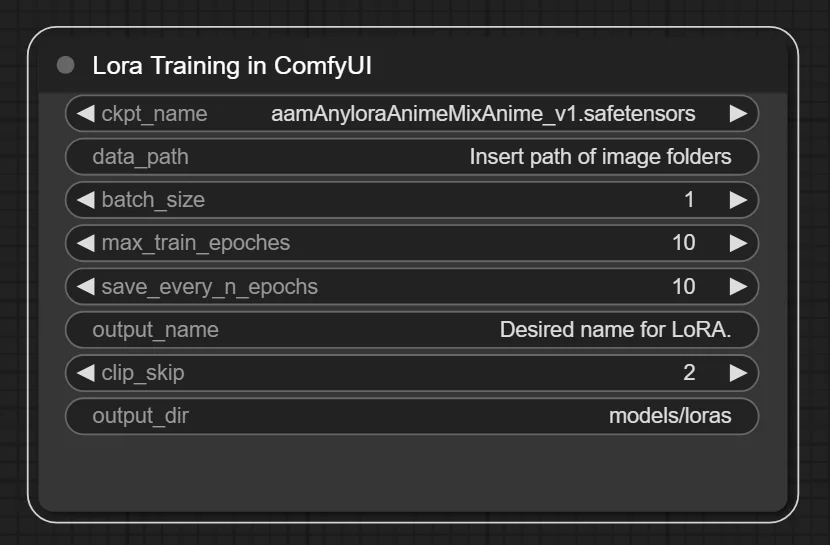
PARAMETERS:
In the first line, you can select any model from your checkpoint folder. However, it is said that you must choose a BASE model for LoRA training. Why? I have no clue ^^’. Nothing prevents you from trying to use a finetune.
But if you want to stick to the rules, make sure to have a base model in your checkpoint folder!
That’s all there is to understand! The rest is pretty straightforward: you choose a name for your LoRA, you change the values if defaults aren’t good for you (epochs number should be closer to 40), and you launch the workflow!
Once you click Queue Prompt, everything happens in the command prompt. Go look at it. Even if you’re new to LoRA training, you will quickly understand that the command prompt shows the progression of the training. (Or… it shows an error x).)
I recommend using it alongside my Captions custom nodes and the WD14 Tagger.
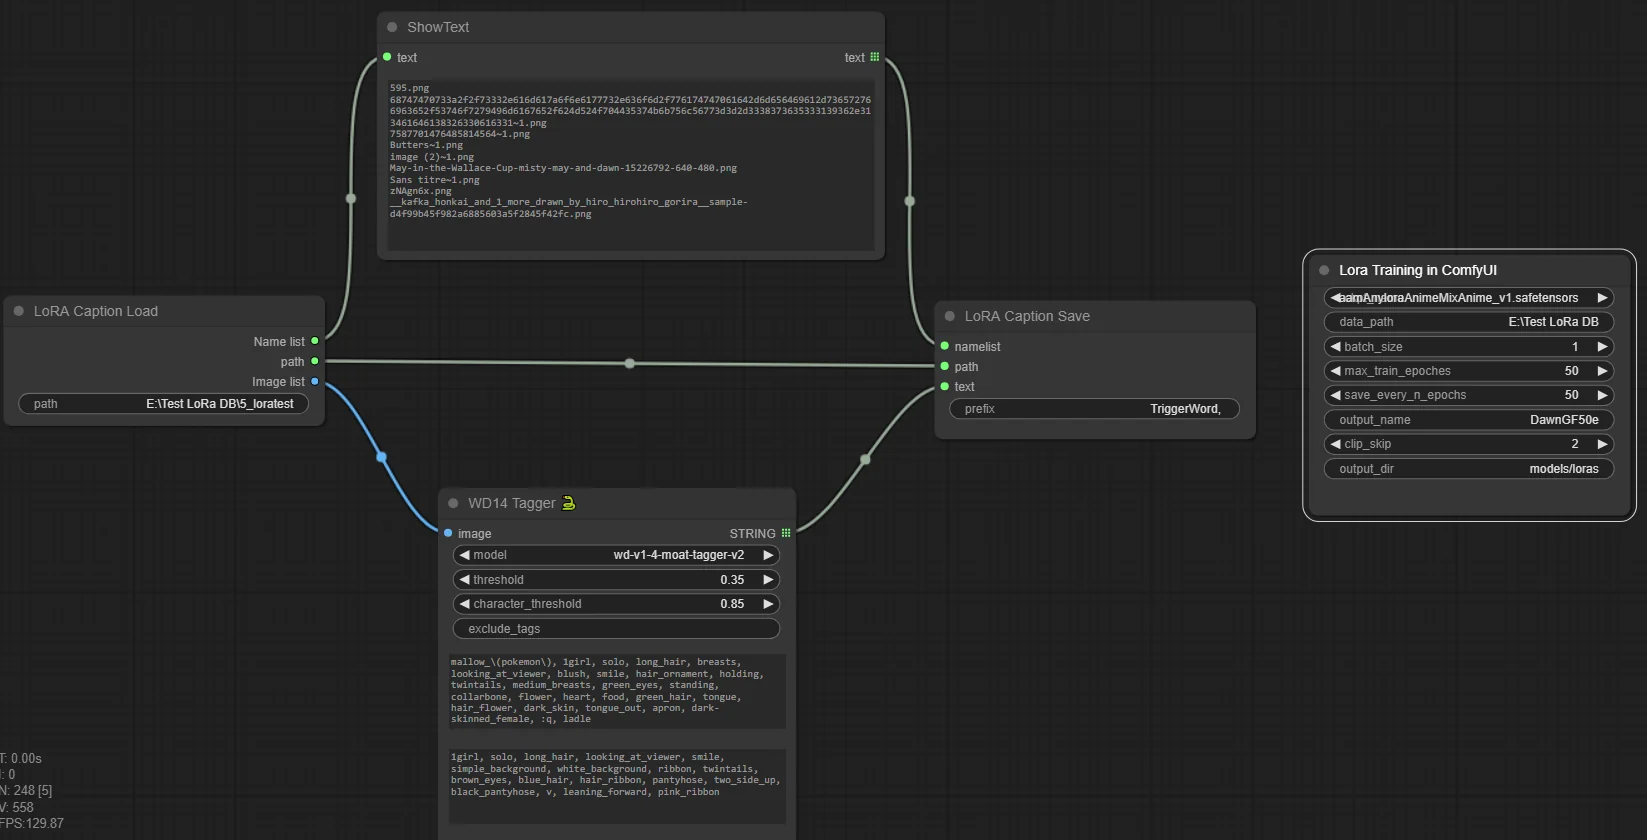
This elegant and simple line makes the captioning AND the training!
HOWEVER, make sure to disable the LoRA Training node while captioning. The reason is Comfy might want to start the Training before captioning. And it WILL do it. It doesn’t care about the presence of captions. So better be safe: bypass the Training node while captioning, then enable it and launch the workflow once more for training.
I could find a way to link the Training node to the Save node, to make sure it happens after captioning. However, I decided not to. Because even though the WD14 Tagger is excellent, you will probably want to open your captions and edit them manually before training. Creating a link between the two nodes would make the entire process automatic, without letting us the chance to modify the captions.
HELP WANTED FOR TENSORBOARD! :)
Captioning, training… There’s one piece missing. If you know about LoRA, you’ve heard about Tensorboard. A system to analyze the model training data. I would love to include that in ComfyUI.
… But I have absolutely no clue how to ^^’. For now, the training creates a log file in the log folder, which is created in the root folder of Comfy. I think that log is a file we can load in a Tensorboard UI. But I would love to have the data appear in ComfyUI. Can somebody help me? Thank you ^^.
RESULTS FOR MY VERY FIRST LORA:
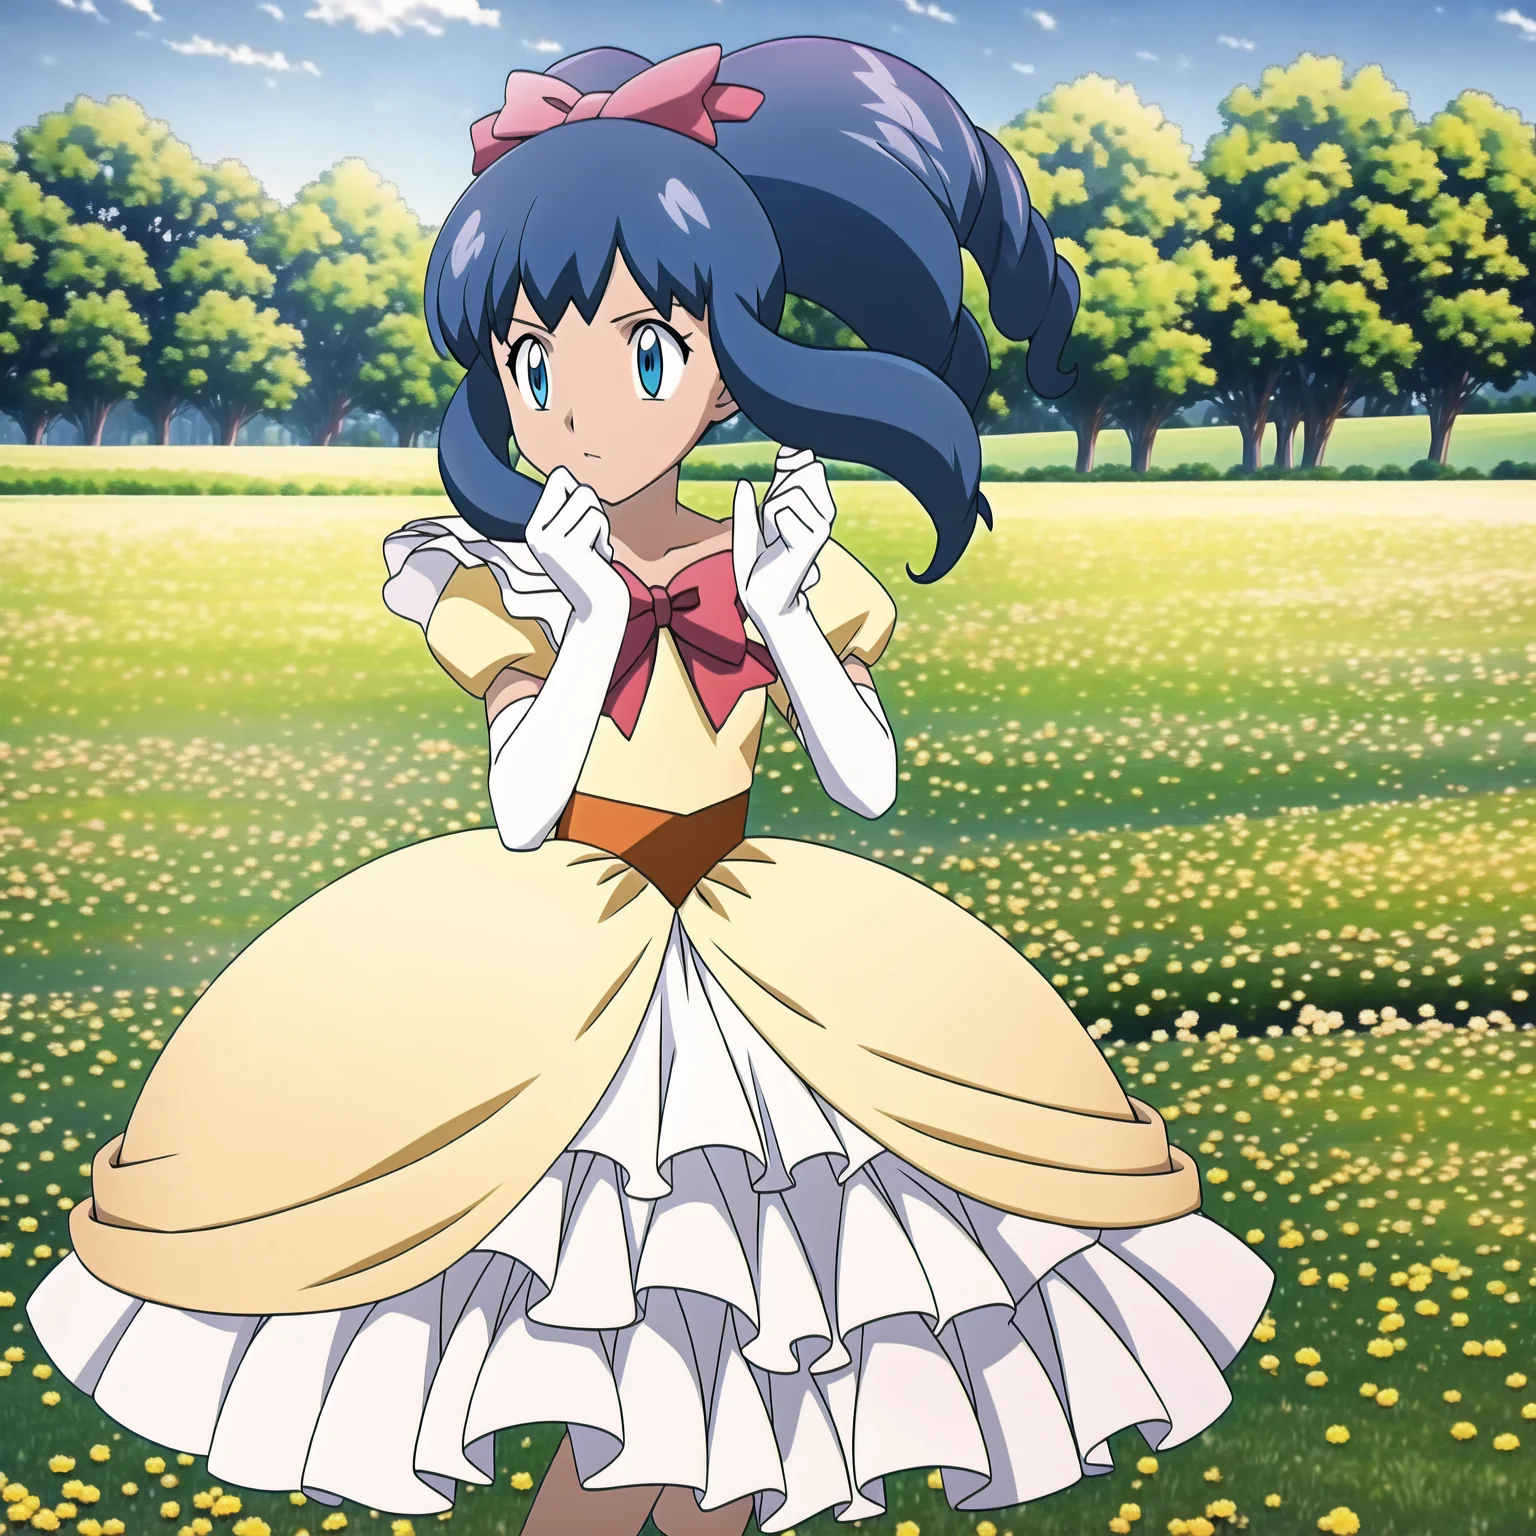
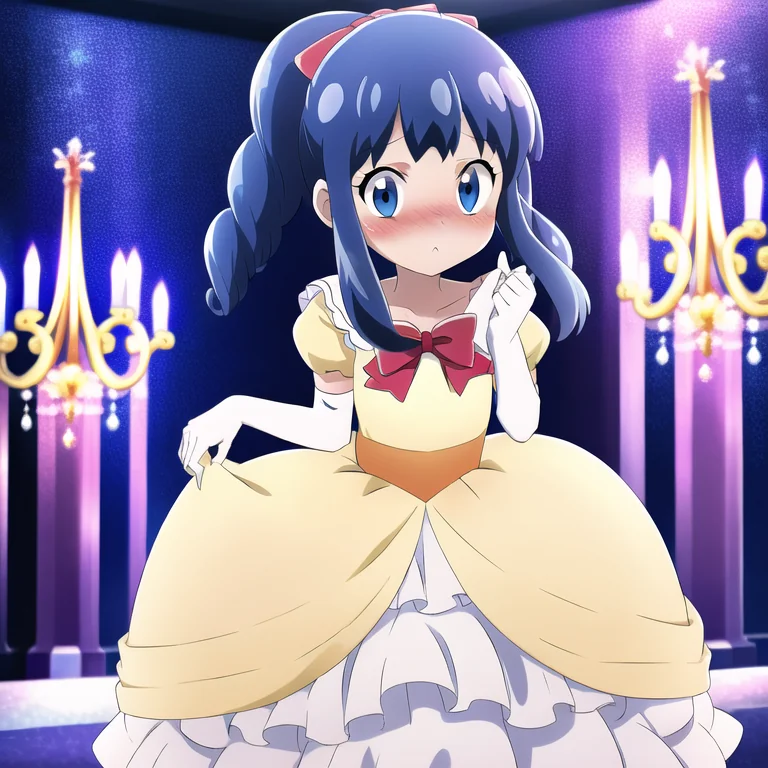
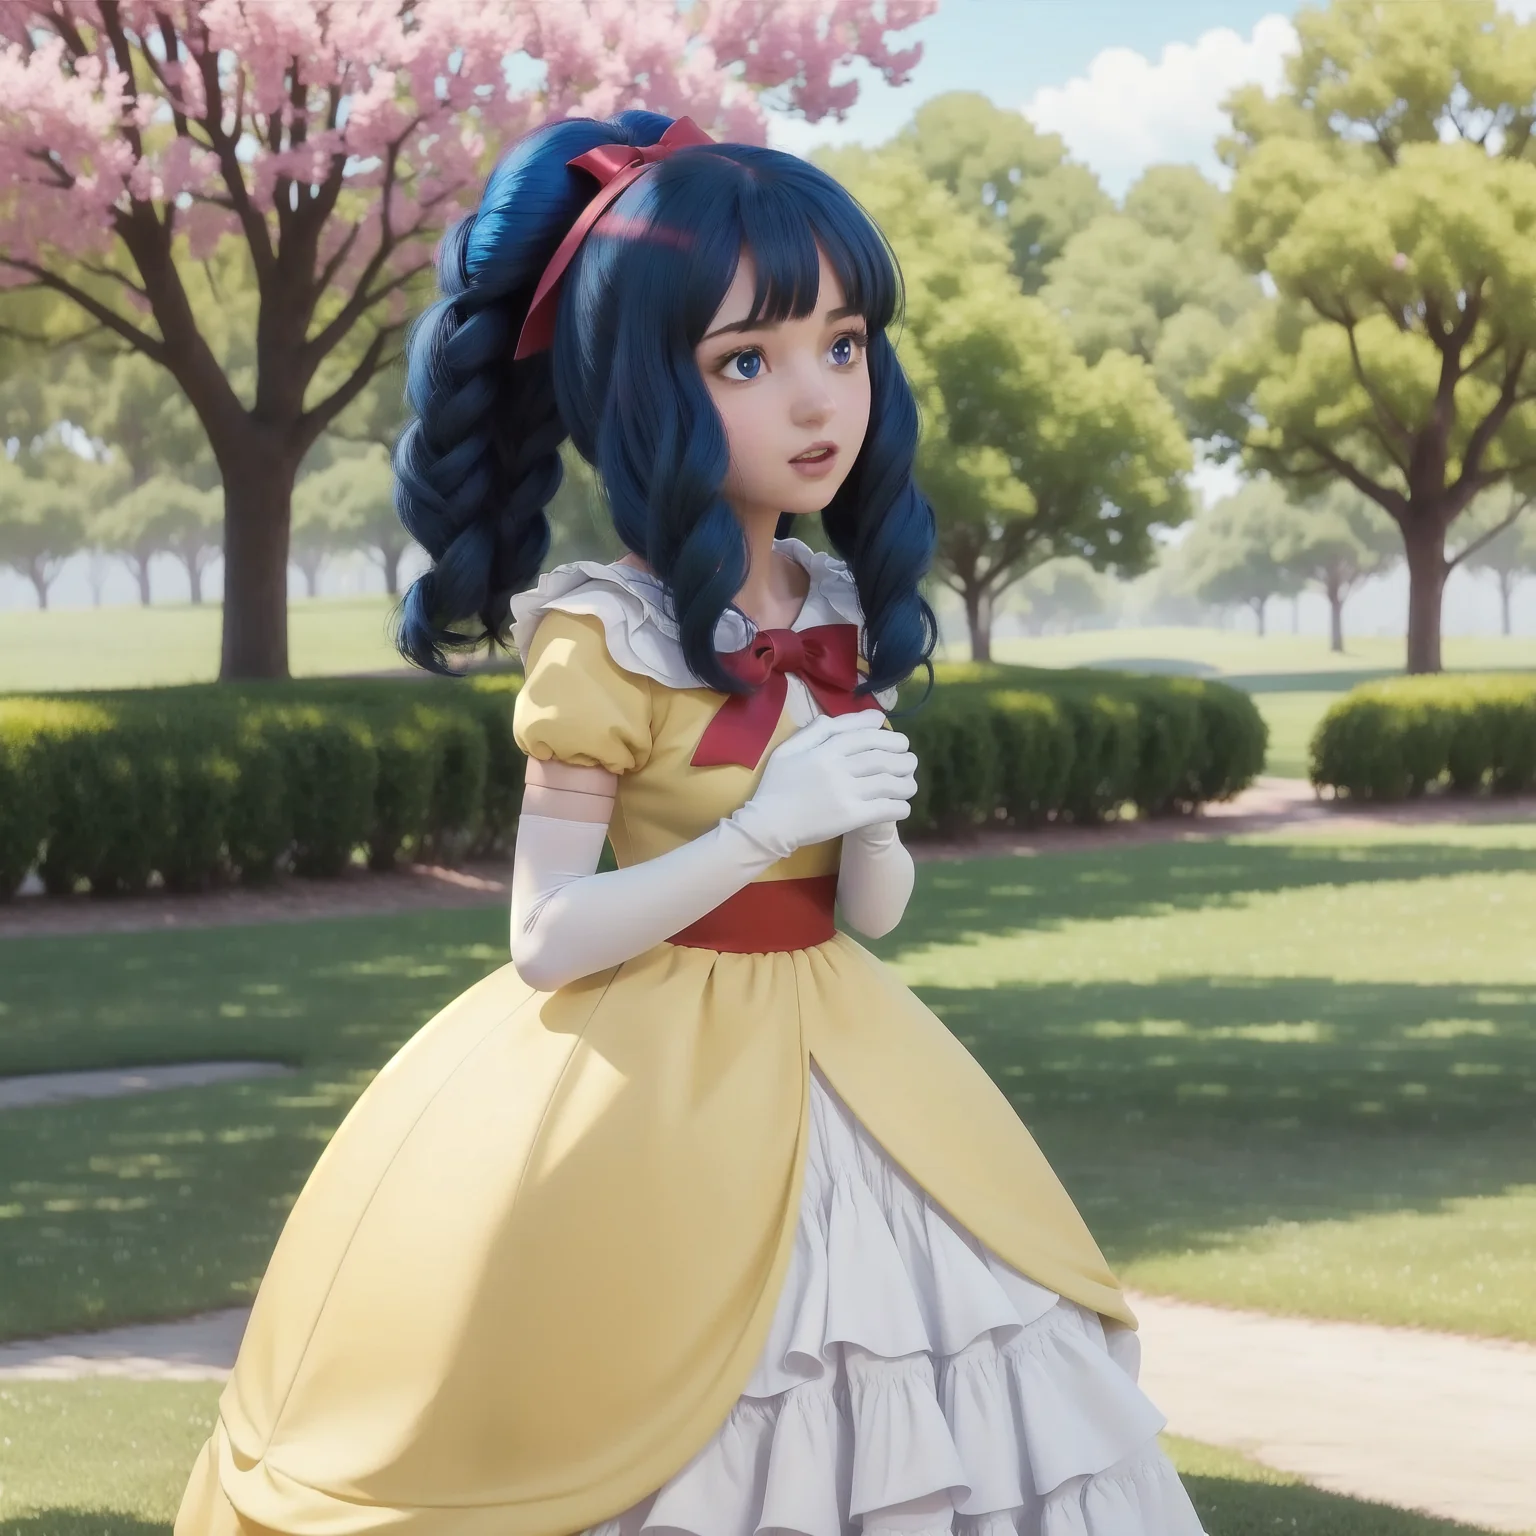
If you don’t know the character, that's Hikari from Pokemon Diamond and Pearl. Specifically, from her Grand Festival. Check out the images online to compare the results:
https://www.google.com/search?client=opera&hs=eLO&sca_esv=597261711&sxsrf=ACQVn0-1AWaw7YbryEzXe0aIpP_FVzMifw:1704916367322&q=Pokemon+Dawn+Grand+Festival&tbm=isch&source=lnms&sa=X&ved=2ahUKEwiIr8izzNODAxU2RaQEHVtJBrQQ0pQJegQIDRAB&biw=1534&bih=706&dpr=1.25
IMPORTANT NOTES:
You can use it alongside another workflow. I made sure the node saves up the VRAM so you can fully use it for training.
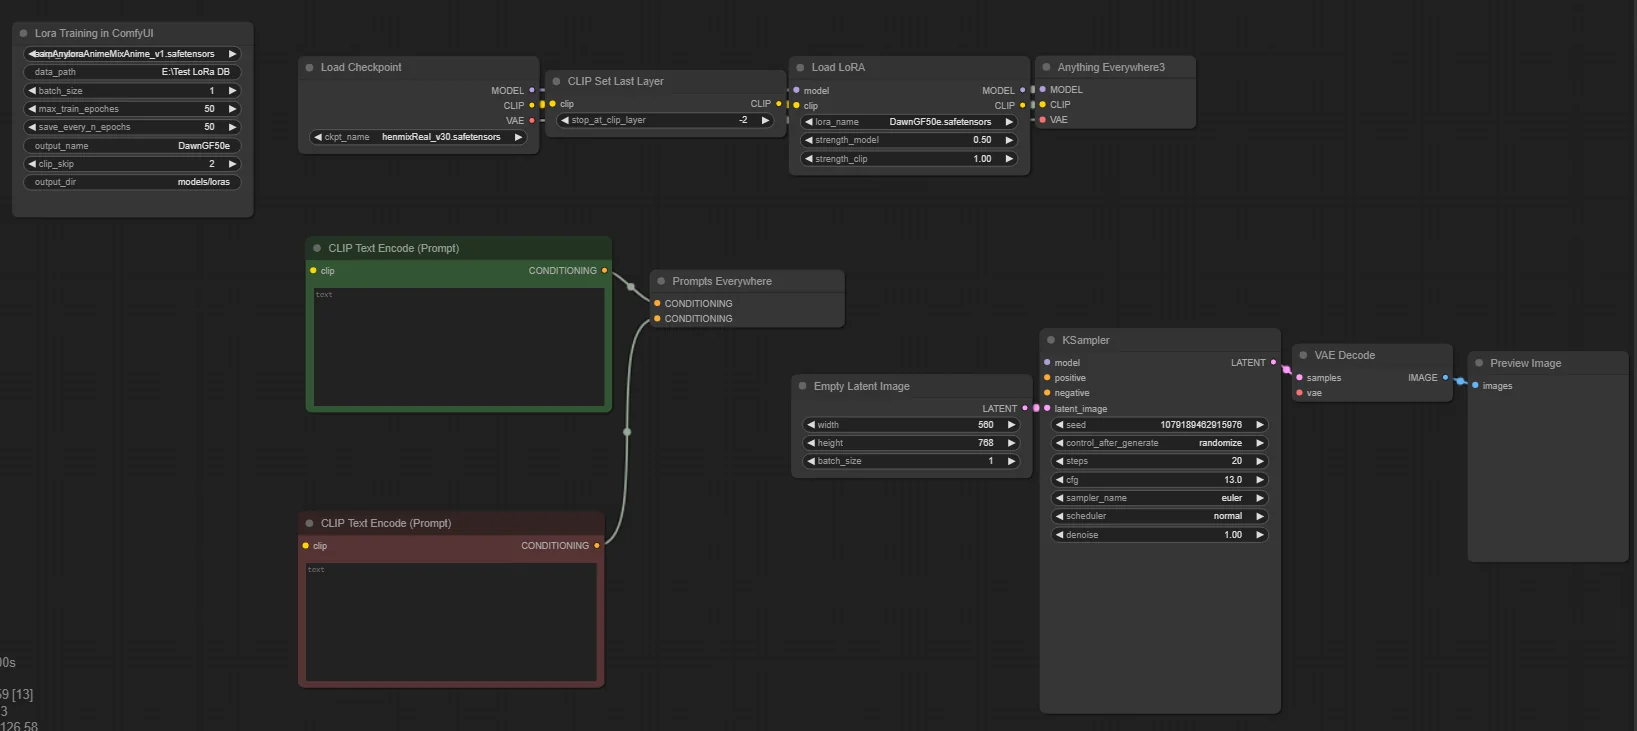
If you prepared the workflow already, all you have to do after training is write your prompts and load the LoRA!
It’s perfect for testing your LoRA quickly!
--
This node is confirmed to work for SD 1.5 models. If you want to use SD 2.0, you have to go into the train.py script file and set is_v2_model to 1.
I have no idea about SDXL. If someone could test it and confirm or infirm, I’d appreciate ^^. I know the LoRA project included custom scripts for SDXL, so maybe it’s more complicated.
Same for LCM and Turbo, I have no idea if LoRA training works the same for that.
TO GO FURTHER:
I gave the node a lot of inputs… but not all of them. So if you’re a LoRA expert already, and notice I didn’t include something important to you, know that it is probably available in the code ^^. If you’re curious, go in the custom nodes folder and open the train.py file.
All variables for LoRA training are available here. You can change any value, like the optimization algorithm, or the network type, or the LoRA model extension…
SHOUTOUT
This is based off an existing project, lora-scripts, available on github. Thanks to the author for making a project that launches training with a single script!
I took that project, got rid of the UI, translated this “launcher script” into Python, and adapted it to ComfyUI. Still took a few hours, but I was seeing the light all the way, it was a breeze thanks to the original project ^^.
If you’re wondering how to make your own custom nodes, I posted a tutorial that gets you started in 5 minutes:
You can also download my custom node example from the link below, put it in the custom nodes folder and it appears right away:
customNodeExample - Google Drive
(EDIT: The original links were the wrong one, so I changed them x) )
I made my LORA nodes very easily thanks to that. I made that literally a week ago and I already made five functional custom nodes.
===========================================
然后开始中文理解以及翻译的过程:
1、首先是下载
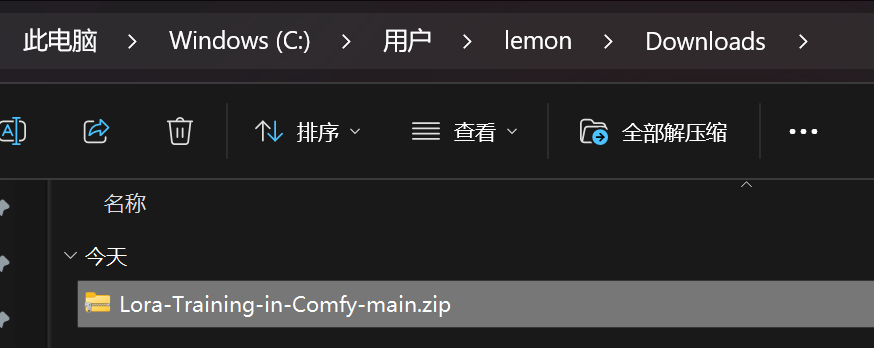
然后扔到ComfyUI_windows_portable\ComfyUI\custom_nodes里面去
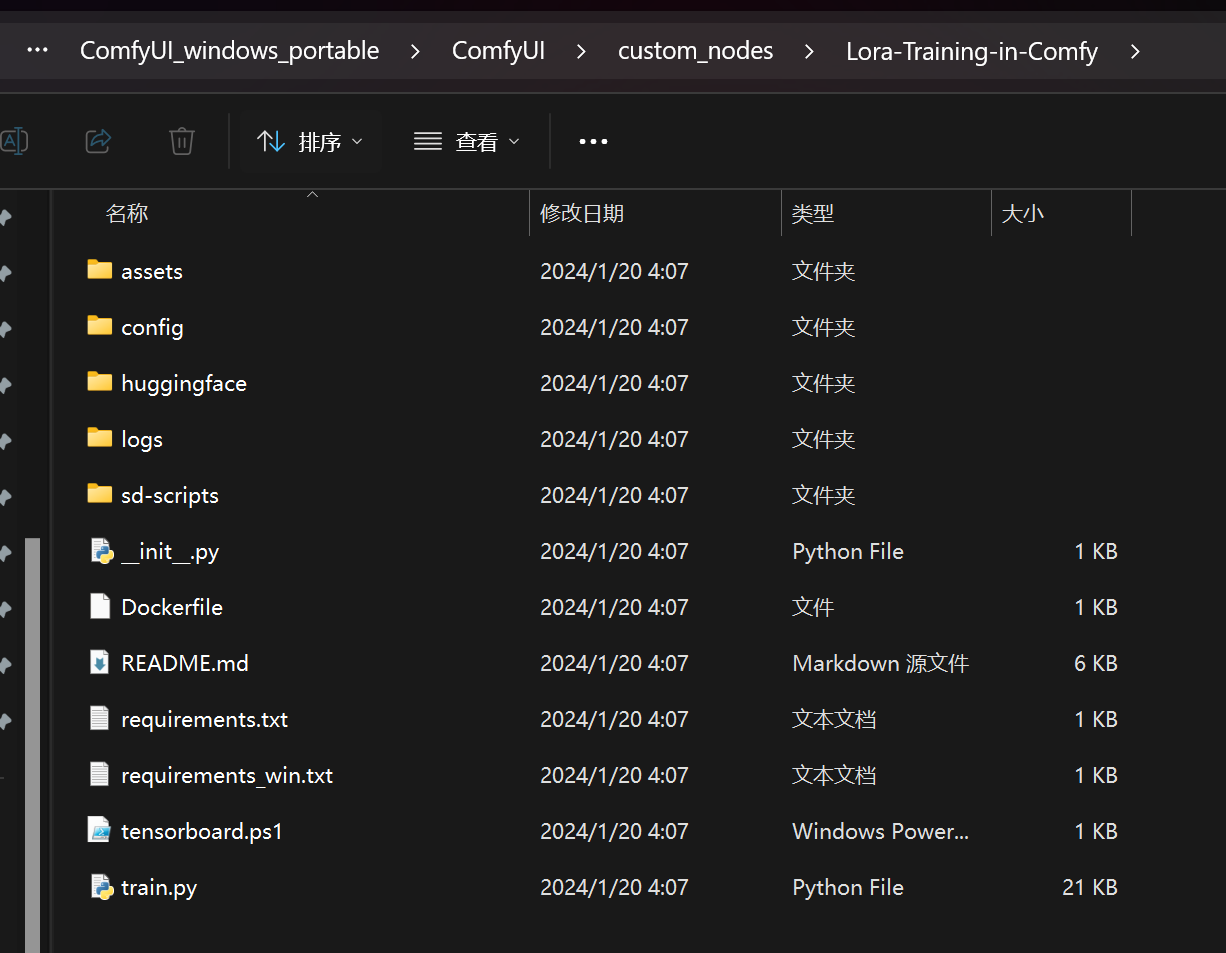
解压并改名字
用以下命令先安装一个pip
PS E:\sd\ComfyUI_windows_portable_nvidia_cu121_or_cpu_05_04_2024\ComfyUI_windows_portable\python_embeded> .\python.exe .\get-pip.py
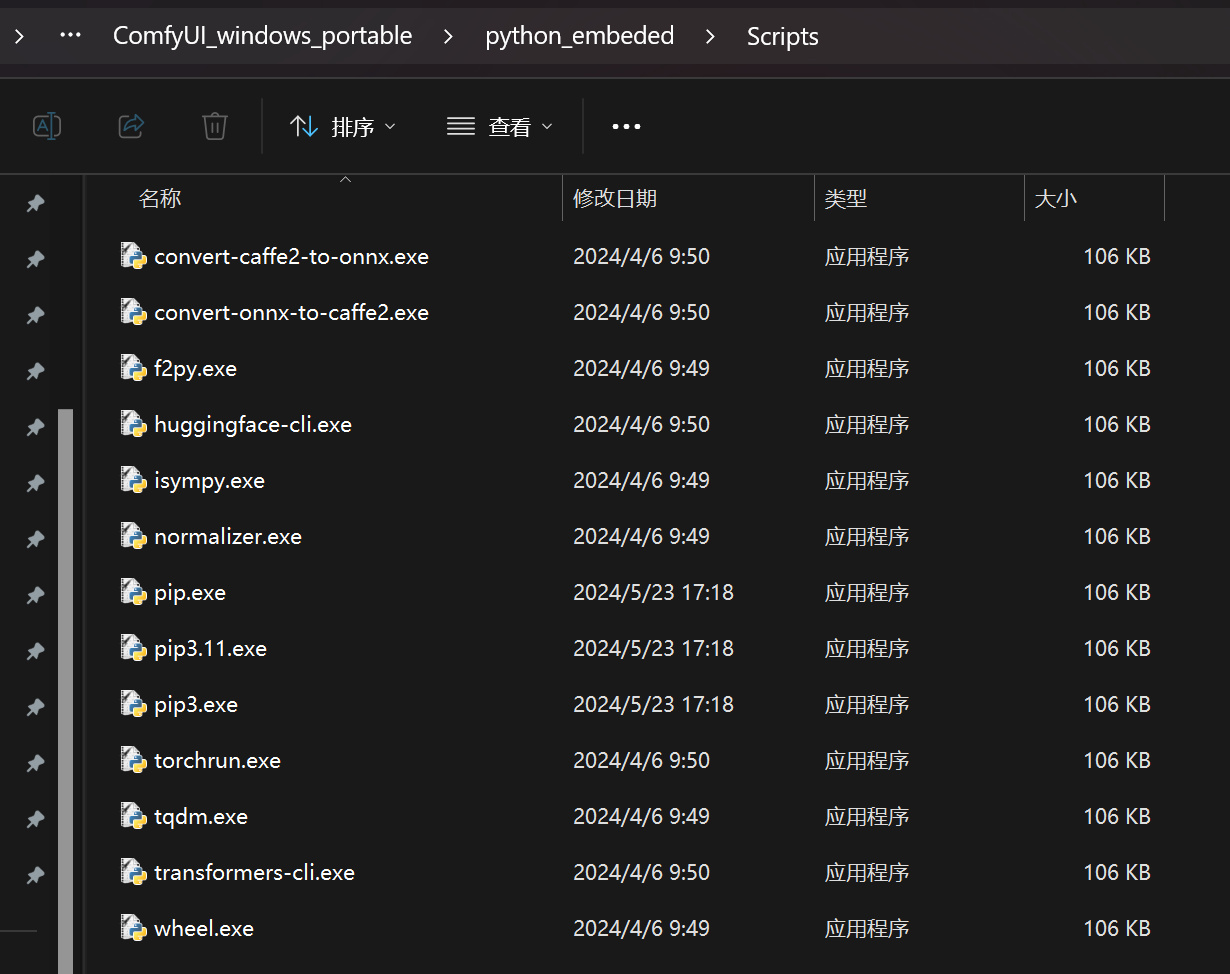
然后我看了一下在script目录下就有pip了

然后在Scripts目录下
PS E:\sd\ComfyUI_windows_portable_nvidia_cu121_or_cpu_05_04_2024\ComfyUI_windows_portable\python_embeded\Scripts> ./pip.exe install -r E:\sd\ComfyUI_windows_portable_nvidia_cu121_or_cpu_05_04_2024\ComfyUI_windows_portable\ComfyUI\custom_nodes\Lora-Training-in-Comfy\requirements_win.txt
利用文件夹的技巧,把requirements_win.txt拖放到comman line下就可以了

有一个库还挺大,那就慢慢下
可以把网络工具关掉,因为这个jihulab是国内的,所以其实关了更快

OK
接下来是文件夹命名的问题:
教程
在你使用自定义节点之前,有几件事需要注意:
你的图像必须放在这样命名的文件夹中:[数字]_[任意内容]。那个数字很重要:LoRA 脚本用它来创建一定数量的步骤(称为优化步骤……但别问我这是什么^^’)。它应该较小,比如 5。然后,下划线是必须的。其余的不重要。
对于 data_path,你必须写出包含数据库文件夹的文件夹路径。
所以,对于这种情况:C:\database\5_myimages
你必须写 C:\database。
至于最终的问题:“正斜杠,还是反斜杠?”……别担心!Python 在这里需要正斜杠,但节点会自动将所有反斜杠转换为正斜杠。
文件夹名称中的空格也不是问题。
原文里提醒了一下图像的命名问题
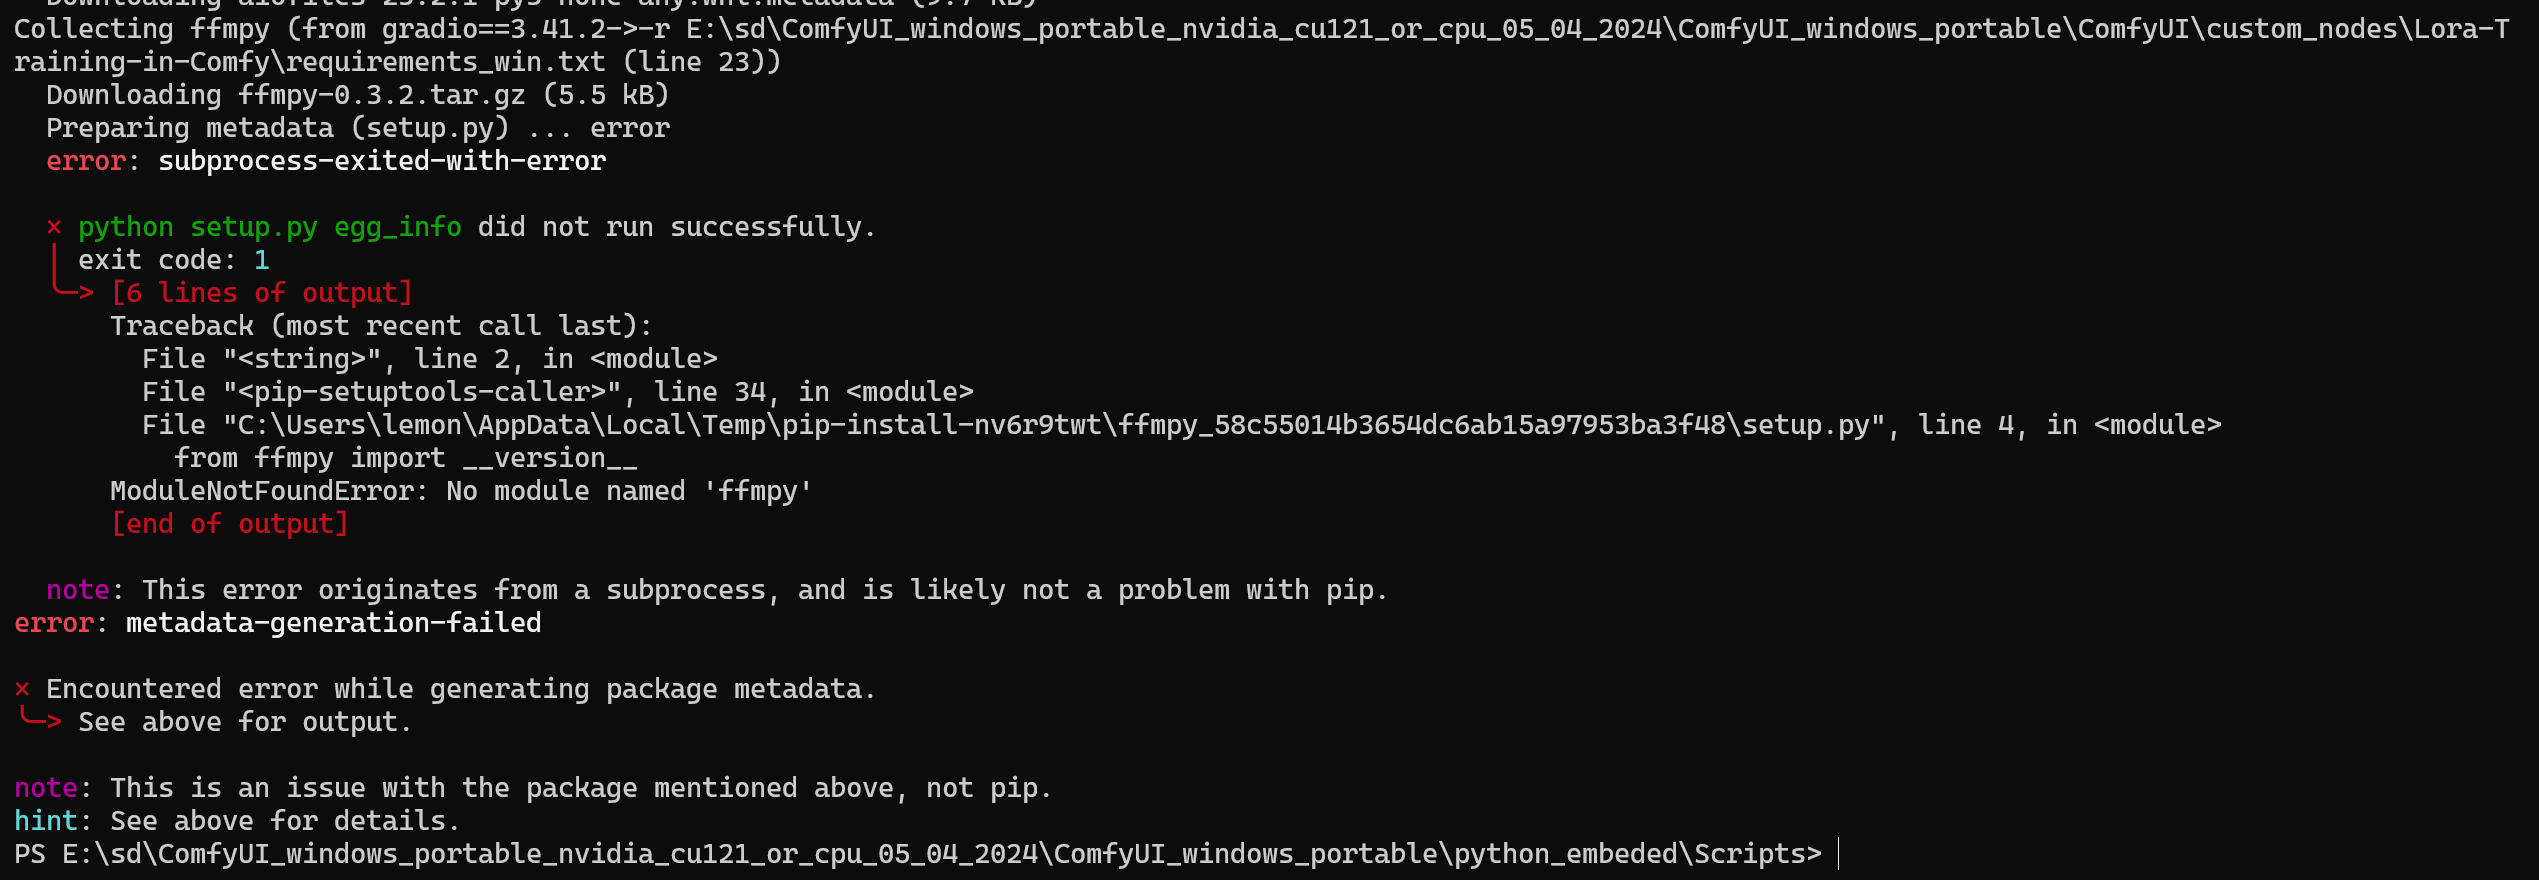
https://blog.moeworld.tech/2024/03/30/gradiomodulenotfounderror-no-module-named-ffmpy/
[Gradio]"ModuleNotFoundError: No module named 'ffmpy'"
https://pypi.org/project/ffmpy/#files
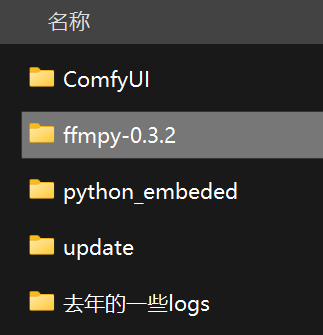
下载并且解压
改成这样
PS E:\sd\ComfyUI_windows_portable_nvidia_cu121_or_cpu_05_04_2024\ComfyUI_windows_portable\ffmpy-0.3.2> ..\python_embeded\python.exe
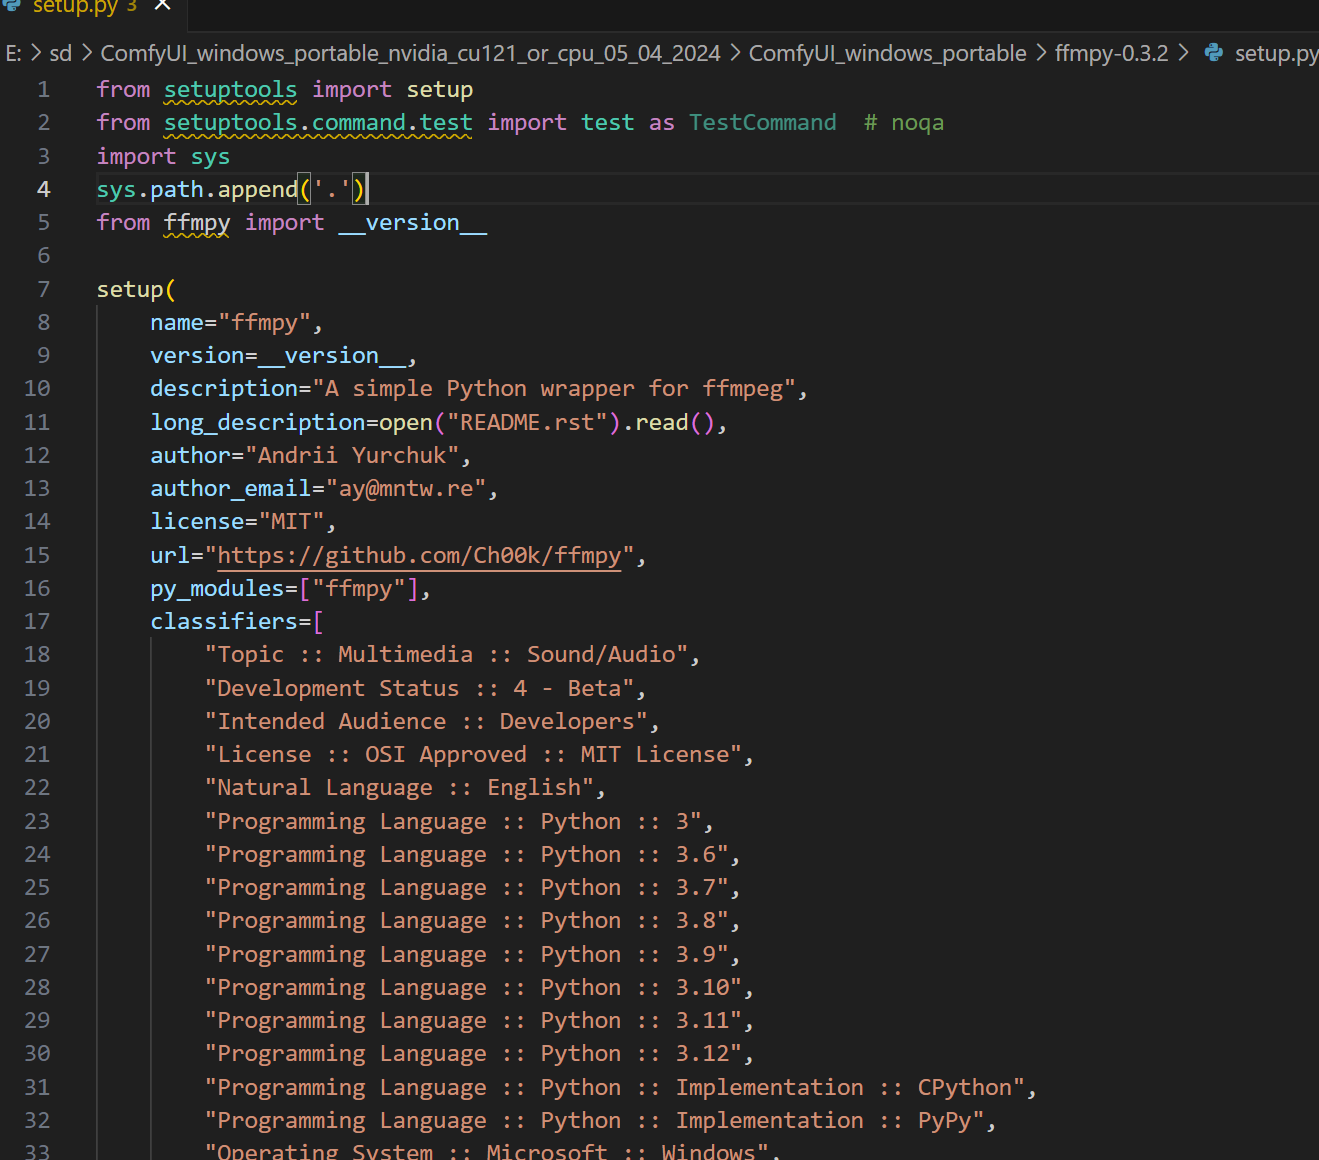
..\python_embeded\python.exe setup.py install
这样就安装了
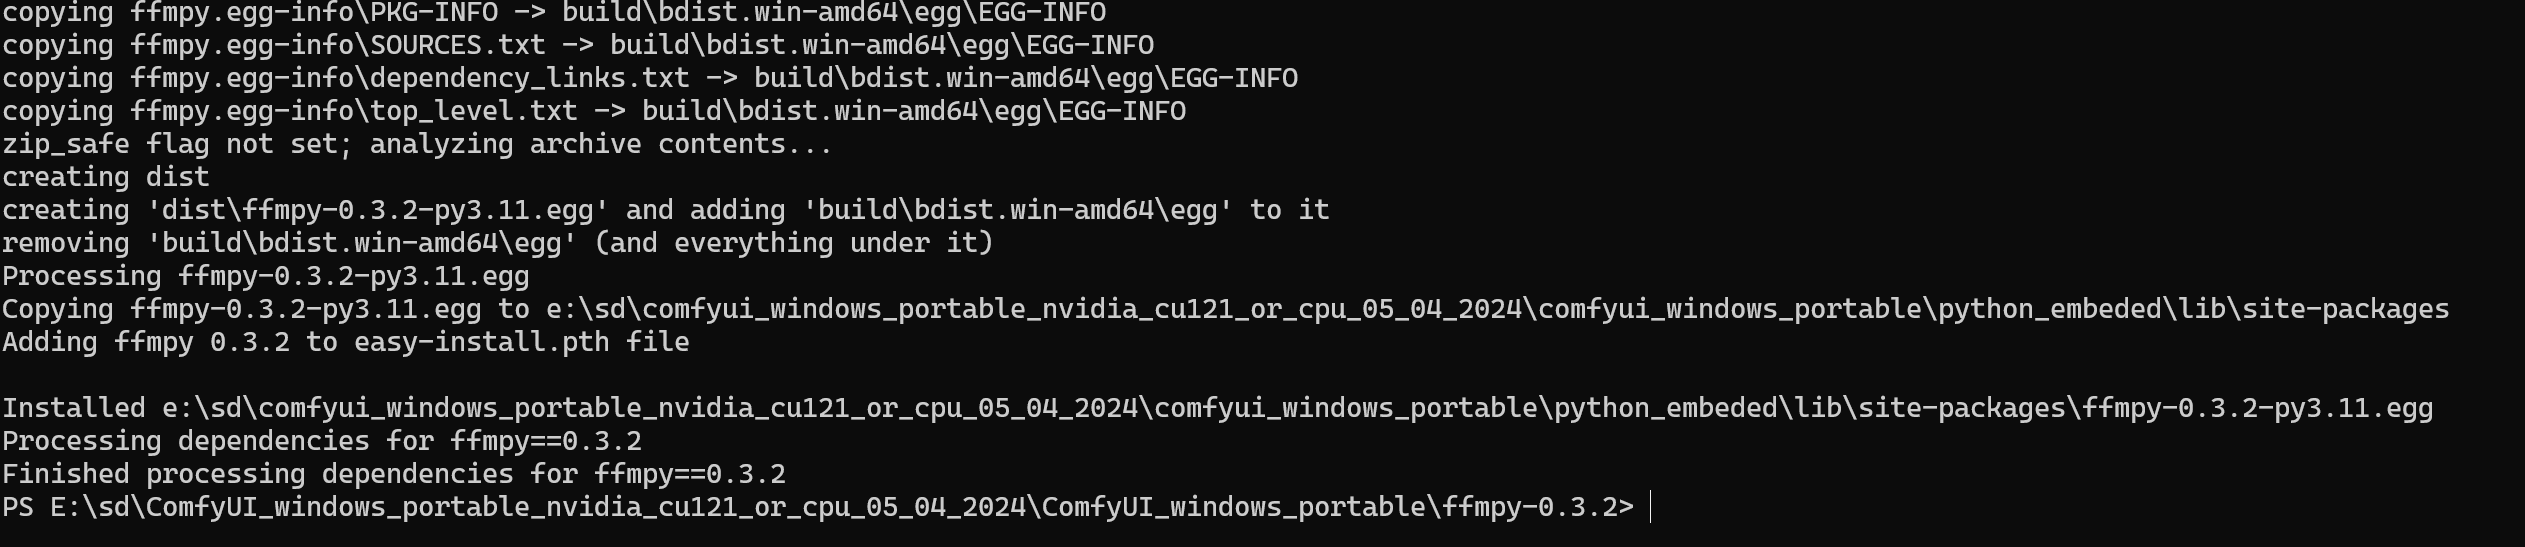
我看就是生成了一个什么egg文件,然后又解压到我的这个什么python_embeded版本的site-packages目录下面去了

然后回到安装过程,继续
哎,这边说是要遗弃了,行呗
帖子下方有人说了关于训练的技巧的:
If you’re completely new to LoRA training, you’re probably looking for a guide to understand what each option does. It’s not the point of this post and there’s a lot to learn, but still, let me share my personal experience with you:
PARAMETERS:
The number of epochs is what matters the most. Double that number, the training is twice longer BUT much better. Note that this is NOT a linear relation: that number is essential up to a certain point!
The number of images in your database will make training longer too. But quality will actually come from the quality of the images, not from the number!
CAPTIONING
The description of images, also called caption, is extremely important. To the point that even though it is possible to make it automatically, you should always rewrite the captions manually to better describe the image it’s tied to.
If you want a trigger word (that means: a word that will “””call””” the LoRA), bear in mind that every word common to ALL images in your database is a trigger word. Alternatively, if you have different things in your database (multiple characters for example), you will want to ensure there is ONE trigger word PER THING.
For example, it you have a LoRA for strawberry, chocolate and vanilla, you’ll want to make sure the strawberry images are captioned with “strawberry”, and so on.
So, should you have multiple trigger words? The answer is: only if you have multiple subjects in your LoRA.
PERFORMANCE:
On my RTX 3060 6GB VRAM, if I name my database 5_anything, it takes 25 minutes to train a LoRA for 50 epochs, from 13 images. It goes at a rate of 2 it/sec. Results are absolutely acceptable, as you can see from the examples in the main post.
CHOICE OF IMAGES:
Diversity, Quality and Clarity are the three mantras an image database must respect. Never forget the DQC of LoRA training!
D: The AI needs various data to study.
Q: The point of a generative AI is to reproduce the phenomenon described in the database. The very concept of reproduction requires that the original material be good! Therefore, avoid pixelated images and otherwise ugly pictures.
C: By “clarity”, I mean the subject of the database must be easy to grasp for the AI. How do you make sure the AI “understands”? Well, the first step is to see if you understand yourself by just seeing the pictures. If you want a LoRA for an outfit, it’s a good idea to have images of different characters wearing the same outfit: that way, the AI “””understands””” the phenomenon to represent is the outfit, the one thing common to all pictures. On the contrary, if you mostly have the same character on every picture, the LoRA will tend to depict that character in addition to the outfit.
--
AIs are trained with square images at a resolution of 512x512. However, a system called “bucket” lets us use other resolutions and formats for our images. Bucket is enabled by default with my custom node. Be aware though: it has a minimum and a maximum for allowed resolutions! It goes as low as 256 pixels and as high as 1536 pixels. Rescale your images appropriately!
THE LORA PARADOX:
A LoRA has a weight. As you probably understand, a bigger weight makes the LoRA more important during generation.
By that, I mean the LoRA will influence the generation to better represent the database it’s trained on.
But it’s not like the point was to copy existing images! You want to do new stuff. Based on the existing stuff. That’s what I call the LoRA paradox.
For example, you probably don’t care about the background if you’re creating a character LoRA. But the background WILL influence your generation.
You’ll want your LoRA to influence your generations, but not too much.
Thankfully, that’s the point of the weight value. Learn to detect when the weight should be raised/lowered!
I hope all this information helps someone start with LoRA training!
如果你是 LoRA 训练的完全新手,你可能正在寻找一个指南来理解每个选项的作用。
这不是这篇文章的重点,而且有很多要学习的,但仍然,让我与你分享我的个人经验:

参数:
训练轮数是最重要的。将这个数字翻倍,训练时间就会翻倍,但效果会好得多。请注意,这不是线性关系:
在一定程度之前,这个数字至关重要!

数据库中的图像数量也会使训练时间延长。但质量实际上将来自图像的质量,而不是数量!

标注
图像的描述,也称为标注,极其重要。以至于即使可以自动完成,你也应该总是手动重写标注以更好地描述与之相关的图像。
如果你想要一个触发词(意思是:一个将“调用”LoRA 的词),请记住,数据库中所有图像共有的每个词都是一个触发词。
或者,如果你在数据库中有不同的事物(例如多个角色),你会希望确保每个事物有一个触发词。
例如,如果你有一个针对草莓、巧克力和香草的 LoRA,你会希望确保草莓图像被标注为“草莓”,等等。
那么,你应该有多个触发词吗?答案是:只有当你的 LoRA 中有多个主题时。

性能:
在我的 RTX 3060 6GB VRAM 上,如果我将我的数据库命名为 5_任何东西,从 13 张图像训练一个 50 轮的 LoRA 需要 25 分钟。
它以每秒 2 次的速度进行。结果绝对是可以接受的,正如你可以从主文章中的例子看到的。

图像选择:
多样性、质量和清晰度是图像数据库必须遵守的三个准则。永远不要忘记 LoRA 训练的 DQC!

D:人工智能需要各种数据来学习。
Q:生成式人工智能的要点是重现数据库中描述的现象。重现的概念本身就要求原始材料要好!
因此,避免像素化的图像和其他难看的图片。
C:我说的“清晰度”,是指数据库的主题必须让人工智能容易理解。
你如何确保人工智能“理解”?嗯,第一步是通过只看图片看看你自己是否理解。
如果你想要一个针对服装的 LoRA,有不同角色穿着相同服装的图像是个好主意:这样,人工智能“理解”要代表的现象是服装,这是所有图片共有的一件事。
相反,如果大多数图片上主要是同一个角色,那么 LoRA 除了服装外还往往会描绘那个角色。

--
人工智能使用分辨率为 512x512 的正方形图像进行训练。然而,一个称为“桶”的系统允许我们为我们的图像使用其他分辨率和格式。
在我的自定义节点中,桶默认启用。但要注意:它对允许的分辨率有一个最小值和最大值!
它低至 256 像素,高至 1536 像素。适当地重新缩放你的图像!

LoRA 悖论:
LoRA 有一个权重。正如你可能理解的,更大的权重使 LoRA 在生成期间更重要。
我的意思是,LoRA 将影响生成,以更好地代表它所训练的数据库。
但重点不是复制现有的图像!你想要做新的东西。基于现有的东西。这就是我所说的 LoRA 悖论。
例如,如果你正在创建一个角色 LoRA,你可能不太关心背景。但背景将影响你的生成。
你会希望你的 LoRA 影响你的生成,但不要太多。
幸运的是,这就是权重值的意义所在。学会检测何时应该提高/降低权重!

我希望所有这些信息能帮助某人开始进行 LoRA 训练!
好嘛,又报错了
网络错误,这个简单


我看了一下,这个插件给我下了一些新的组件
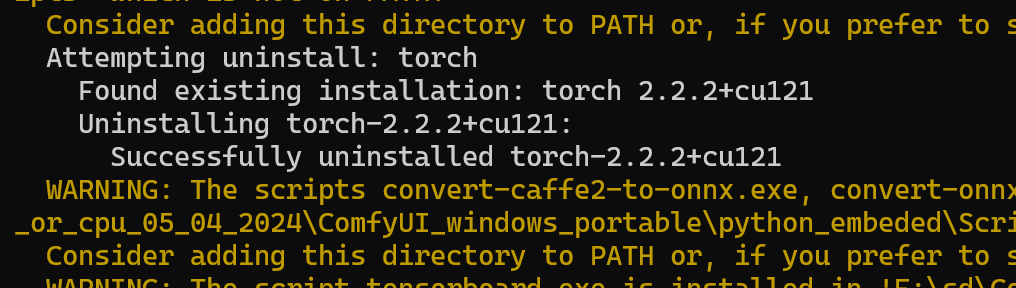
竟然给torch2.2.2给我升级到了2.3.0
我靠,一个插件真的是能耐大
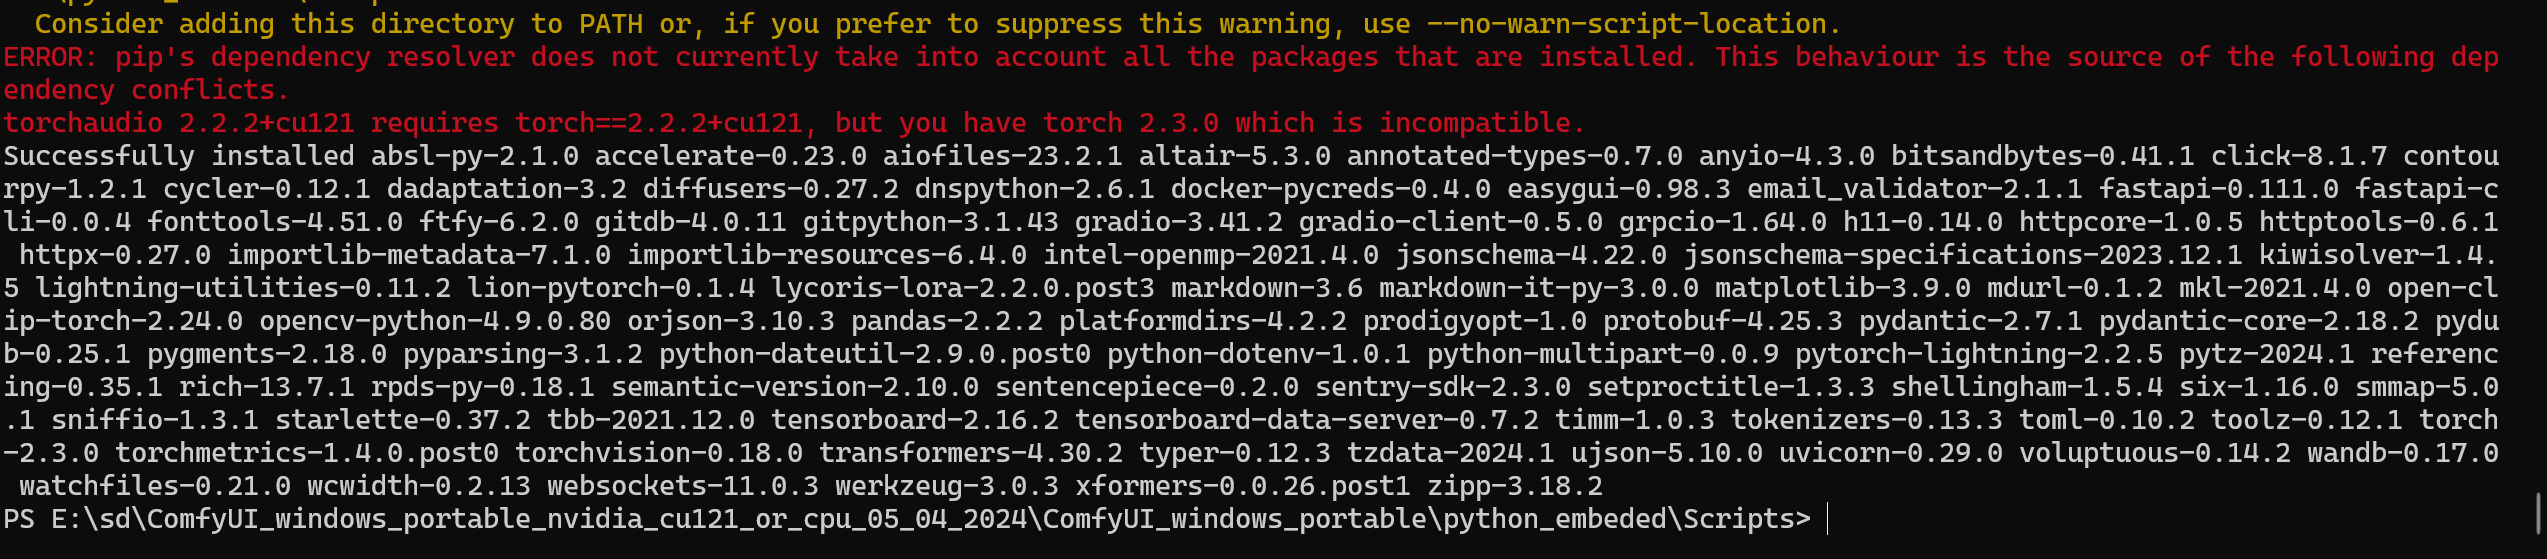
于是又报依赖错误
我就知道