https://docs.m5stack.com/zh_CN/core/m5stickc_plus
产品的官方文档
https://mp.weixin.qq.com/s/DamLQLf0Udh1DWVc-x3N5Q
库的介绍文章
然后点击进入IDE的文档
https://docs.m5stack.com/zh_CN/arduino/arduino_ide
arduino-ide_2.3.2_Windows_64bit
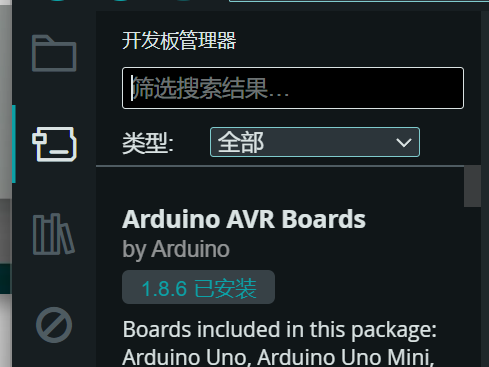
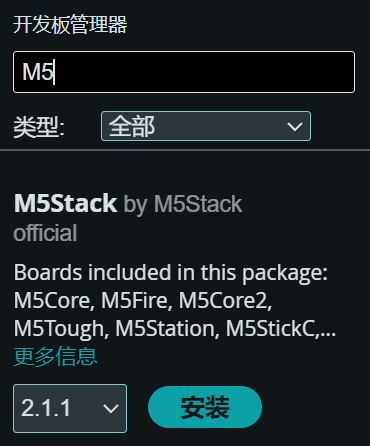
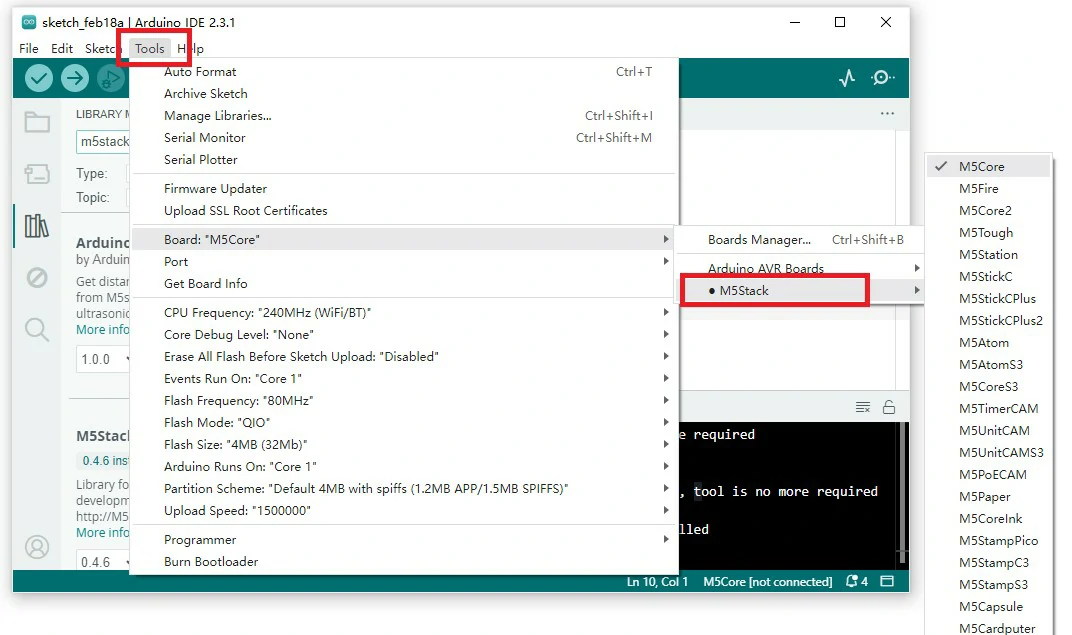
1、板管理的安装
https://docs.m5stack.com/zh_CN/arduino/arduino_board
https://static-cdn.m5stack.com/resource/arduino/package_m5stack_index.json

首选项,其它开发板管理地址
2、keyboard
https://github.com/T-vK/ESP32-BLE-Keyboard
3、安装好对应的库
https://docs.m5stack.com/zh_CN/arduino/arduino_library
4、开始
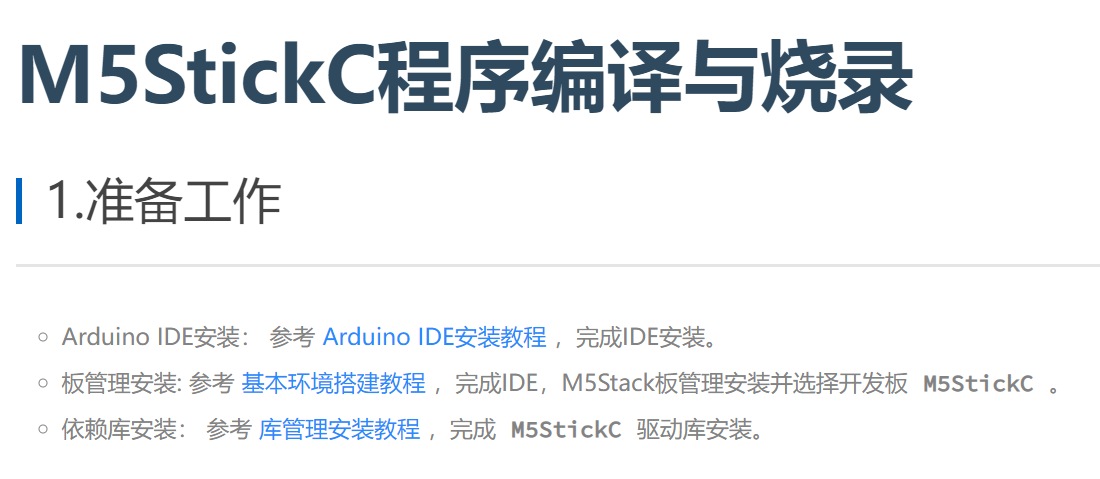
https://docs.m5stack.com/zh_CN/arduino/m5stickc/program
https://github.com/T-vK/ESP32-BLE-Keyboard
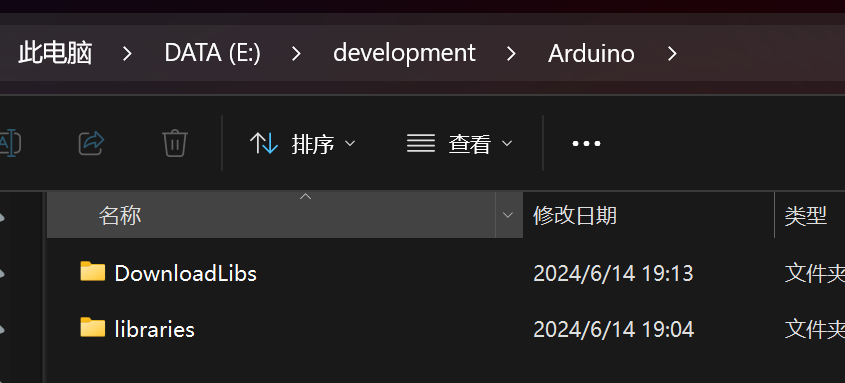
把ZIP包下载到自建的目录下面去
然后项目-导入库-添加.ZIP库

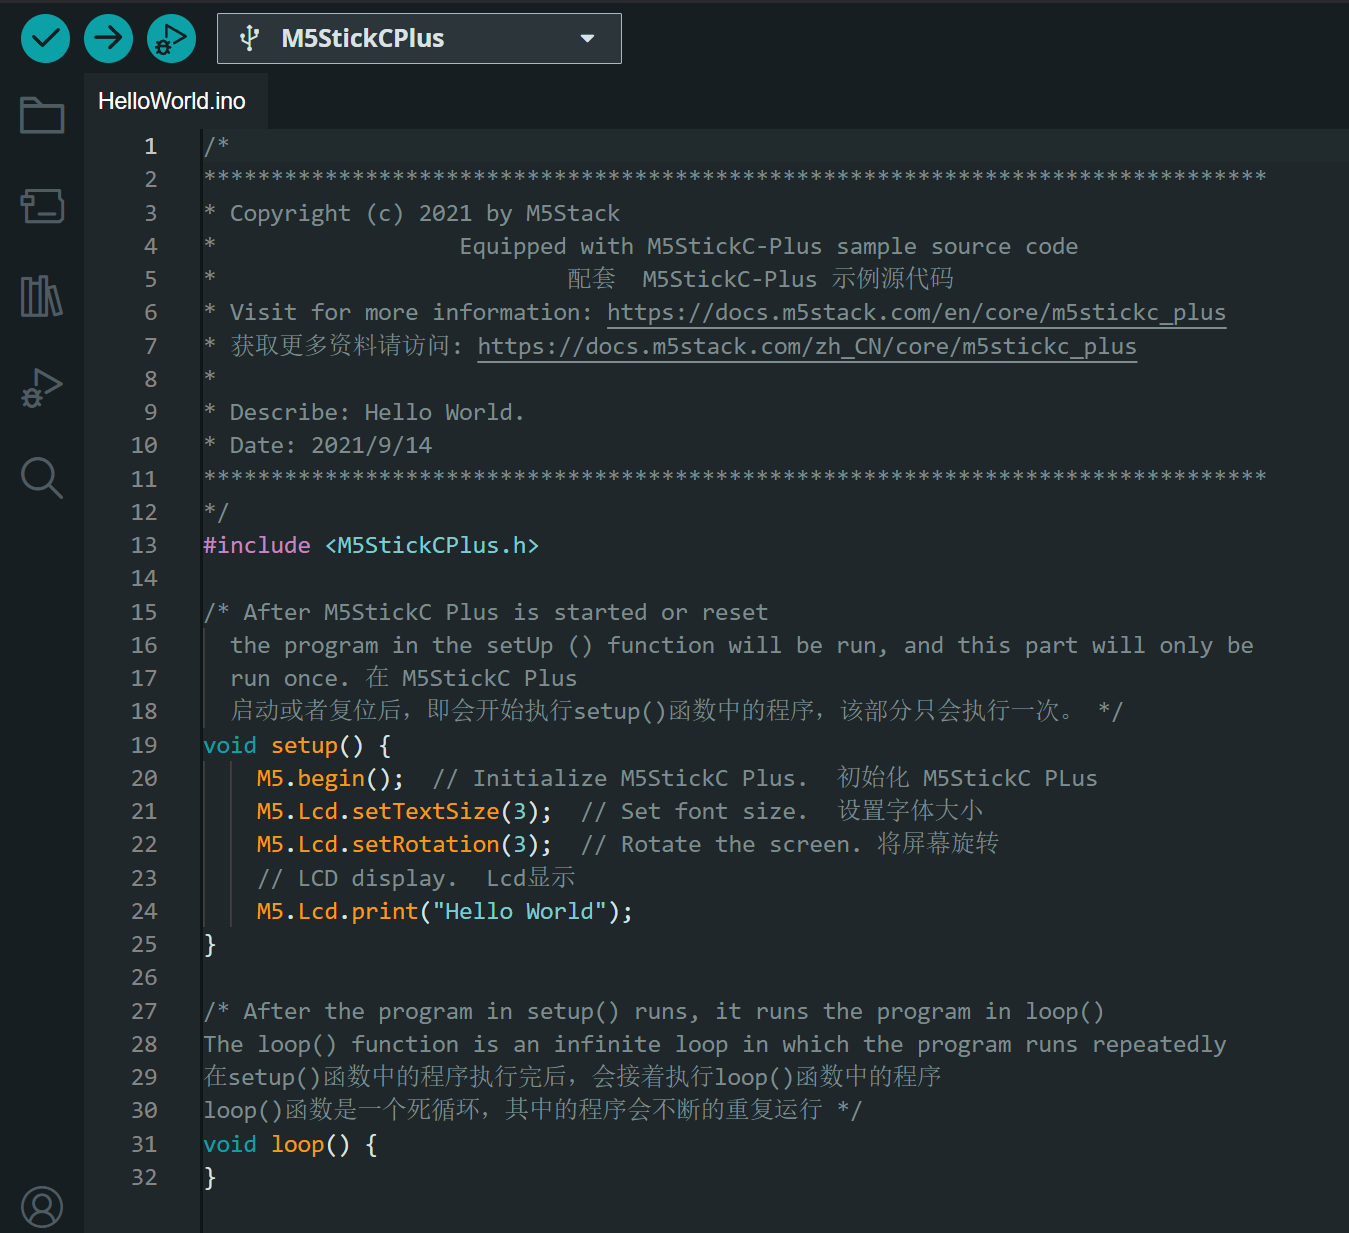
/*
*******************************************************************************
* Copyright (c) 2021 by M5Stack
* Equipped with M5StickC-Plus sample source code
* 配套 M5StickC-Plus 示例源代码
* Visit for more information: https://docs.m5stack.com/en/core/m5stickc_plus
* 获取更多资料请访问: https://docs.m5stack.com/zh_CN/core/m5stickc_plus
*
* Describe: Hello World.
* Date: 2021/9/14
*******************************************************************************
*/
/**
* This example turns the ESP32 into a Bluetooth LE keyboard that writes the words, presses Enter, presses a media key and then Ctrl+Alt+Delete
*/
#include <M5StickCPlus.h>
#include <BleKeyboard.h>
BleKeyboard bleKeyboard;
/* After M5StickC Plus is started or reset
the program in the setUp () function will be run, and this part will only be
run once. 在 M5StickC Plus
启动或者复位后,即会开始执行setup()函数中的程序,该部分只会执行一次。 */
void setup() {
M5.begin(); // Initialize M5StickC Plus. 初始化 M5StickC PLus
M5.Lcd.setTextSize(3); // Set font size. 设置字体大小
M5.Lcd.setRotation(3); // Rotate the screen. 将屏幕旋转
// LCD display. Lcd显示
M5.Lcd.print("Hello World");
Serial.begin(115200);
Serial.println("Starting BLE work!");
bleKeyboard.begin();
}
/* After the program in setup() runs, it runs the program in loop()
The loop() function is an infinite loop in which the program runs repeatedly
在setup()函数中的程序执行完后,会接着执行loop()函数中的程序
loop()函数是一个死循环,其中的程序会不断的重复运行 */
void loop() {
if(bleKeyboard.isConnected()) {
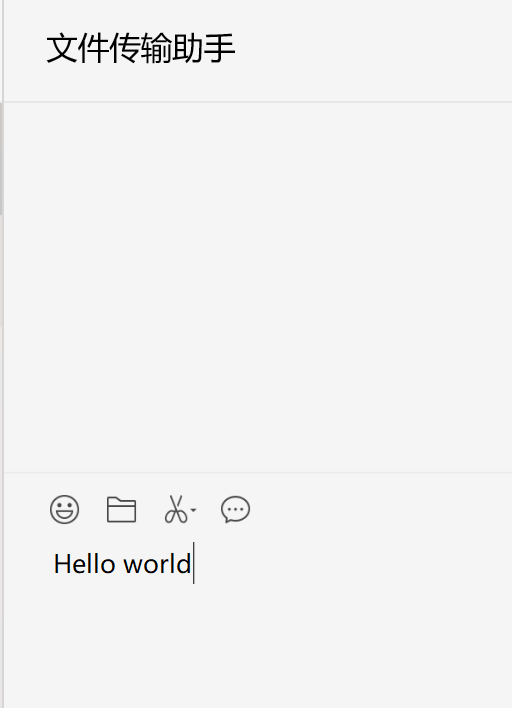
Serial.println("Sending 'Hello world'...");
bleKeyboard.print("Hello world");
delay(1000);
//
// Below is an example of pressing multiple keyboard modifiers
// which by default is commented out.
//
/* Serial.println("Sending Ctrl+Alt+Delete...");
bleKeyboard.press(KEY_LEFT_CTRL);
bleKeyboard.press(KEY_LEFT_ALT);
bleKeyboard.press(KEY_DELETE);
delay(100);
bleKeyboard.releaseAll();
*/
}
Serial.println("Waiting 5 seconds...");
delay(5000);
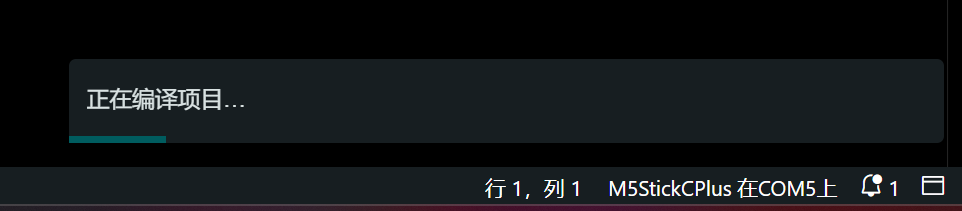
}程序弄好了,然后上传
这是默认的设备名
添加蓝牙设备:
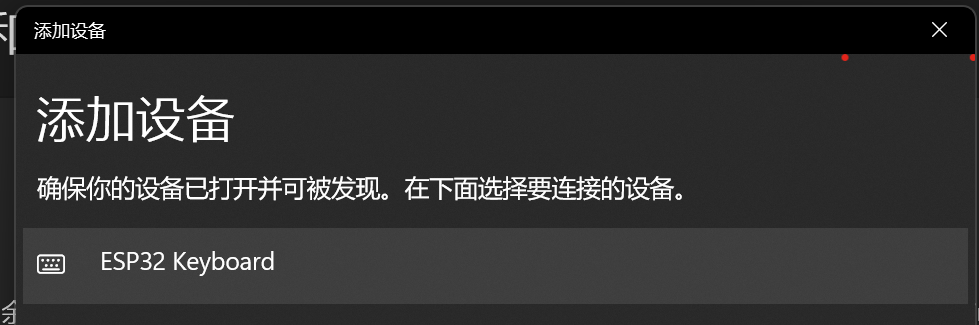
有了
6、密码键入装置:
/*
*******************************************************************************
* Copyright (c) 2021 by M5Stack
*                  Equipped with M5StickC-Plus sample source code
*                          配套  M5StickC-Plus 示例源代码
* Visit for more information: https://docs.m5stack.com/en/core/m5stickc_plus
* 获取更多资料请访问: https://docs.m5stack.com/zh_CN/core/m5stickc_plus
*
* Describe: Hello World.
* Date: 2021/9/14
*******************************************************************************
*/
/**
 * This example turns the ESP32 into a Bluetooth LE keyboard that writes the words, presses Enter, presses a media key and then Ctrl+Alt+Delete
 */

#include <M5StickCPlus.h>
#include <BleKeyboard.h>

BleKeyboard bleKeyboard;

/* After M5StickC Plus is started or reset
  the program in the setUp () function will be run, and this part will only be
  run once. 在 M5StickC Plus
  启动或者复位后,即会开始执行setup()函数中的程序,该部分只会执行一次。 */
void setup() {
    M5.begin();  // Initialize M5StickC Plus.  初始化 M5StickC PLus
    M5.Lcd.setTextColor(
        YELLOW);  // Set the font color to yellow.  设置字体颜色为黄色
    M5.Lcd.setTextSize(2);  // Set the font size to 2.  设置字体大小为2
    M5.Lcd.setRotation(3);
    M5.Lcd.println(
        "Button example");  // The screen prints the formatted string and wraps
                            // the line.  输出格式化字符串并换行
    M5.Lcd.println("Press button B for 700ms");
    M5.Lcd.println("to clear screen.");
    M5.Lcd.setTextColor(RED);
    Serial.begin(115200);
    Serial.println("Starting BLE work!");
    bleKeyboard.begin();
}

/* After the program in setup() runs, it runs the program in loop()
The loop() function is an infinite loop in which the program runs repeatedly
在setup()函数中的程序执行完后,会接着执行loop()函数中的程序
loop()函数是一个死循环,其中的程序会不断的重复运行 */
void loop() {
    M5.update();  // Read the press state of the key.  读取按键 A, B, C 的状态
    if (M5.BtnA.wasReleased()) {  // If the button A is pressed.  如果按键 A 被按下
      if(bleKeyboard.isConnected()) {
        Serial.println("Sending 'Hello world'...");
        bleKeyboard.print("your password");
        delay(1000);
        Serial.println("Sending Enter key...");
        bleKeyboard.write(KEY_RETURN);
      }
      M5.Lcd.print('A');
    }else if (M5.BtnB.wasReleased()) {  // If the button B is pressed. 如果按键
        // B 被按下,
        M5.Lcd.print('B');
    } else if (M5.BtnB.wasReleasefor(700)) {  // The button B is pressed for 700ms. 按键 B 按下
        // 700ms,屏幕清空
        M5.Lcd.fillScreen(BLACK);  // Set BLACK to the background color.  将黑色设置为底色
        M5.Lcd.setCursor(0, 0);
    }
}
ok,就这样,其余的程序稍后再写