1、定位目录:
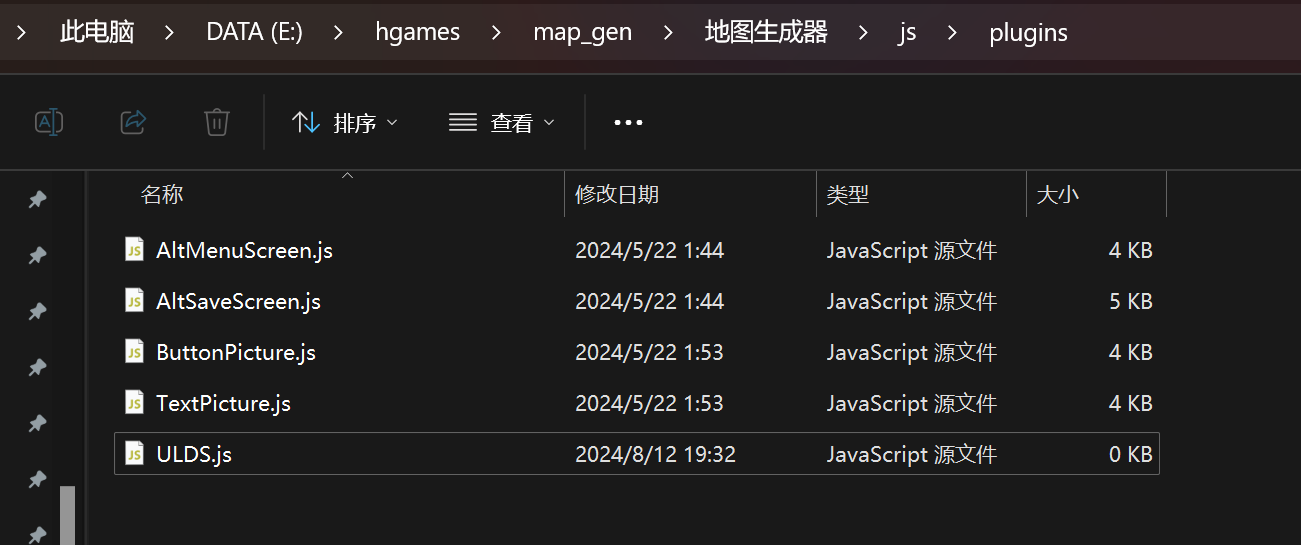
============================================
2、官网地址:
https://blog.taroxd.com/mvmz-plugins/ULDS.html
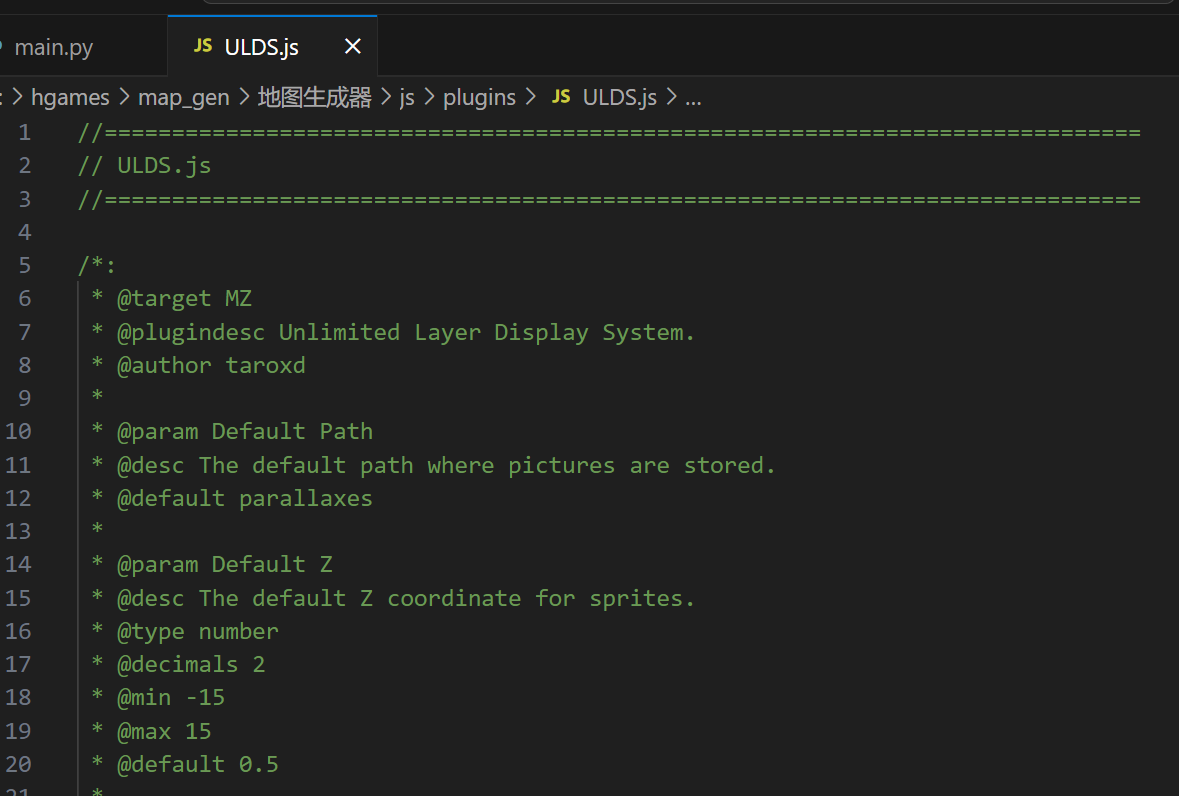
拷贝粘贴过去
============================================
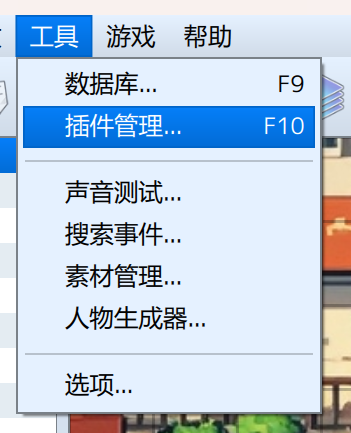
3、启用插件
This plugin does not provide plugin commands.

Map Note: <ulds> JSON </ulds>
"name": picture filename
"path": picture path (default to Default Path)
"loop": true/false
   Whether the picture should loop.
"hue"/"smooth": the attribute of a Bitmap.
<attribute>: the attribute of a Sprite.

A string can be used as a value to be interpreted as a formula.
In the formula, 't' refers to frame count.
                's' refers to $gameSwitches.
                'v' refers to $gameVaribles.

Also, various helpers are available, defined in Helper.

If a string is used as a formula of the attribute,
the attribute will be updated every frame.

By the way, attributes such as "anchor.x" is also available.


Here is an example:

<ulds> {
"name": "BlueSky",
"x": "this.rx(t)",
"y": 50,
"loop": true
} </ulds>
启用插件
然后,这是上面的比较简要的插件的说明
对应的视频介绍在B站上也是有的:
https://www.bilibili.com/video/BV1cj41147sb/?spm_id_from=333.999.0.0
帖子的介绍是这种:
https://rpg.blue/thread-489480-1-1.html
============================================
4、做一个小的实验
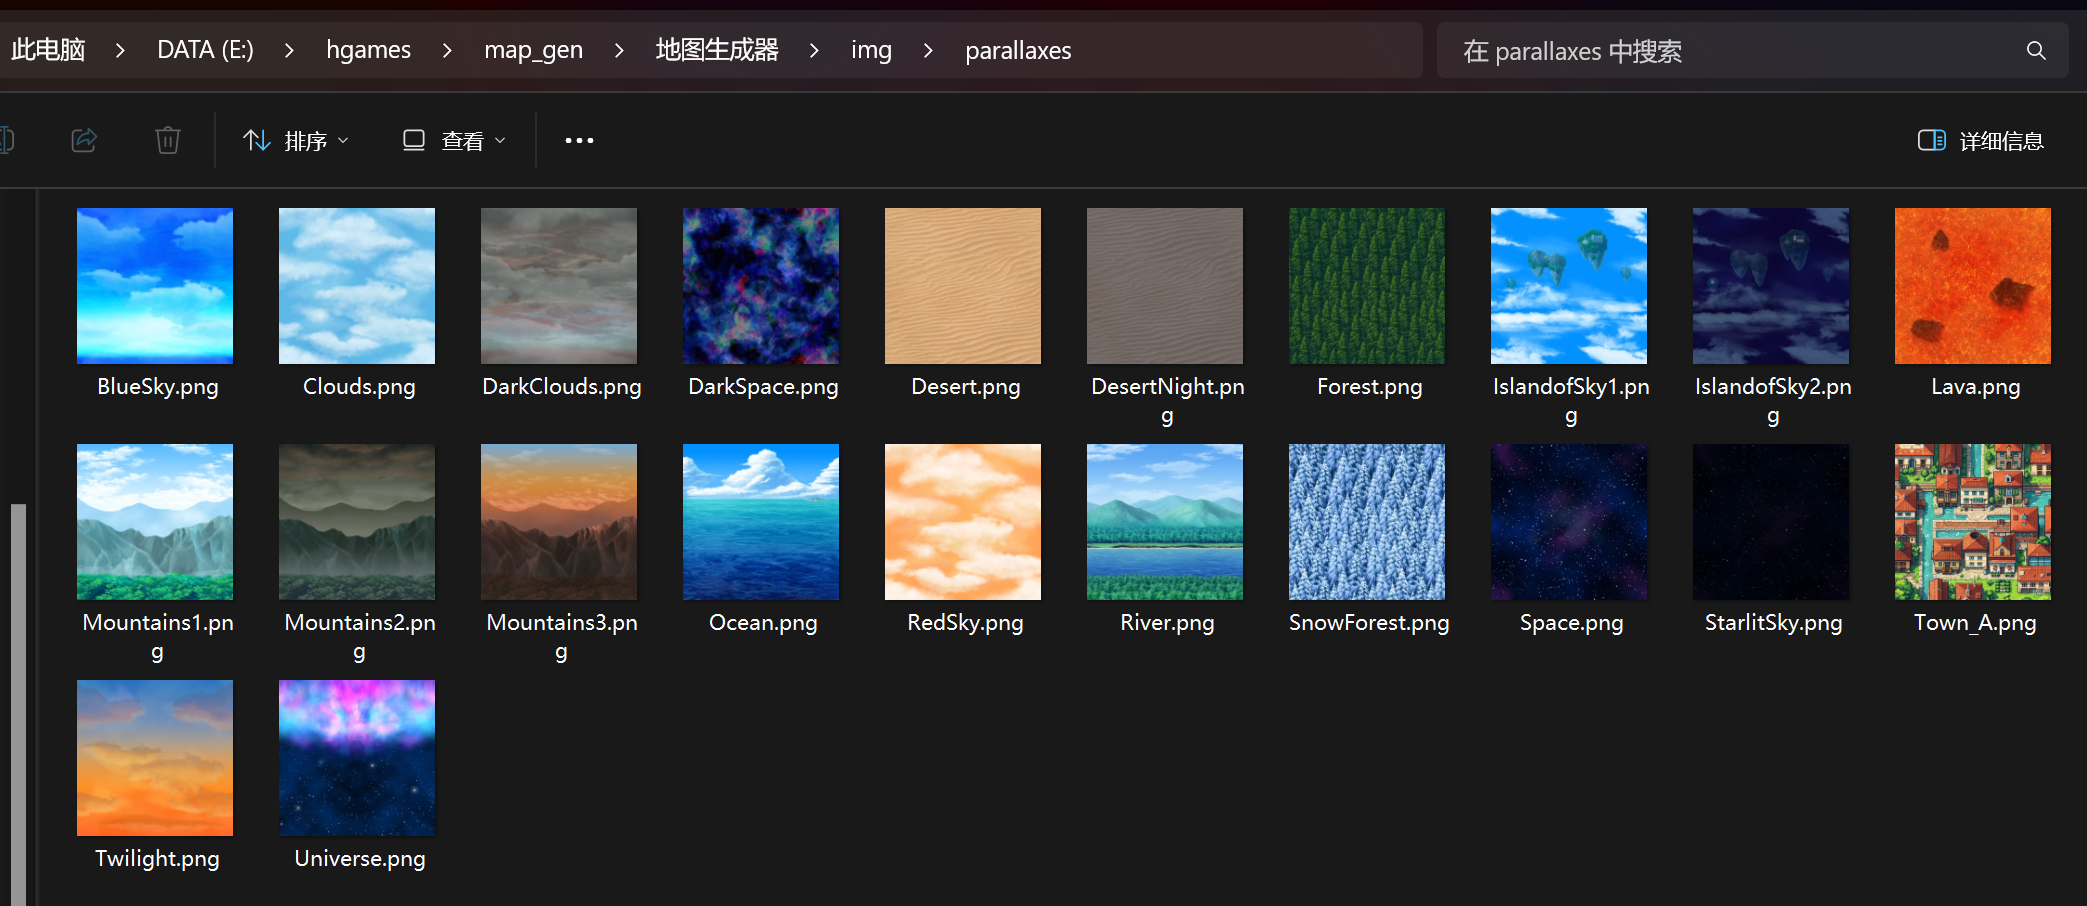
目录下放好图片
因为我是1024的图片,所以就选的是21x21的大小
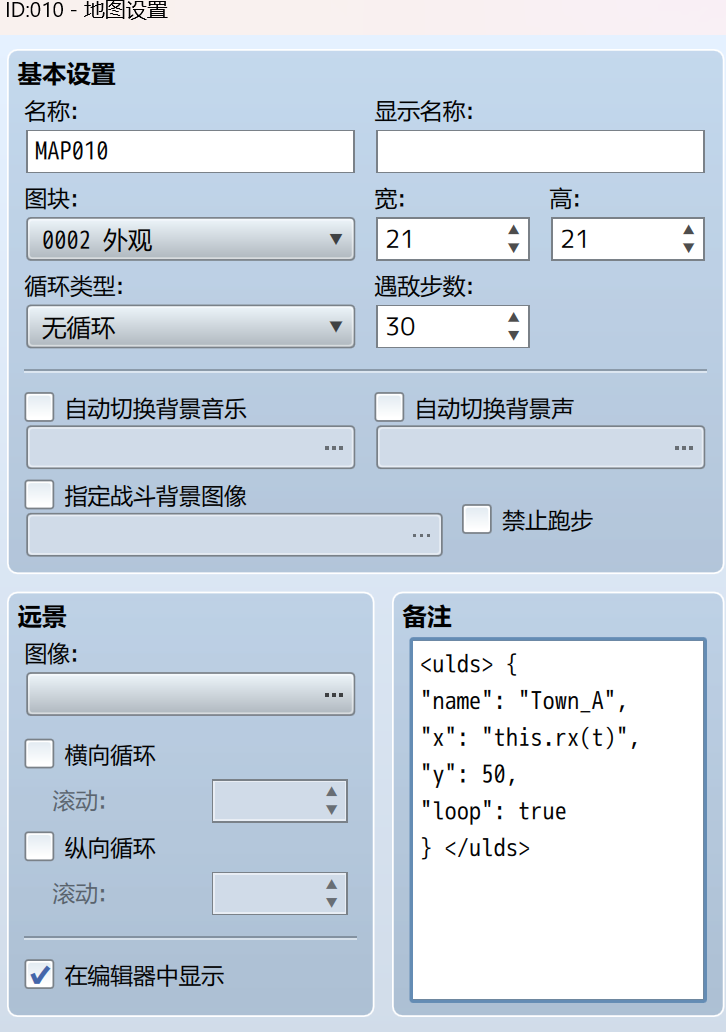
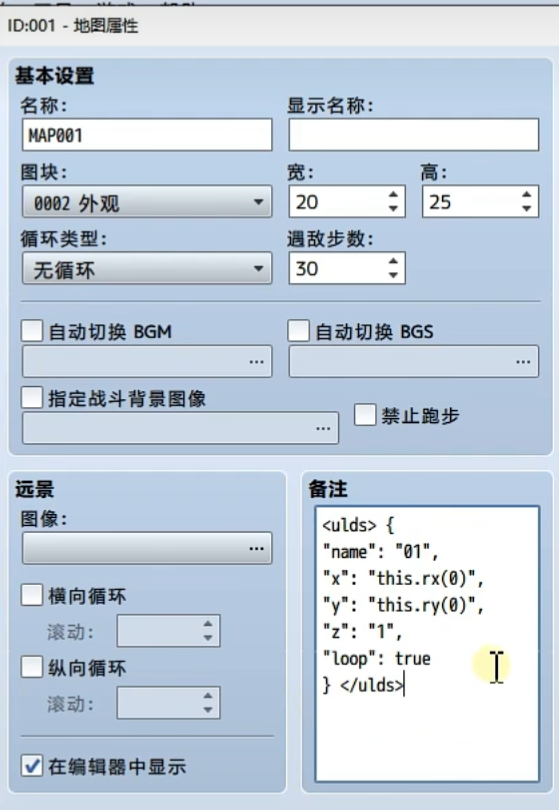
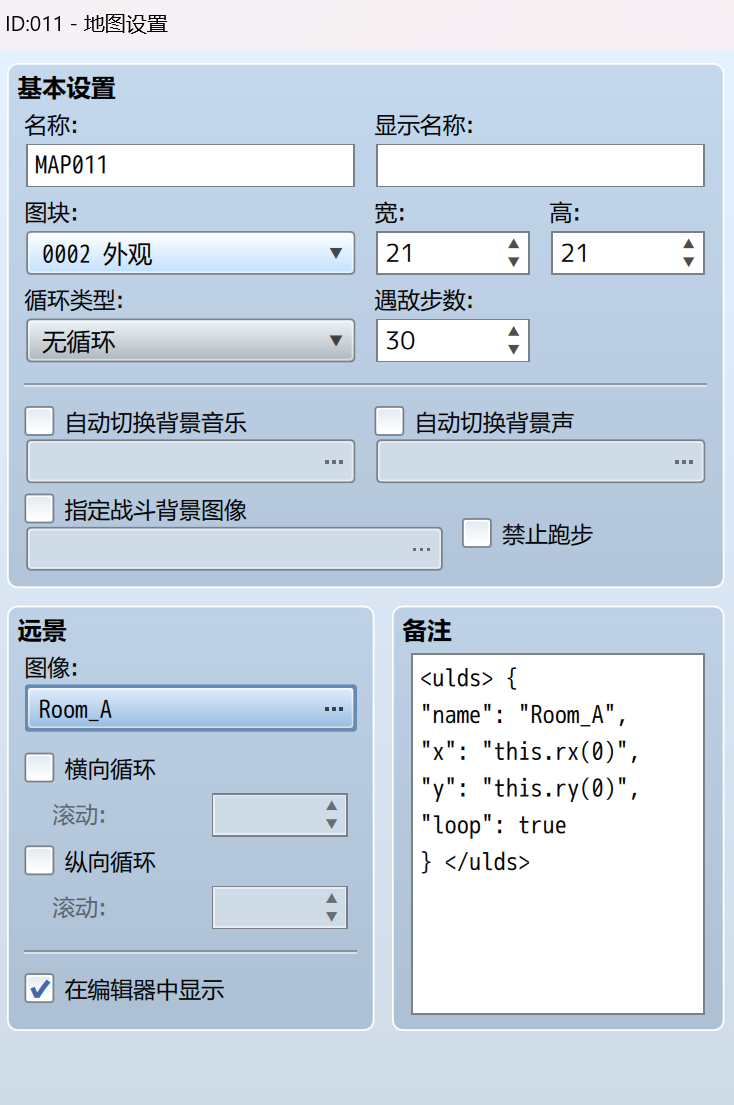
嗯,然后就是在备注里做文章
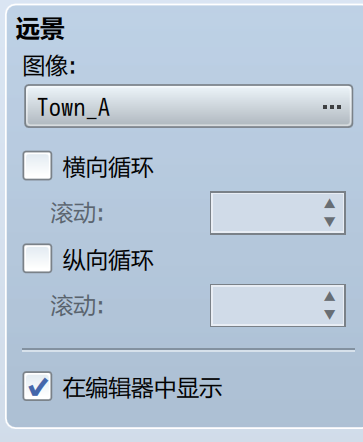
远景这块也显示了去,否则不好做编辑:
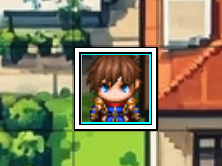
设置玩家初始位置:
调整一下图像大小:
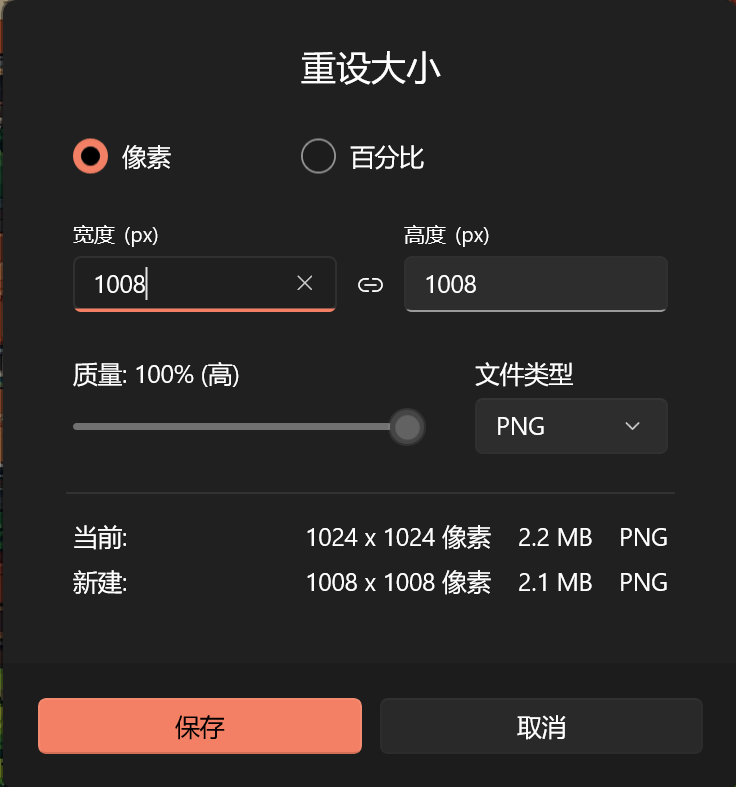
1008
搞了半天老在漂移
<ulds> {
"name": "Town_A",
"x": "0",
"y": "0",
"loop": false
} </ulds>
把注释换成了最朴素的
看了一下不行,所以又看了一下视频
用视频里的这个:
<ulds> {
"name": "Town_A",
"x": "this.rx(0)",
"y": "this.ry(0)",
"loop": true
} </ulds>
欧克,这次好了
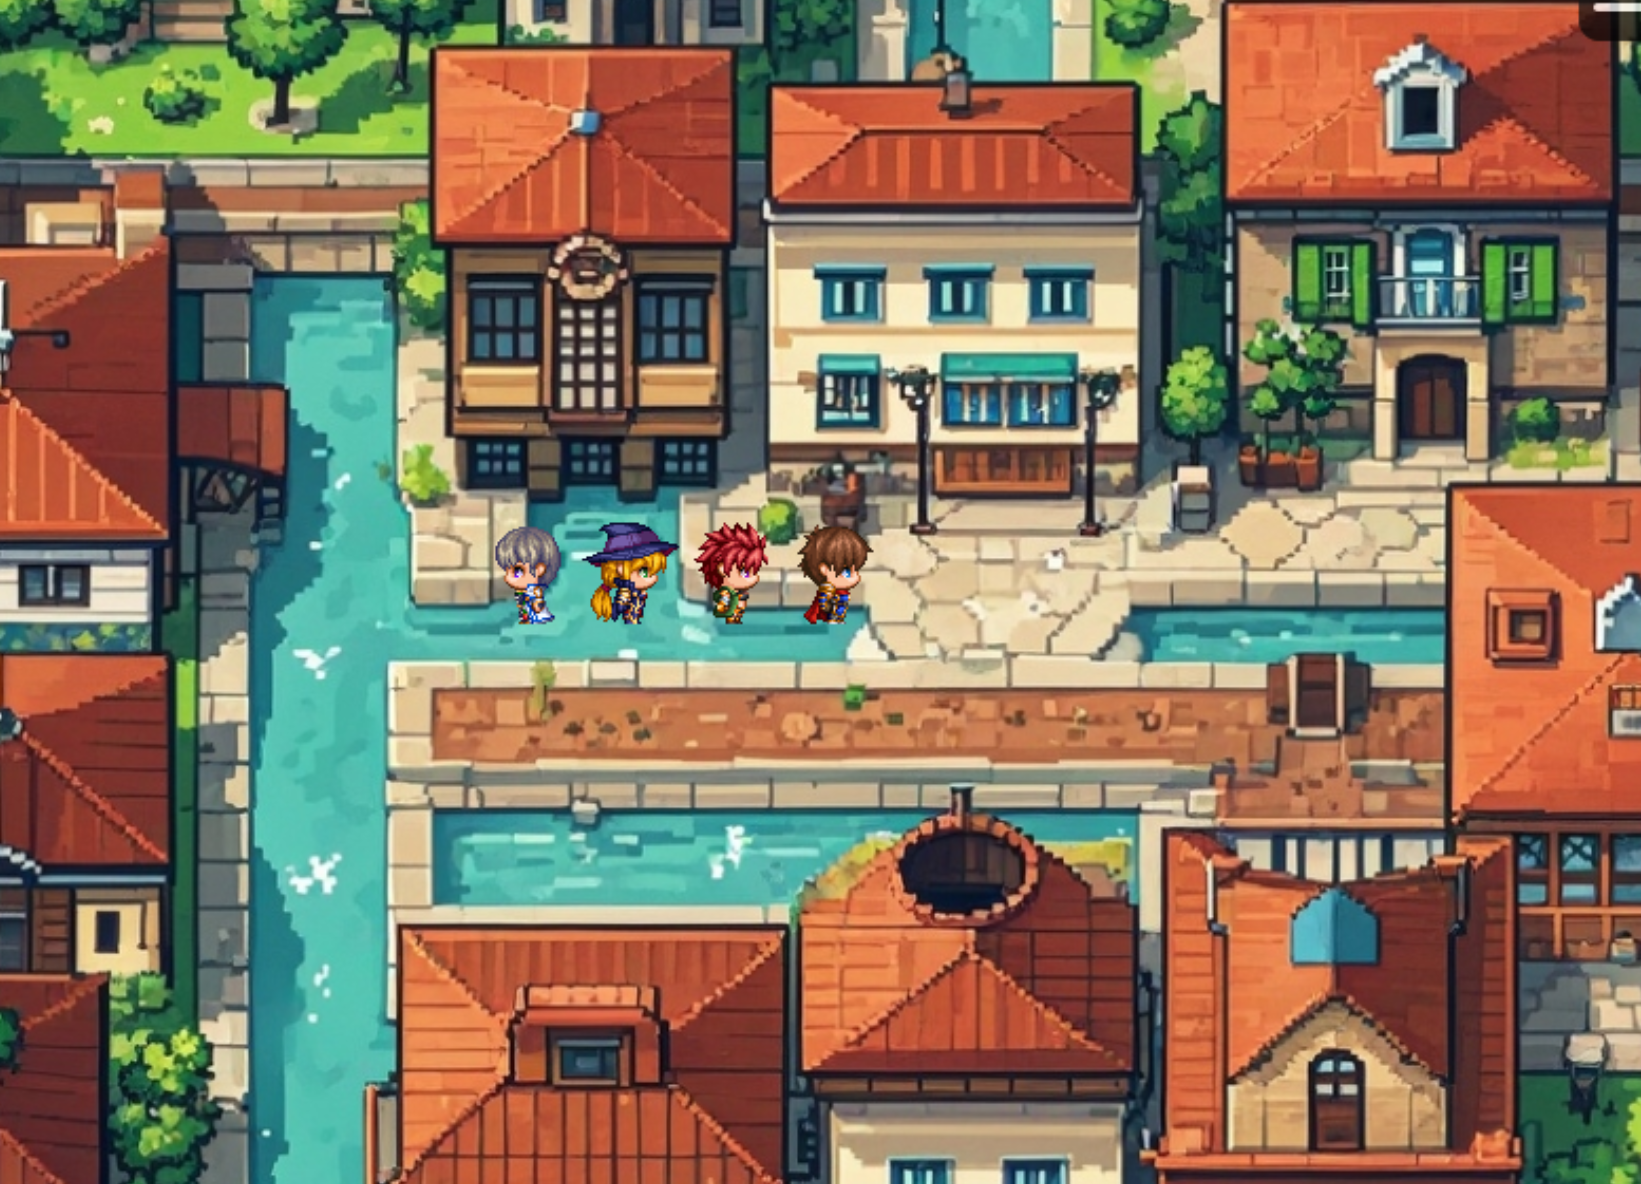
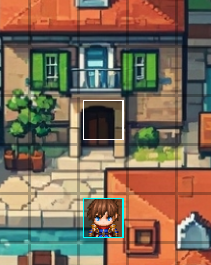
这是游戏效果

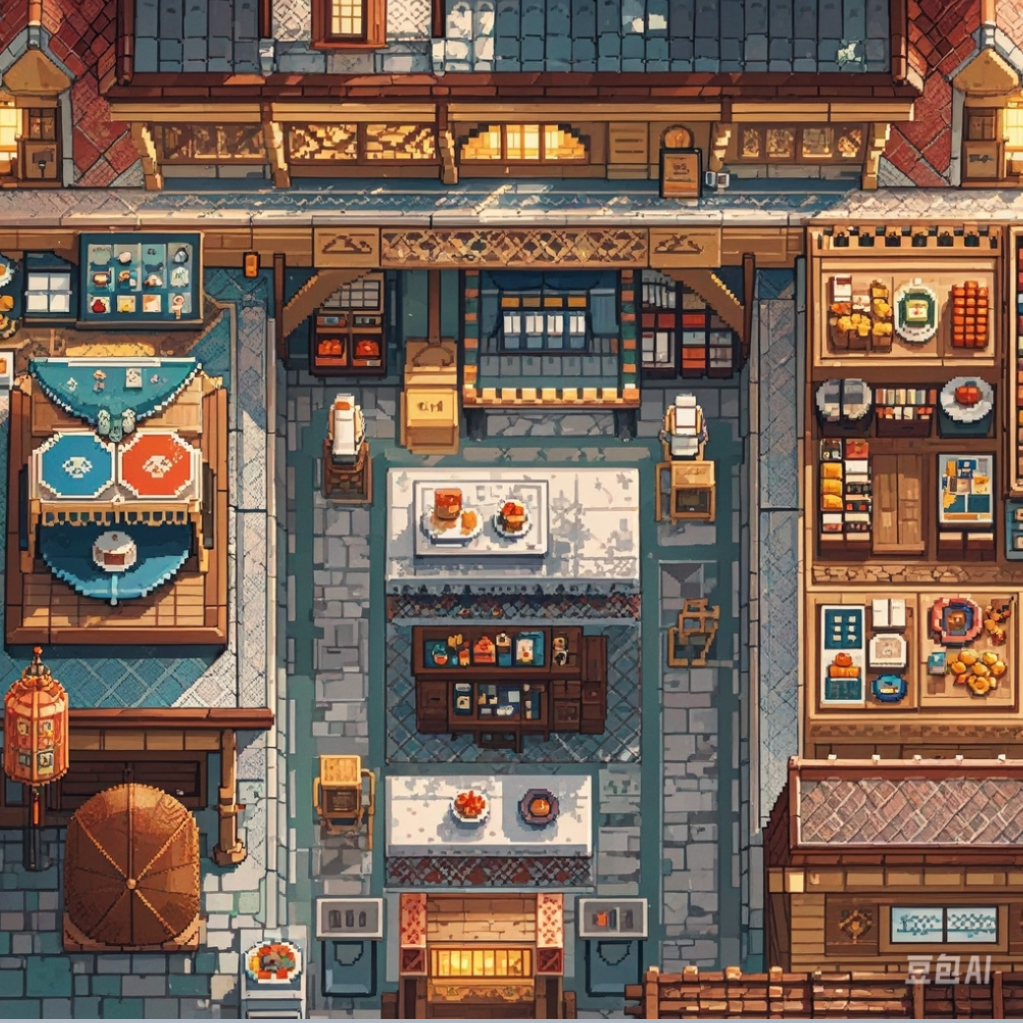
这是编辑器内的效果
技巧1:
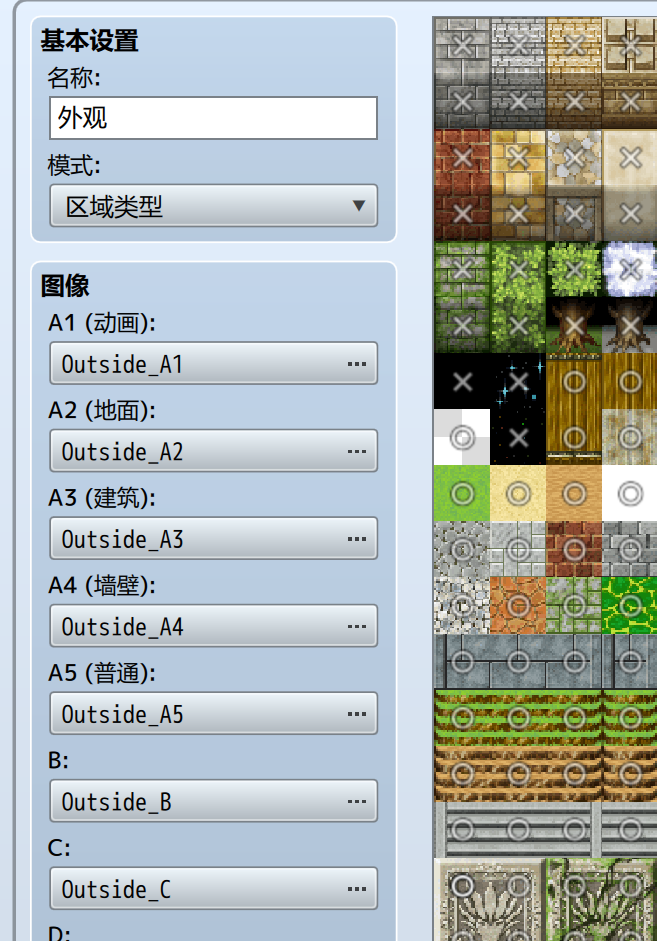
把外观里的空气墙设置为可通行,这样就有了地板,稍后还可以再用同样的技巧设置空气墙,其实是一样的
技巧2:
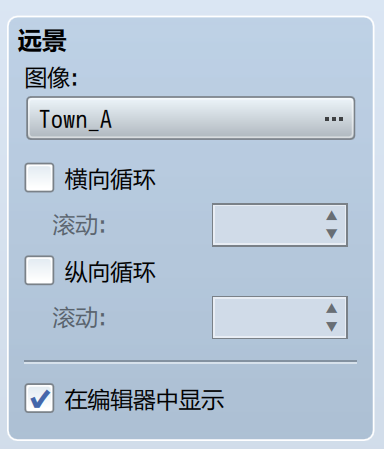
在远景里,把同样的图片也加载进来,这样就可以在编辑器种看到背景了,由此搞定
用同样的方法,新建一个Room_A
新增一个场所移动事件
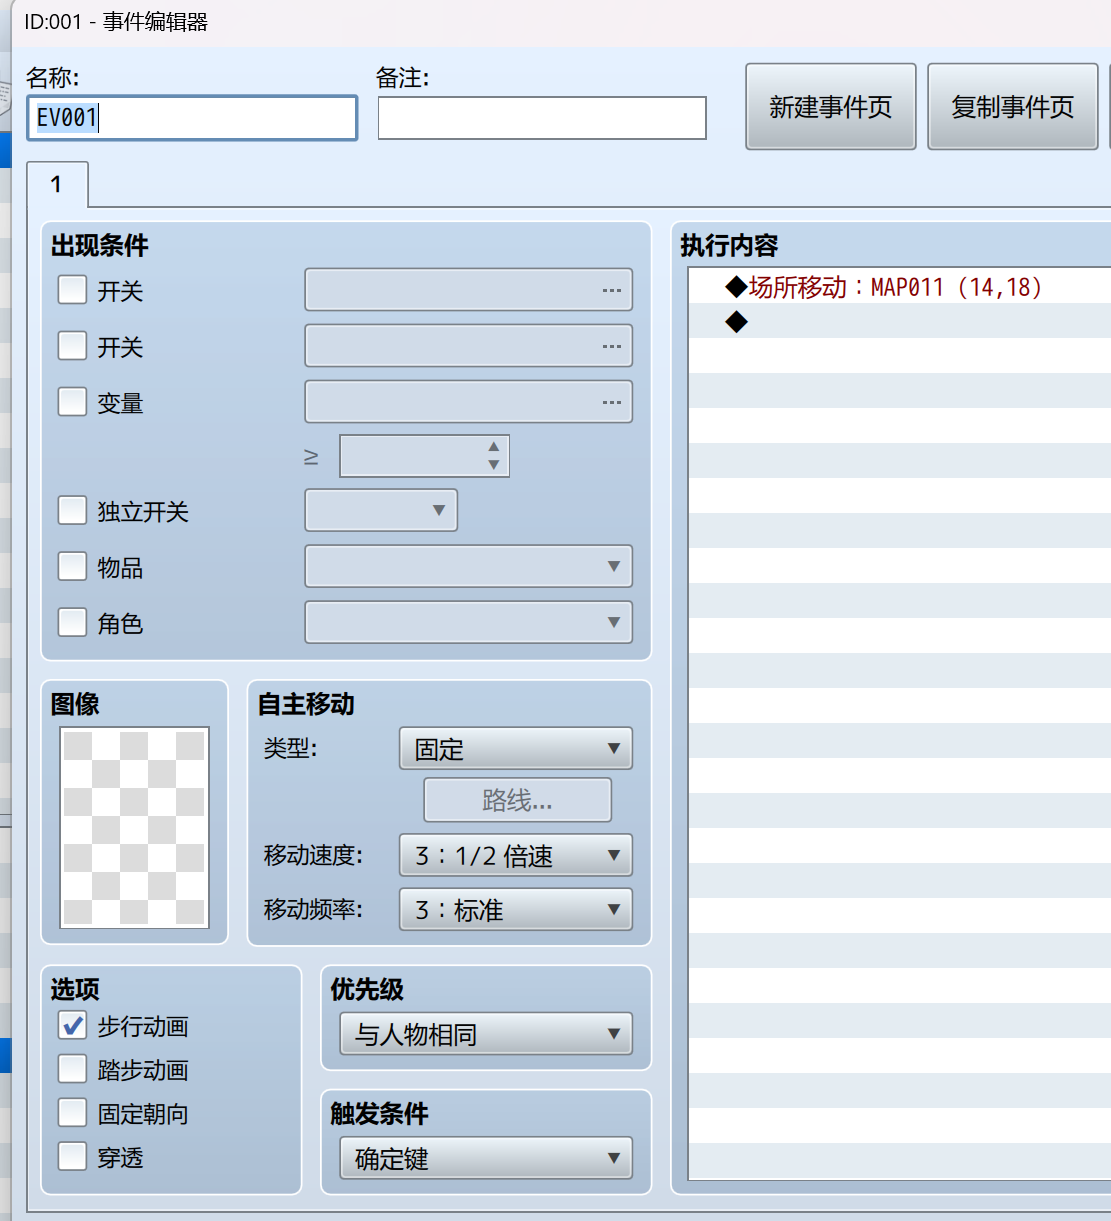
依葫芦画瓢,效果确实很好!!